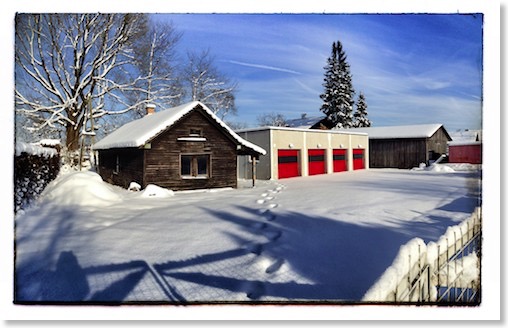
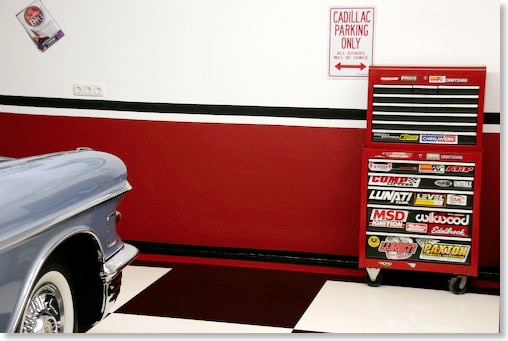
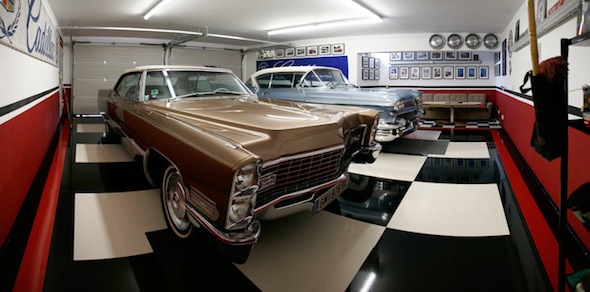
NEW GARAGE CABINETS AND LED LIGHTS
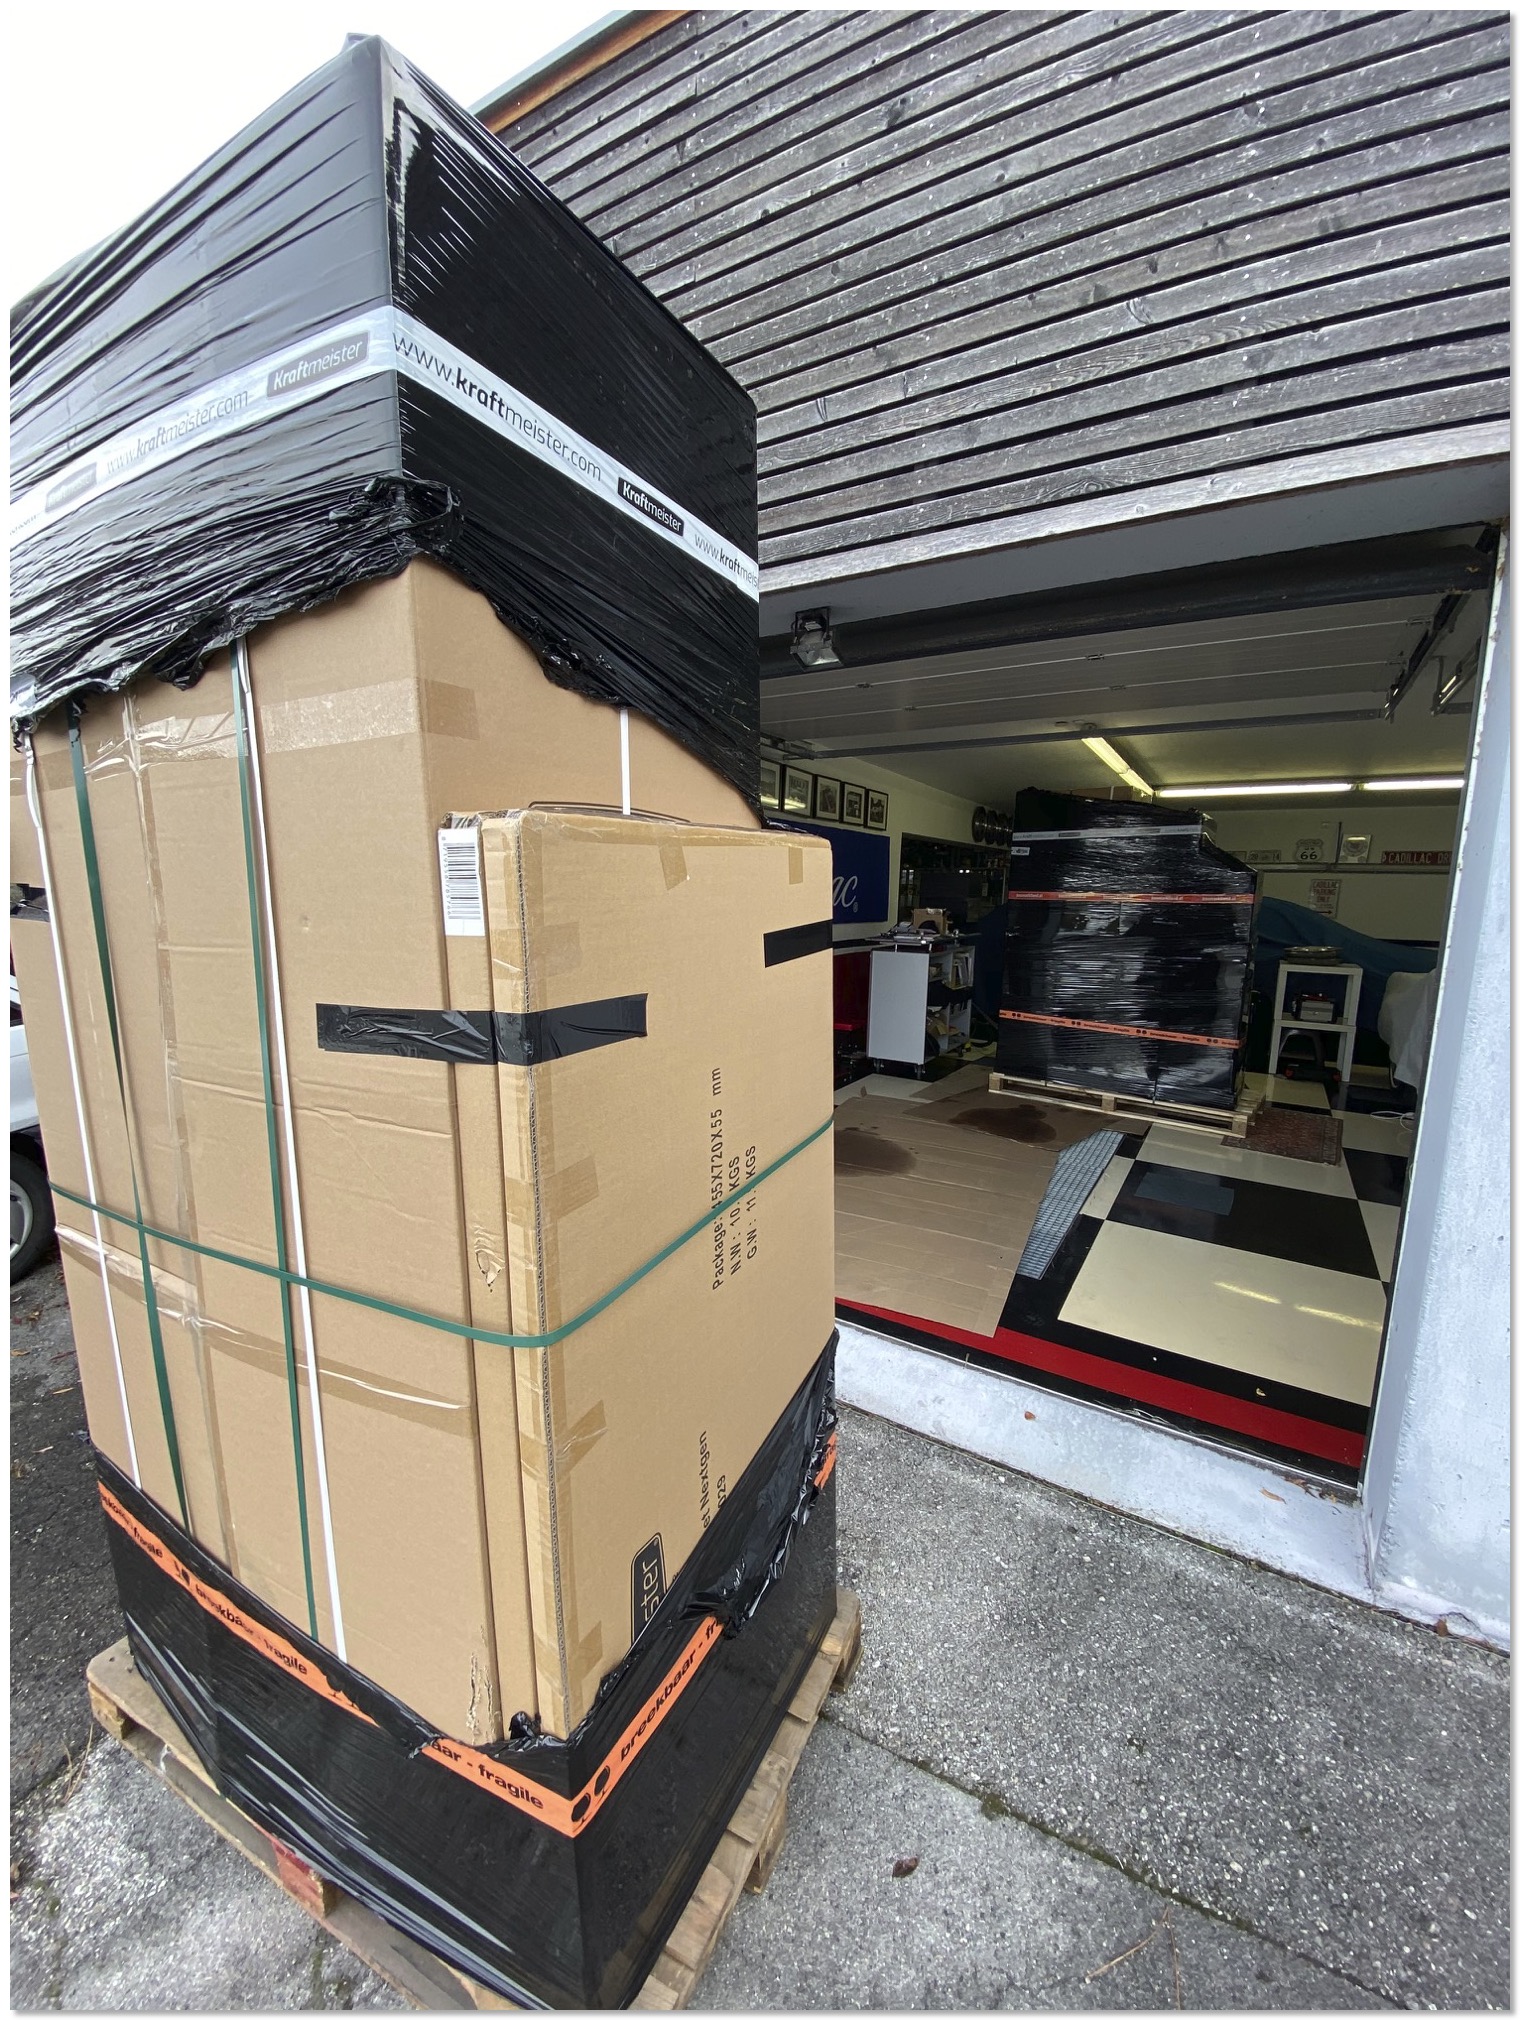
This is what the truck delivered . I first had to assemble everything. Click to see the assembled cabinetry!
READ MORE...GARAGE CLEANING AFTER A PROJECT
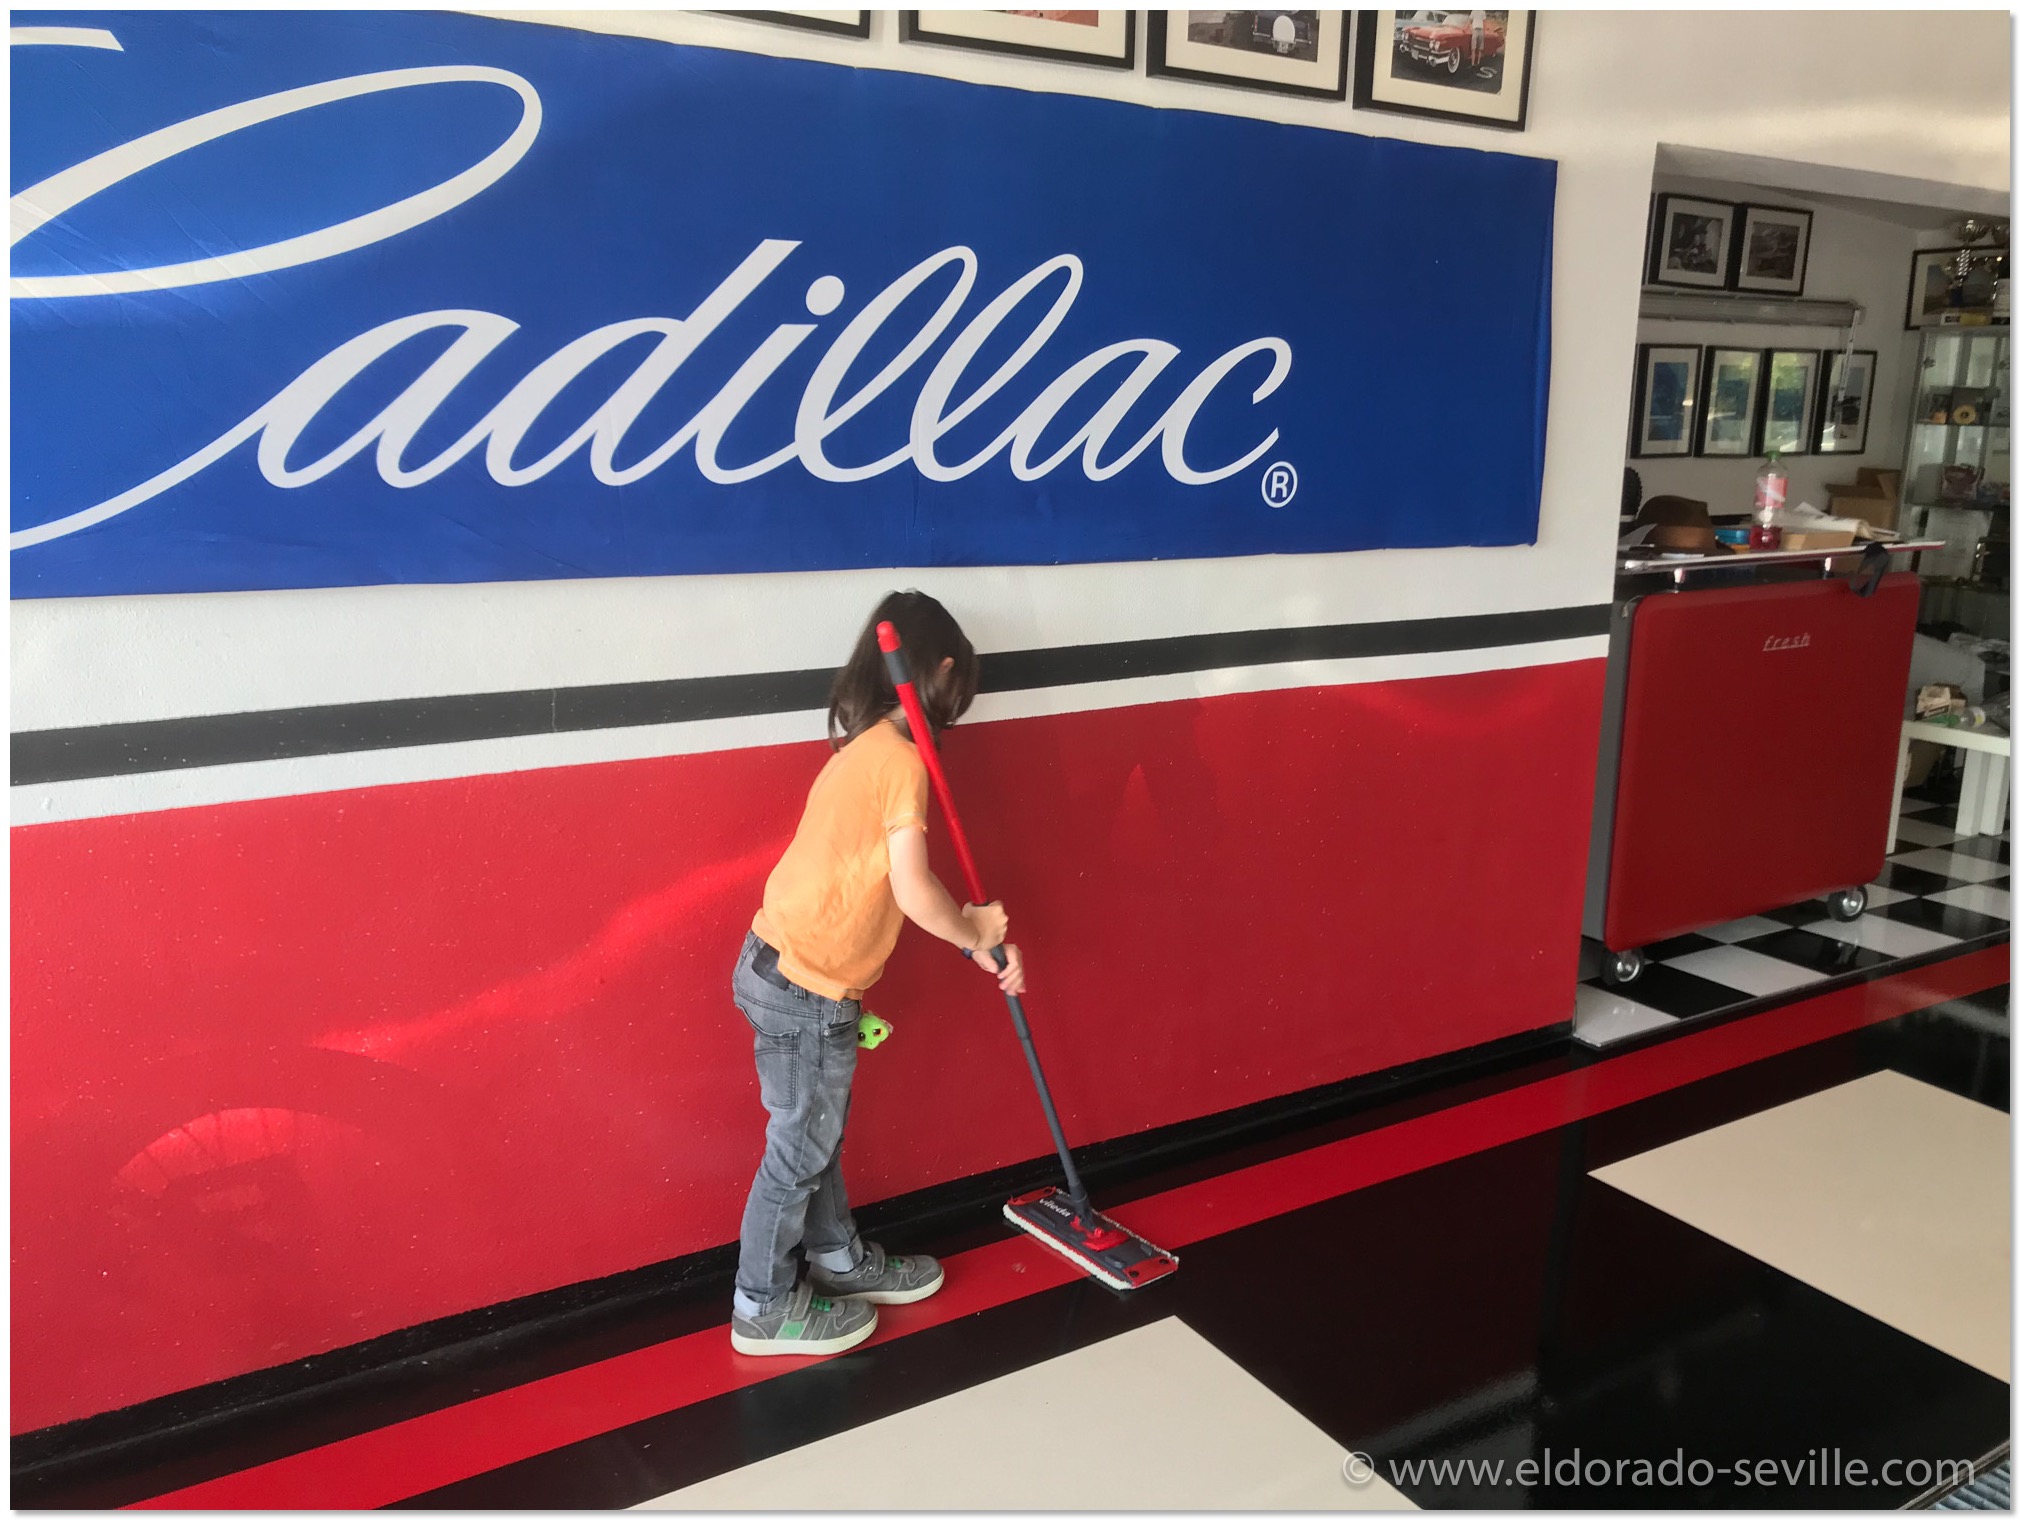
Especially after a project the garage is always a mess unfortunately . As the car …
 READ MORE...
MY 5 MINUTES OF FAME - I´M ON TV
One team even visited me and my friend Christian in our garages.
Thank you very much to all the teams who did a great job, broadcasting these great reports!
You can see the videos of the reports below!
Servus-TV
BTV - Mehr Region für Mich
Info-TV
ORF-OÖ
Enjoy watching them!
Below are two making off pictures I took while the Servus-TV team did its work.
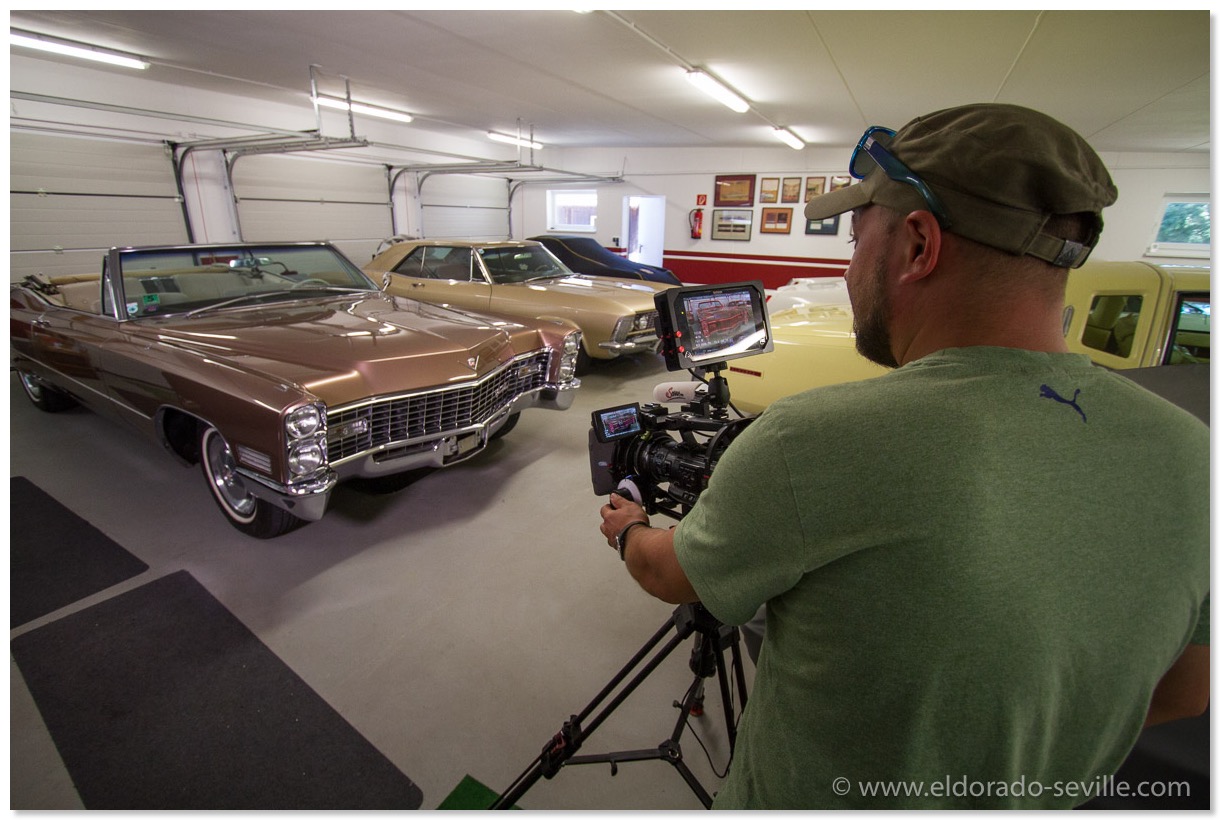
The Servus-TV cameraman at work in my garage.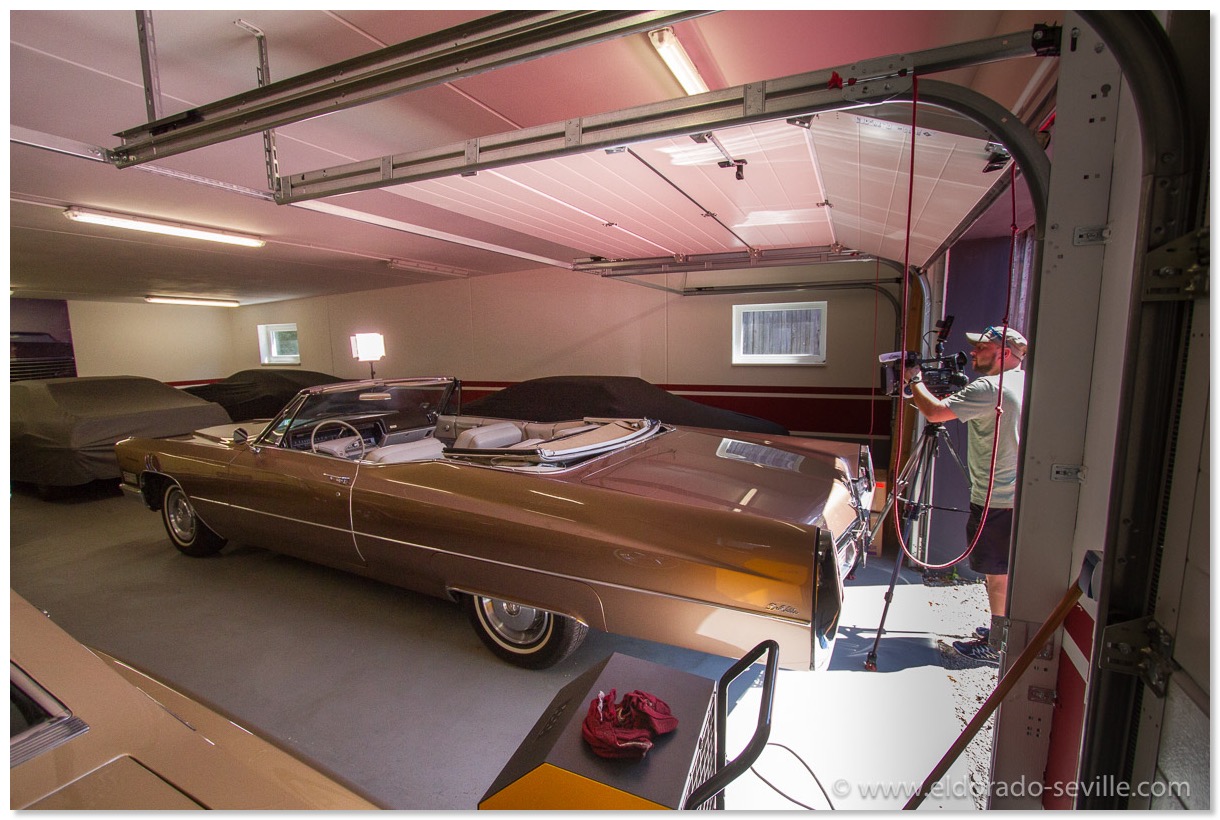
The Servus-TV cameraman at work in my garage.
DECORATING THE BIG GARAGE
I started painting my Garage.
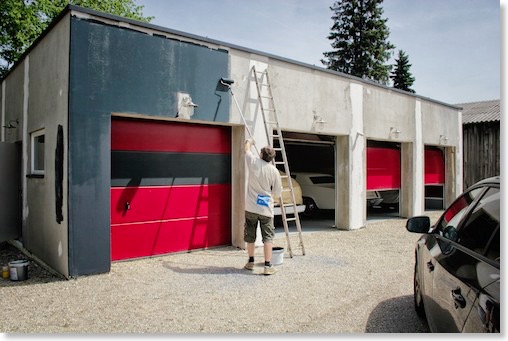
I started painting with the first coat of dark grey.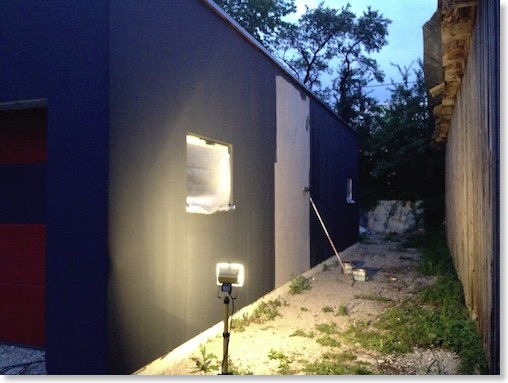
I even did some paint work during the night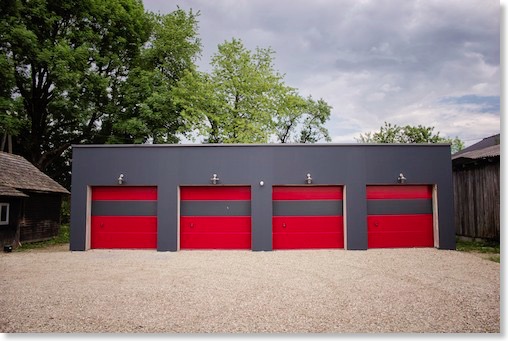
After the first coat of paint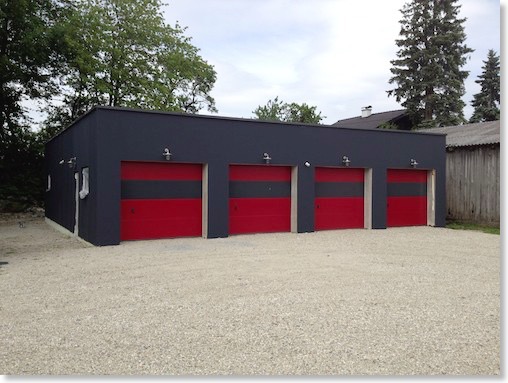
Still a lot to do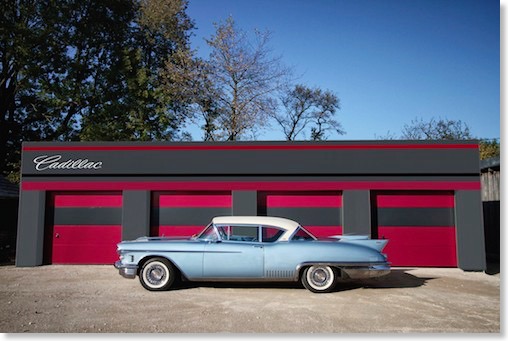
This is how the garage should look like once it is finished
Decorating the garage.
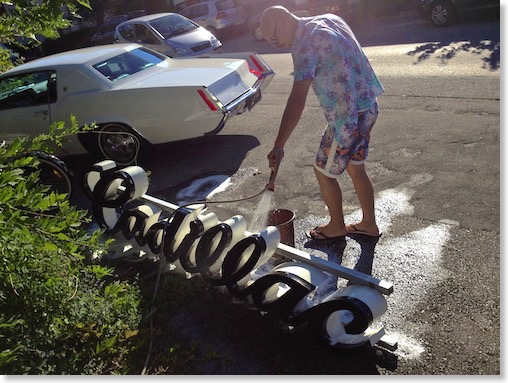
Cadillac Dealer Neon Sign is coming back to life in my garage.
As it turned out later some very important things were missing to get them back to life and to let them glow again...
Lots of wires were cut inside the sign and nobody had an idea how to fix them. After a long search I found a company in Vienna which had the know how and the parts to fix them.
First and most importantly I needed the right two transformers. I had to measure the length of the neon tubes for them to calculate the voltage needed. (11.920 Volts btw...)
My electrician now helped me to bring the neon back to life. We are still waiting for some cables to arrive, but at least the sign is glowing now. With the right cables it will hopefully light up fully.
I have a second sign which I will mount in my other Cadillac garage.
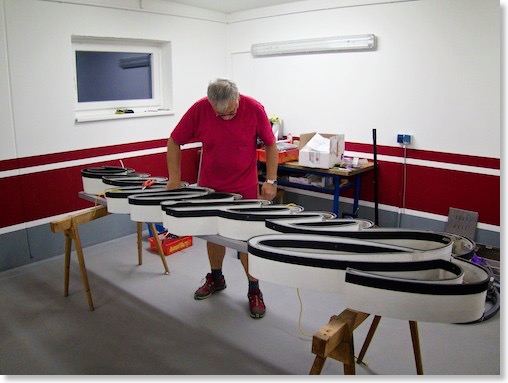
The electrician at work - trying to figure out where the cables should go...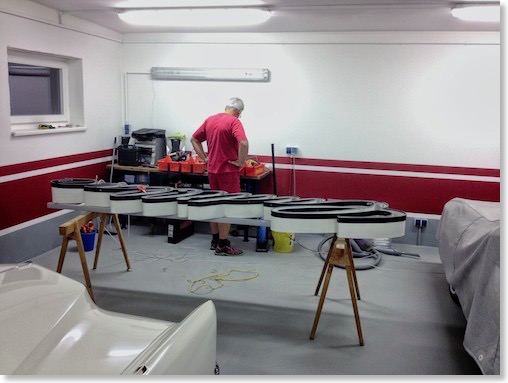
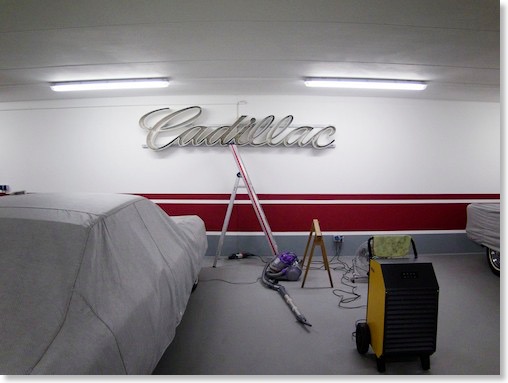
Its mounted on the wall in the center of the garage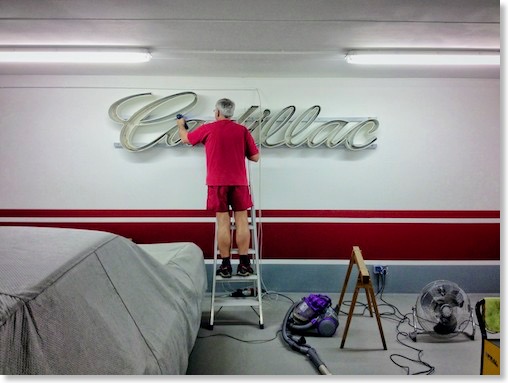
Fixing it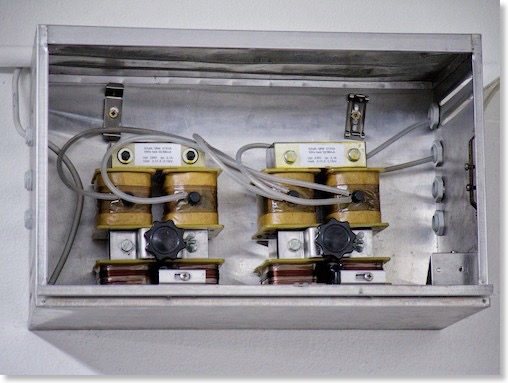
The new transformers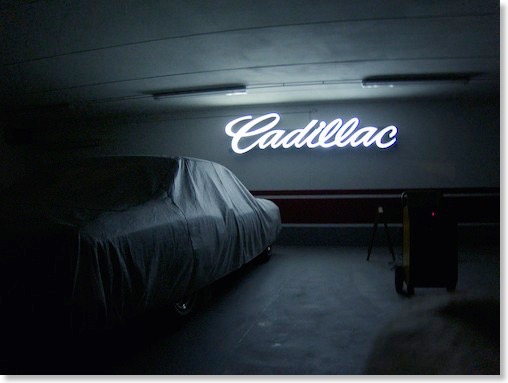
It's glowing
New garage dehumidifier for the BIG garage.
Of course the humid outside air will enter the garages eventually as well .
Rust can start at a relative humidity level of 50% - mold and mildew can start growing on the interior at about 60% humidity. Humidity under 50% will dry out plastic, leather and rubber...
Corrosion is not good for a car - it will also attack electric connectors and switches and eat your sheet metal from the inside where it is not protected...
To protect my cars and those who have rented space in my garage, I decided to use dehumidifiers to keep humidity low inside the garages.
Without using them I would have about 75 - 80% humidity during winter storage. As our winters are very long the cars would have to suffer for about 7 months a year.
For the new garage I now got a new dehumidifier.
I invested in a really big and powerful one which even works at very low temperatures. It drains the condensation into a built in tank and I collect this pure water in a bigger container. This pure water is excellent for washing cars, as there are no minerals inside which could leave stains on the paint.
It automatically controls relative humidity and keeps it around 50% all year round. At very humid days the dehumidifier comes on for about 4-5 hours during a day - keeping energy costs at a reasonable level...
So I know that all cars inside the garage are safe and will stay "fresh" during hibernation.
I can really recommend these dehumidifiers for your garage as well - grab a hygrometer and check whats going on in your garage!
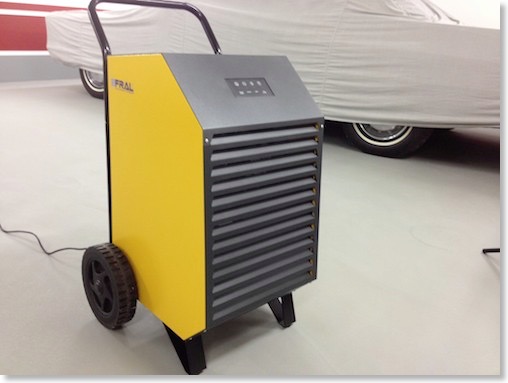
The new dehumidifier in the garage. I´m using the FRAL Superdryer 62 - which is a heavy duty professional unit with the right power for the size of my garage.
Painting the interior of the new garage and moving in.
It was a lot of work to make it look like it does now.
My wife helped me masking everything for spray painting and my friend Richard helped me making the markings for the painted stripes.
Everything else I did on my own.
I needed 150 kg of white paint, 10 kg of red paint and 7 kg of grey paint and about 350 meters of masking tape.
It came out very nice and I finally could move the first cars into the new garage. Some minor things will still have to be done on the interior and I can also start decorating it now.
I hope to be able to also paint the exterior of the garage soon, before the long winter starts.
The pictures of the paint process and the finished interior can be found here.
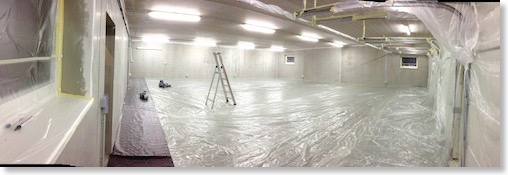
This is how it looked like with everything masked off.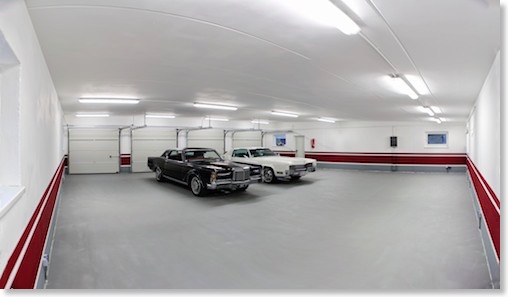
The (almost) final result - the first cars just moved in :-)
New garage floor
You can find all the pictures of the building process in this gallery.
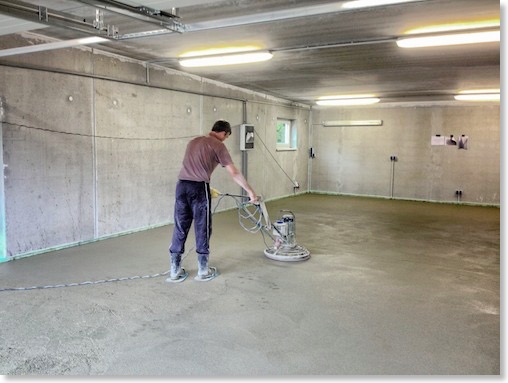
The guys from the floor company at work.
So far the new floor looks great! It will now take 6-8 weeks before it is dry enough for epoxy coating…
Bleeding brakes and spring cleaning
First up was the 1958 Cadillac Eldorado Seville which needed new brake fluid.
So I sucked out the old fluid from the reservoir and flushed all the lines with fresh DOT 3 brake fluid.
I started at the right rear line, the left rear, the right front and left front brake cylinder.
Although I have a pit its still a pain to reach all the bleeding screws. The power brake cylinder itself also needs some good bleeding.
Thanks to my dear wife Afra for gently pumping the brake pedal and helping me out.
When you bleed brakes make sure your assistant does not push the brake pedal all the way through as this could damage your master cylinders membrane.
Next up was a thorough cleaning of the garage floor.
My 3 year old son Elliot also wanted to help his daddy and helped me swiping the floor ;-)
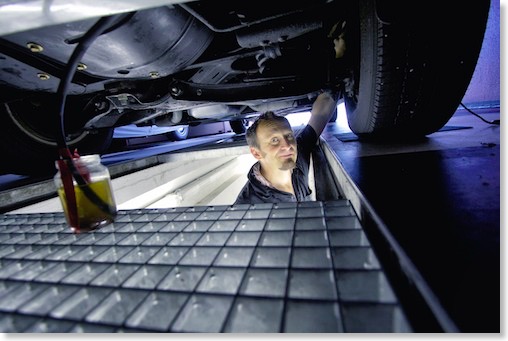
Bleeding and flushing the 58s brake lines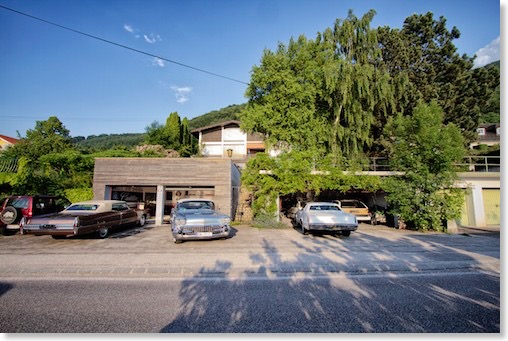
The cars are out for cleaning the garage floor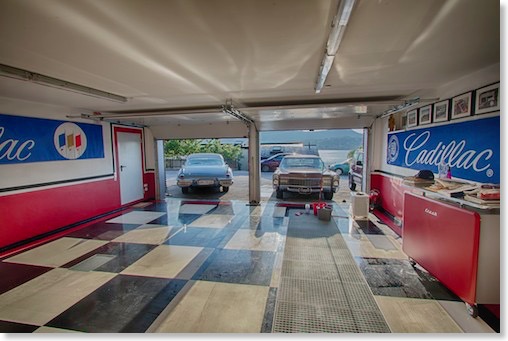
Floor cleaning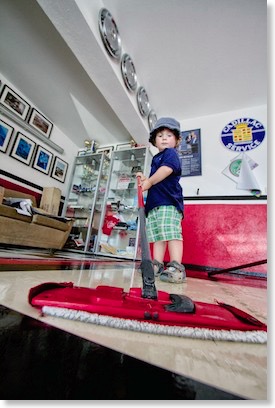
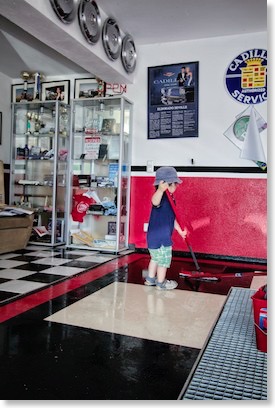
Little Elliot helping out - I´m glad he loves being in the garage.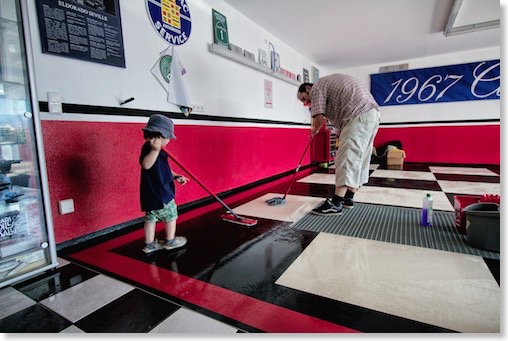
Men at work
The floor in the garage comes out again
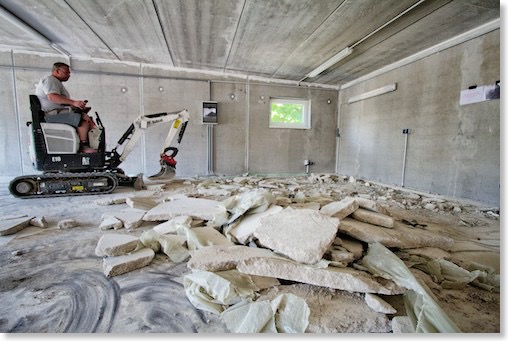
After I finally found an agreement with the construction company today the "old" screed started to come out again…
See more pictures in my garage gallery.
Work on my Cadillac garage project continues
3 weeks ago I was planning to have my floor epoxy coated, when I found out that something went terribly wrong with the screed. Its way too soft, so nothing can adhere to it!
The construction company responsible for it has to find a solution now - they will try to fix it with some chemicals, but I´m not very optimistic that it will work out.
I hope we can solve the issue without a legal battle and I will get a new floor soon.
My friend Richard once again helped me out with my garage work as well. He is an expert for plastering work and is helping me adding the last finishing touches to the exterior.
I will be able to do the paint work on the exterior hopefully soon.
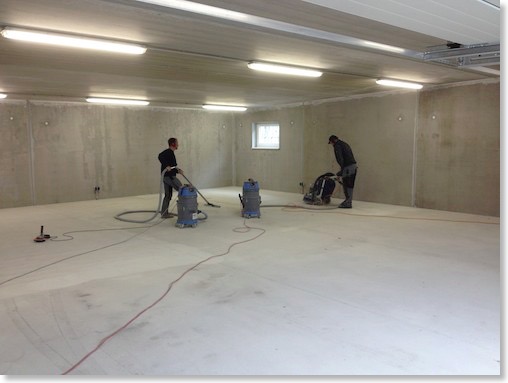
Preparing the floor for the planned epoxy coating - it soon turned out that the floor is way too soft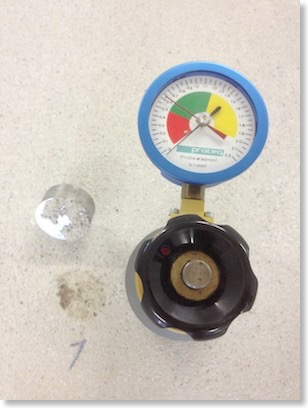
Measuring the hardness of the floor - way too soft! Should be at 1,6 nm/mm2 and not 0,6 -in some areas its only 0,29 nm/mm2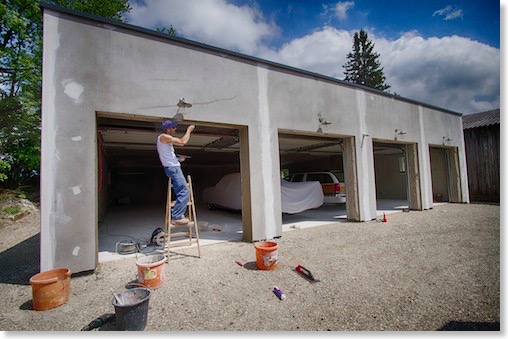
My friend Richard helped me plastering the last details around the doors. The exterior is almost ready for paint.
A Hotrod photo shooting in my new Cadillac garage
Here is a short making of video of the shooting. The pictures from the shooting can be found in this gallery.
Make sure to watch the video in HD!
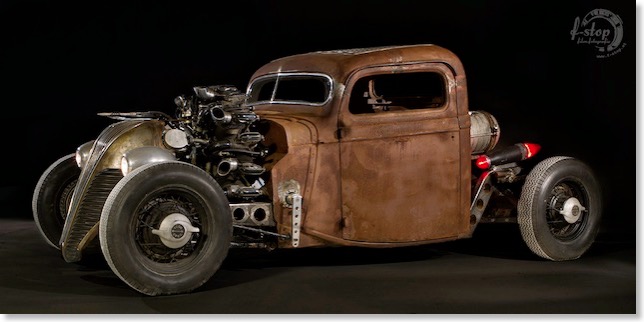
One of the pictures resulting from the shooting
Winter is here!
I really hope that my back will get better until next spring and that I can start working on my new garage and my cars once again.
In 2012 my car activities unfortunately were very limited as well:
I drove all my cars together for only around 400 miles, due to some very wet summer and lots of work. I really had no time to enjoy my cars as much as I would have wanted. Thats not good for the cars as well - they were built to get driven!
My personal Cadillac highlight 2012 once again was the Cadillac BIG Meet (Europes biggest and best Cadillac Meeting)with some awesome cars attending. I am already looking forward to the 2014 edition of this Cadillac Meeting.
Thanks to everybody for visiting my website and for all the nice comments I got and the people I “met“ through your comments and messages!
I´ll be back in spring 2013 with my first new updates for 2013 to my website. I have so many cool things planned and I hope that I can make all plans come true.
Keep on cruising!
The new garage is ready for paint
My friend Mike had the idea for one of the paint designs. Thanks Mike!
As it is too cold outside anyway and I unfortunately hurt my back quite badly I won’t be able to do the paint work or any other work in the garage before next spring. So there is still a lot of time to think about how it could look like and most importantly to get healthy again ;-)
You can see the status of the work in the garage in this gallery with hundreds of pictures of the build.
Here are the two design ideas I like the most. I´m also still looking for a good name - favorites so far are: „Land Yacht Club“ or „The BIG Block“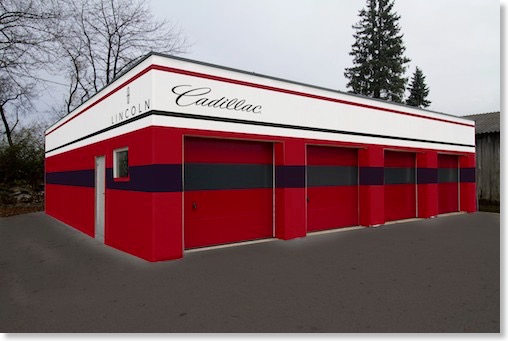
The more classic version or…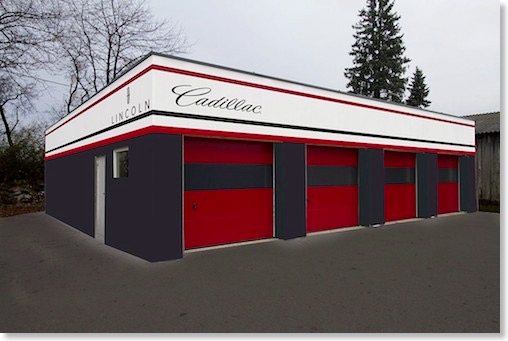
… the more elegant version?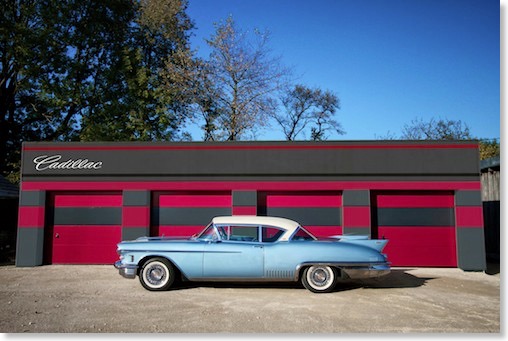
Some more color ideas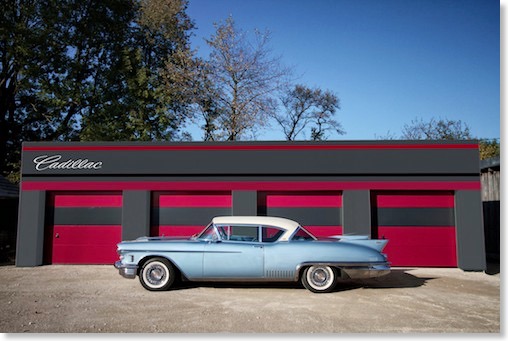
Some more color ideas - I will most probably go with this version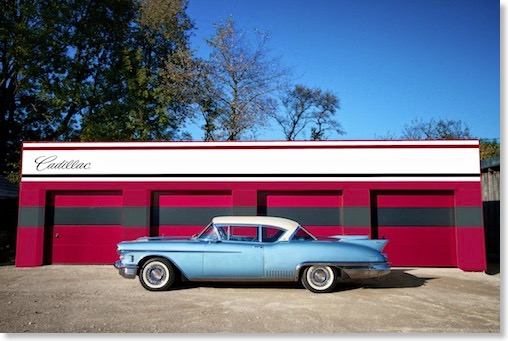
Building a new Cadillac garage!
At the moment I have to store at least two cars at friends garages. The 58 Seville spent a whole year in a friends garage an hour away from my house. After a lot of planning and waiting for building permissions, today finally work for my new garage project began. Once finished I will be able to store 8 full size cars in there :-)
The new garage is located only a few minutes away from my house in a good neighborhood, with friendly neighbors who will keep an eye on whats going on there.
Today we had to cut down some trees to make room for the building. During the next days the property will get cleared and grubbed before the foundation will be laid next week.
The plan is to have everything finished by mid October so that the cars will have a new home before next winter.
*UPDATE* October 5th
during the last few weeks we made really good progress on the building - check out the pictures to see the current status.
You can find an image gallery of the construction process here

Clearing the property began on Sept 13th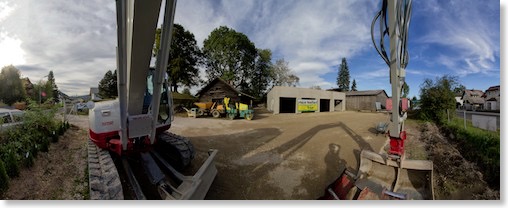
October 5th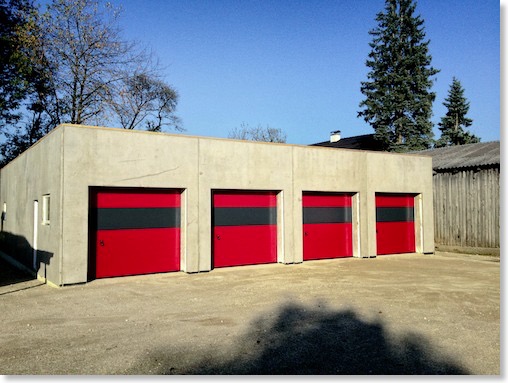
November 2012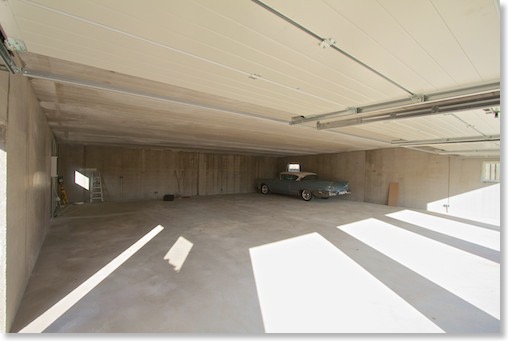
test fitting November 2012
New great Cadillac garage decoration.
He sold them pretty cheaply - so I thought it would be a great addition for my garage as decoration item. Shipping them was not so easy. Nevertheless they look great and will eventually be hung in my planned new Cadillac garage.
My friend Tayfun helped me clean the new decoration. After some work they looked like new!
Outlook to the 2012 season - doing the first repairs 2012
The following work is planed for the next few months before the cars will be put back on the road in May 2012.
1971 Mark III
- new vinyl roof (the original one was damaged during transport and the insurance will pay for a new one)
1967 DeVille
- needs new front wheel bearings (I already have the spare parts)
- will try to find a rebuilt OEM Bendix master cylinder and vacuum booster. These are very difficult to find. Everybody seems to offer Delco Moraine parts only. I have replaced my original booster and master cylinder 2 years ago and I´m not quite happy with the power assist of the new units. It seems that the after market master cylinders from Delco have a smaller bore diameter and therefore you will have to depress the pedal with more force. There is a discussion going on on the topic of finding the correct booster and master cylinder in the CLC forum - check it out for more detail! If you know where I could find a correct Bendix booster and master cylinder or where I could get my original core rebuilt, please let me know!! The parts number for the Bendix Master Cylinder is #1489981 and for the Bendix booster it is: #1489071
- re-adjust the gear indicator as it's slightly out of line.
1967 Eldorado
- I will remove the starter motor and have it rebuilt - it sometimes is acting up
1958 Eldorado
- It needs some new front wheel bearings as well. I already bought the parts.
I will of course post the repair progress here on my website
A new garage?
The biggest planned project for 2012 will be to find a solution for my storage problem. I hope to be able to build another garage or to rent one. I will have to find a solution until the spring of 2012. I´m dreaming of building a building which can hold 8 Cadillacs, but I do not know yet if I will be able to afford it...
Car Shows
I hope to attend and visit the „Klassikwelt Bodensee“ from May 17th to 20th and of course the best meeting in Europe - the Cadillac BIG Meet August 25th to 26th. I will also hopefully make it to some local shows here in Austria.
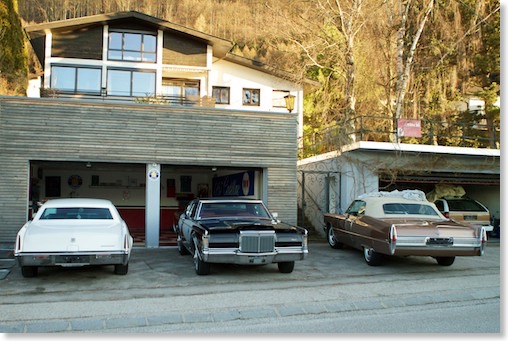
As we had a dry winter day I took the cars out of the garage - they fired right up after some months of sleeping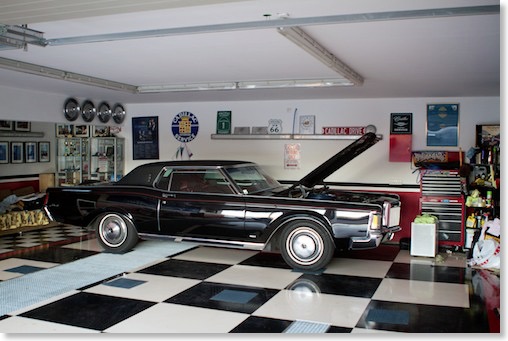
The Mark III was moved to the back of the garage, so that I can start working on the other cars first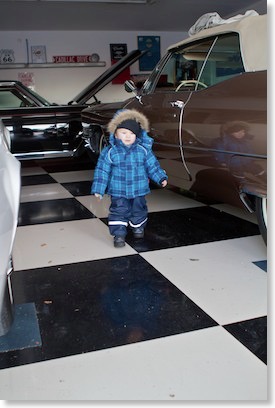
Little Elliot loves Daddy´s cars as well ;-)
The cars are in winter storage :-(
The cars are now in their cosy garages and will all get a new wax-, lubrication- and thorough cleaning job during the next few weeks. I usually also disconnect all the batteries, give the weatherstripping and rubber a good coat of silicone spray and treat all leather areas with leather conditioner. I also clean the interior carefully and over-inflate the tires to make sure that they do not get any flat spots. I will also park the tires on styrofoam. I really hate winter and snow and I am already looking forward to next spring... Over the winter I will rebuild the starter motor of my 1967 Eldorado and detail the undercarriage. The Lincolns undercarriage will get a very good cleaning as well. The 67 DeVille will get some new front wheel bearings and probably a new wheel cylinder and power booster. The 58 Eldorado will also need new front wheel bearings. So there will be a lot of minor things that will keep me busy over the winter...
Below are some pictures of our very last cruising tour this week with the Mark III
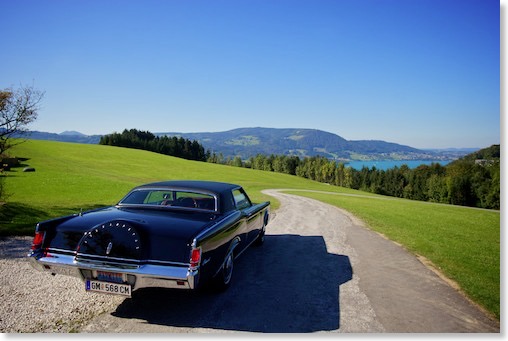
Cruising through the scenic landscape of Austria looking down at a lake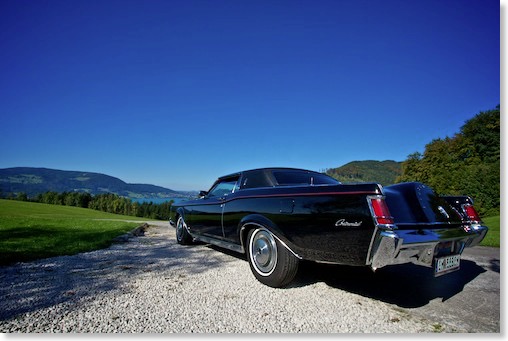
The Mark III enjoying the last sun rays...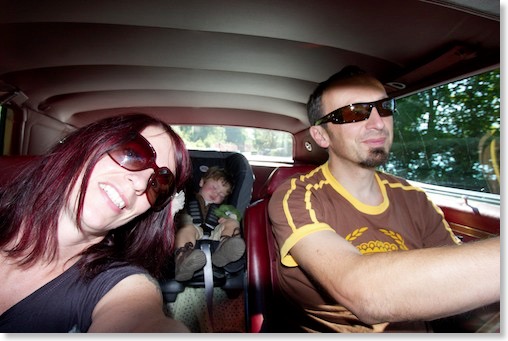
The whole family in the Lincoln - little Elliot is taking a nap as usual - nothing beats the soothing sound of the V8...
Spring cleaning the garage
I cleaned the entire epoxy floor - and now everything looks clean and tidy again. The Cadillacs like it clean... I will rent a floor polishing machine soon - for the extra shine ;-)
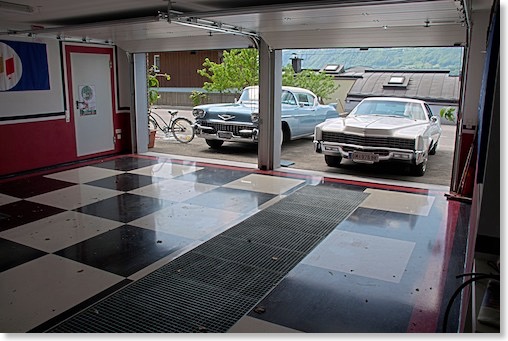
The garage floor before cleaning - the Eldorados had to wait outside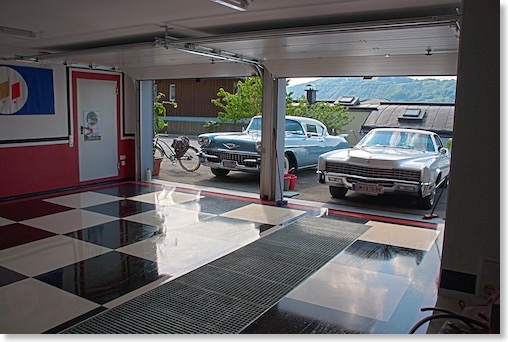
After cleaning-still wet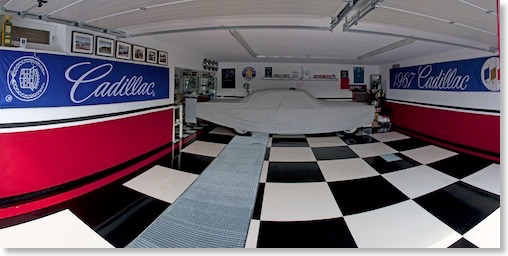
Clean and dry - the 67 Deville stayed in there...
1967 Cadillac banner installed
It looks great!
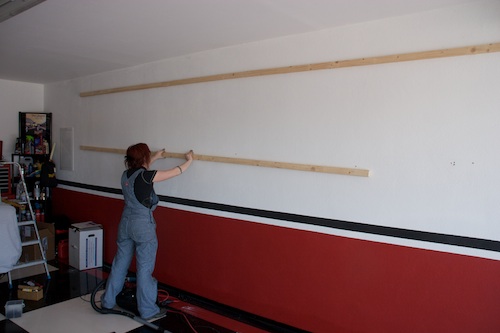
building the frame with my wife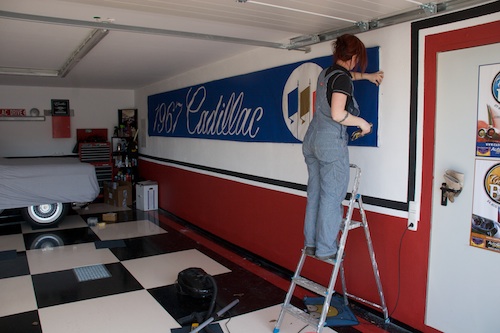
mounting the banner on the frame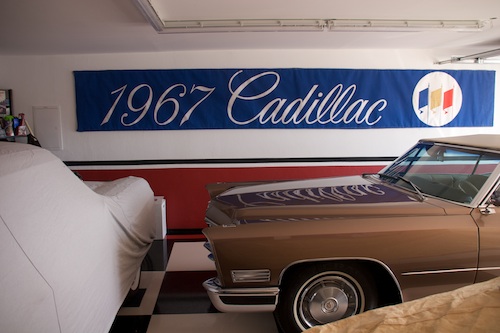
finished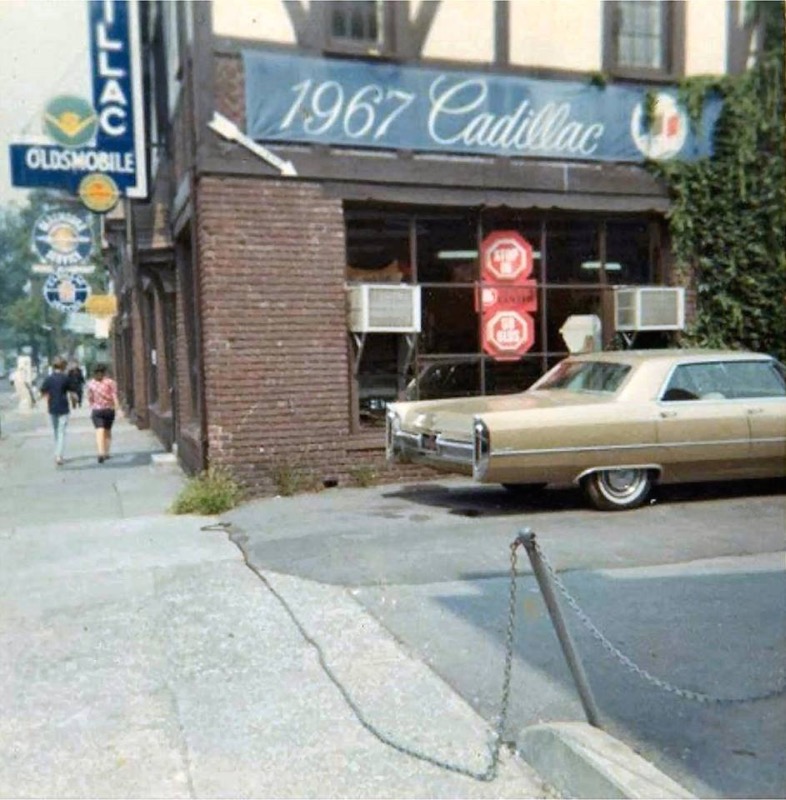
here is a picture of how these banners were used from 1966 to 1967. This pictures was taken sometimes in the fall of 1966 or in 1967.
Very cool new garage decoration arrived
Its unused and still in the original box. Its almost 7 meters long.
I do not yet know where in the garage I will hang it, but as soon as it is getting warmer I will take care of this cool new decoration item. The best thing is that I got it pretty cheap.
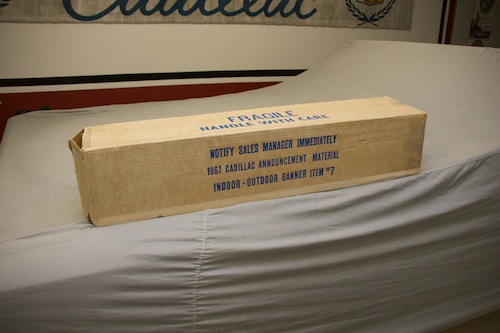
the original box from Cadillac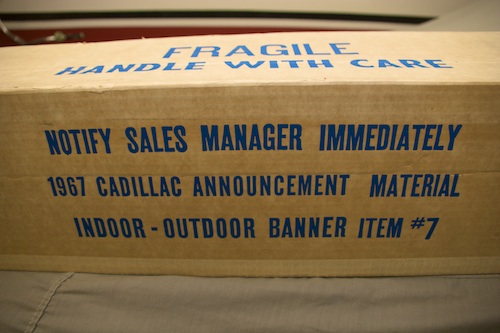
The original box coming from Cadillac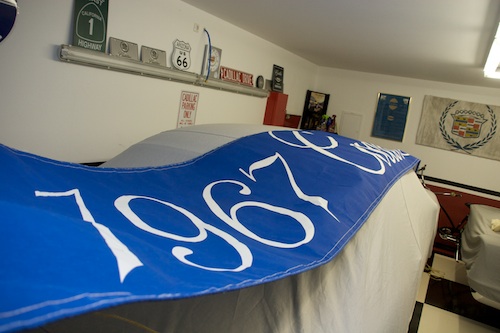
the banner is pretty long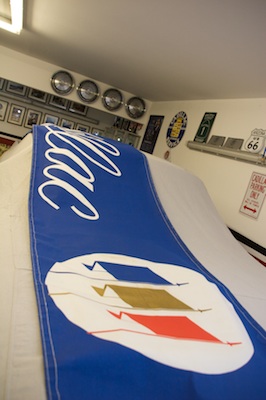
cool banner
The 81 Pimperado is in winter storage
It fits in pretty well into my new garage and now has a good and dry home over the winter months. The garage is dehumidified so I´m sure the Pimperado will like it ;-)
The cars put on their pajamas and are now waiting for spring to arrive.
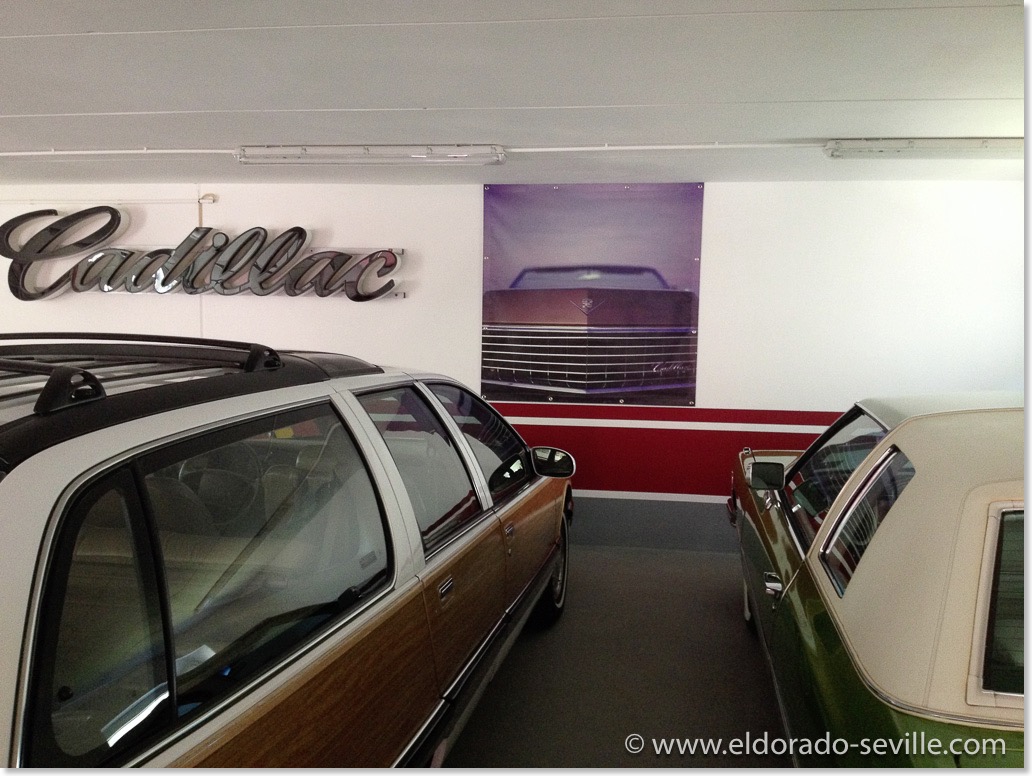
Below you can find some images of the now crowded garage. You can click on the image for a larger view.
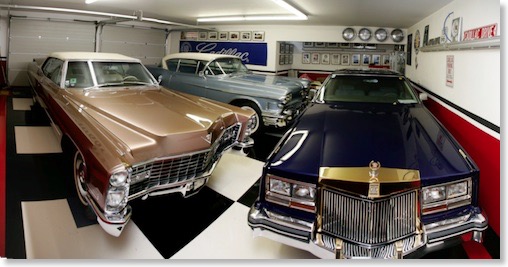
They fit in pretty well. The image is a little distorted because its made of 4 images stitched together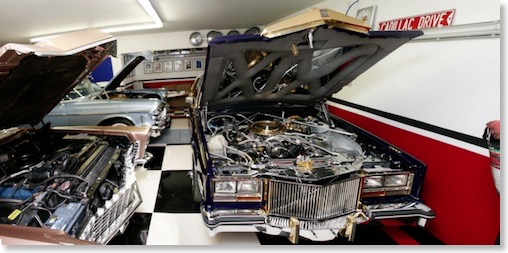
disconnecting the batteries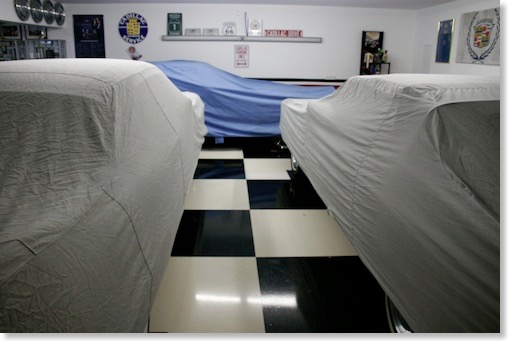
Covered - good night!
New tool storage cart
Now I need some more tools to completely fill it...
The new Garage Floor is finished!
Garage Floor Project Day 5
Next week they will give the floor a good polish and a sealing coat.
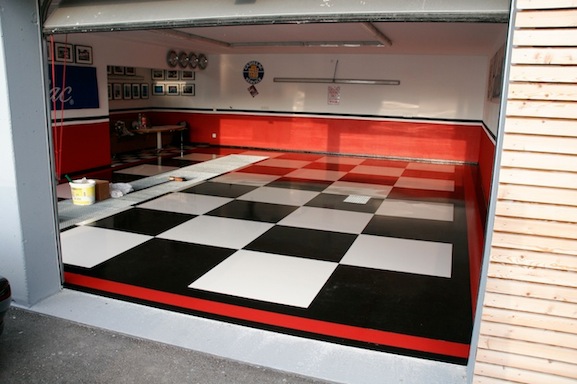
Garage Floor Project - Day 4
They will still have to paint the black areas a second time before they can take of the masking tape.
A red stripe which will surround the checker board area will also be added and the walls will be repainted in the same red as well.
Looking forward that it will be finished soon.
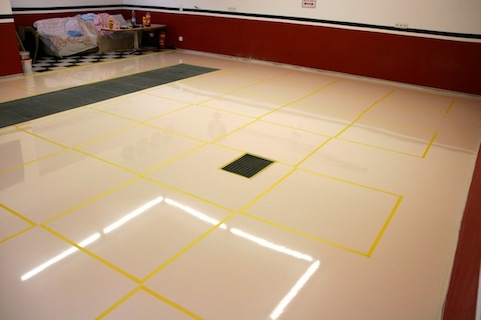
The floor with the masking tape in place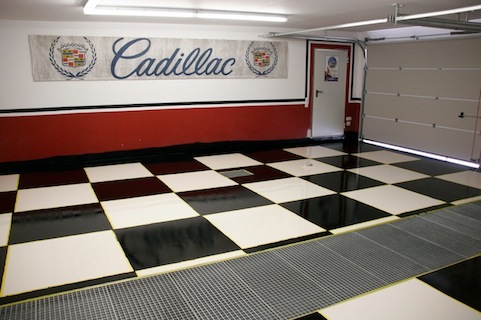
the first coat of black epoxy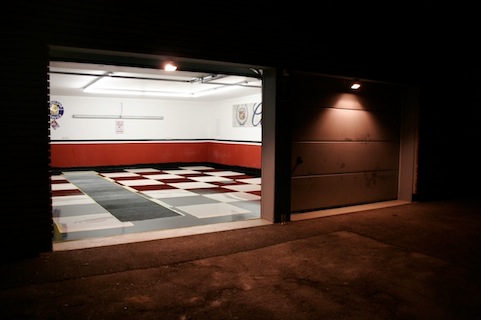
seen from the outside with the masking tape still in place
The new Garage floor - Day 3
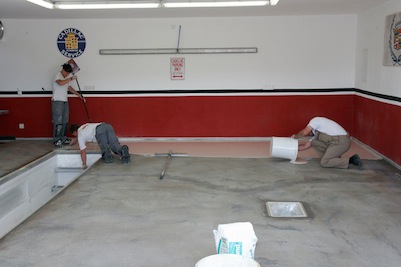
Yesterday the floor got a base coat - a kind of primer.
Today the layer of epoxy in cream white was poored. Looks fantastic!
You can see all the pictures in larger resolution in my garage gallery!
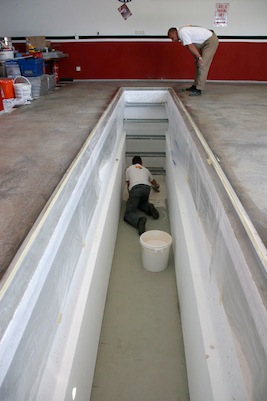
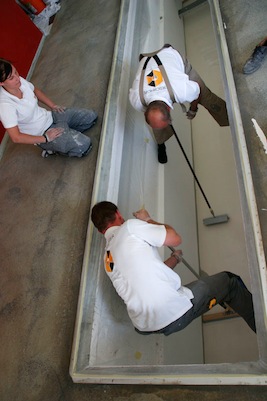
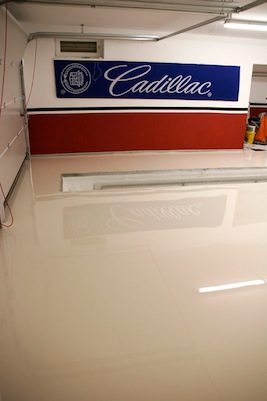
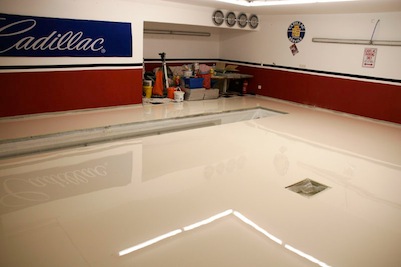
The new Garage floor is coming
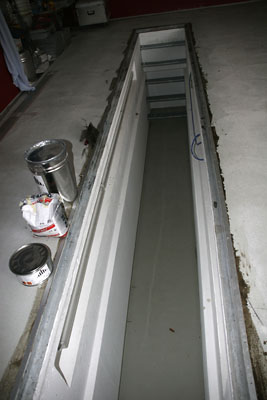
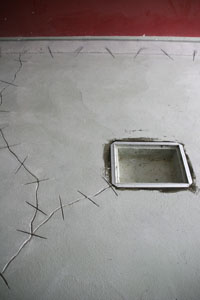
Then they started to repair all the creases in the floor by cutting them open - then they inserted some metal support - and then filled them out with a special epoxy raisin.
It will take them at least one week to finish everything, as they are doing a very thorough job.
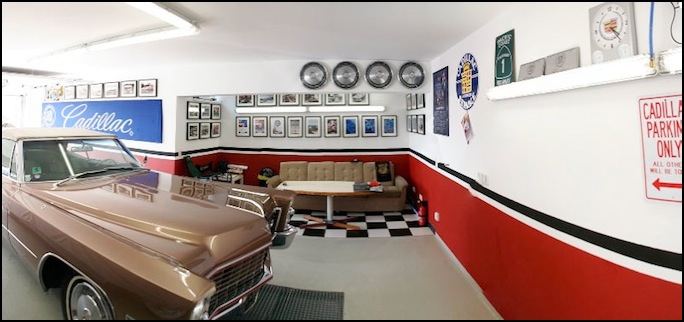
Pimp my Garage Pt.1
The garage floor will be done in 2 weeks.
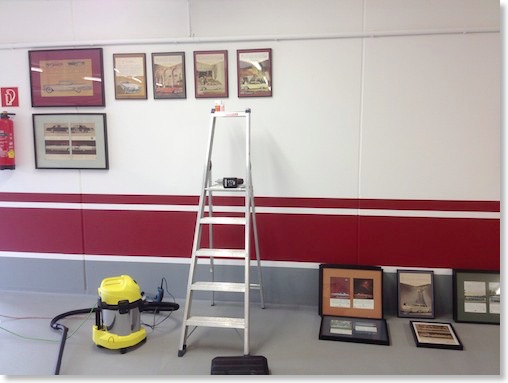
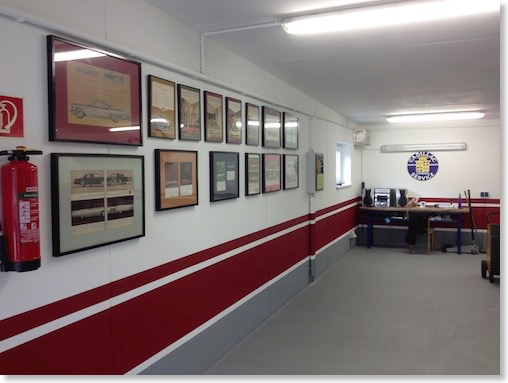
Here you can see the new framed pictures I hung on the walls along with the old hubcaps. The walls look a little distorted on this pictures as it was not stitched very well.
Garage floor almost finished
The final epoxy coating will be done starting on April 23rd after the concrete floor had 28 days of drying.
I`m really looking forward to it.
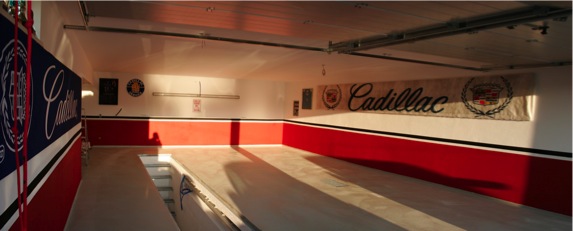
picture with the old epoxy coating - the new one will be a black and white checkered coating
1966 Cadillac Coupe deVille (16)
1967 Cadillac DeVille (54)
1967 Cadillac Eldorado (73)
1971 Lincoln Continental Mark III (24)
1974 Cadillac Coupe deVille (46)
1978 Cadillac Eldorado Biarritz (25)
1996 Buick Roadmaster (20)
Cadillac BIG Meet (2)
Car Shows (55)
Cruising (4)
CT6 (1)
For Sale (3)
Garage Stuff (32)
Pacer (1)
Restoration (140)
Various (55)
Video (20)
Website News (31)
- 6 way power seat
- 8-track
- 10 Ohm
- 429
- 1932
- 1957
- 1958
- 1958 Cadillac Eldorado Seville
- 1958 Cadillac Repair Tip
- 1959 Cadillac Eldorado Seville
- 1964
- 1965
- 1966
- 1966 Cadillac Coupe deVille
- 1966 Cadillac Repair Tips
- 1967
- 1967 Cadillac DeVille
- 1967 Cadillac Eldorado Repair Tip
- 1967 Cadillac Repair Tip
- 1967 Eldorado
- 1968
- 1970 Cadillac Eldorado
- 1971
- 1971 Lincoln Continental Mark III
- 1974
- 1974 Cadillac Coupe DeVille
- 1974 Cadillac Repair Tip
- 1976
- 1977
- 1978
- 1978 Cadillac Eldorado Biarritz
- 1978 Cadillac Repair Tip
- 1980 Cadillac Eldorado Biarritz
- 1996
- 2012
- 2014
- 2017
- 2018
- 2019
- 2022
- 2023
- 2025
- 3063206
- 7027235
- 7800483
- 7805675
- 7805676
- 12355706
- 17058531
- 17059968
- 17059969
- 22010515
- 22010661
- A.I.R
- A6
- AC
- AC Compressor
- AC Electrical Diagram
- ACC
- Accelerator Pump
- Accelorator pump
- Accident
- Actuators
- Adriatic Blue Metallic
- Ads
- Aftermovie
- Air Pump
- Aircondition
- AIRPUMP
- ALC
- Alternator
- AM
- AM-Transmitter
- Antenna
- Anti Rattle Clips
- Antique Gold
- Arizona Vintage Parts
- Arrival
- Article
- ASC
- Ash Tray removal
- ATC
- Atlantis Blue Firemist
- Austria
- Austro Classic
- Autolite SP-459
- Automatic Seat Back Release
- Award
- Banner
- Barn Find
- Battery
- Battery Tray
- Beach Race
- Bearing
- Bendix
- Biarritz
- Bigfoot
- Bill Hirsch Engine Enamel
- Bleeder Screws
- Bleeding
- Blower
- Bodywork
- Bolts
- Book
- Borg
- Brake Booster
- Brake Fluid
- Brake Gray
- Brakes
- Broken Bolt
- Brougham
- Bucket seats
- Buick
- Bumper End
- Bushings
- Cadillac
- Cadillac BIG Meet
- Cadillac BIG Meet
- Cadillac birthday cake
- Cadillac Blue
- Cadillac Color Selections Dealer Book
- Cadillac Coupe deVille
- Cadillac Dealer
- CADILLAC GRAND EUROPEAN
- Cadillac Meeting
- Cadillac Mini Meeting
- Camaro RS
- Caorle
- Car Show
- Carburetor
- Card
- Carpet
- Carter AFB
- Cavalry Twill Vinyl
- CB
- CBM
- CCCD
- Choke
- Christmas
- Citizens Band
- Classic Cadillac Club Deutschland
- Clay Towel
- Cleaning
- Clock
- Clockwork
- Clutch
- Clutch Coil
- Collector
- Colonial Yellow
- Color Coded Springs
- Commercial
- Compound
- Compressor
- Condenser
- Continental Mark III
- Control Head
- Conversion
- Convertible top
- Coolant
- Corona
- Cowl
- Cruise Control
- Cruising
- CT6
- CV Boots
- CV JOINTS
- D6230
- Dash Trim
- Decal Removal
- Decals
- Decoration
- Dehumidifier
- Delco Moraine
- Der Standard
- detailing
- Deville
- Diagnosis Chart
- Diagram
- Dial
- Digital Rotary Drum Clock
- Diner
- Disc Brakes
- Distributor
- Diverter Valve
- Door Jamb Switch
- Door Rubber Conduit
- Dornbirn
- Dot3
- Drive Shaft
- Driving tour
- Drum brakes
- Dry Ice Blasting
- Dry Ice Cleaning
- DVD
- Eastwood
- Eldorado
- Electric Choke Thermostat
- Electrical schematic
- Elvis
- Engine Bay
- Ep
- Epoxy floor
- Europe
- Evaporator
- Exide
- Factory Markings
- Fender Skirt
- Floor
- Flushing
- Flyer
- Foam
- For Sale
- Front AXLE
- Front brakes
- Front bumper filler
- Front Floor
- Front wheel bearing
- Fuel Filter
- Fuel Pump
- Fuel Sending Unit
- Fusible Link
- Garage
- Garage Cabinets
- Gasket
- GE
- Gear indicator
- General Time
- Glove box light
- Grand European
- H4
- Haus of Hot Rod
- Headlight Actuator
- Headlight doors
- Headlights
- Heater Core
- Heater Hose
- Heater Valve
- High Idle
- History
- Holley
- Honest John
- Hood
- Hood Emblem
- Hood Ornament
- Hose Clamp
- Hot Choke
- Hot Water Valve
- HotRod
- How to
- Hödlmayr
- Ignition Diagram
- Illuminated Entry
- John D‘Agostino
- John Foust
- Klassikwelt Bodensee
- Kremsmünster
- LaSalle
- Leather seats
- Light Switch
- Limited
- Lincoln
- Lincoln Mark III Repair Tip
- Low Mileage
- Magazine
- Marilyn Monroe
- Mark III
- Master Cylinder
- Master Switch
- Master Vacuum Switch
- Media Blasting
- Meeting
- Meguiras
- MK II
- Mobile
- Model
- Moldings
- Mom
- Mopar Nationals
- Mostkost Kustom
- Movie
- Munich
- Neon
- NOS
- Oberösterreicher des Tages
- oilchange
- ORF
- Overspray
- Pacer
- Paint
- Paint correction
- Paintjob
- Part Number
- Parts
- Patch Panel
- Perfect Circle
- Permabag
- Persian Lime
- Photo shooting
- Photoshooting
- Pictures
- PinUp
- POA Valve
- Power Antenna
- Power Servo
- Power Vent Windows
- Power Window
- Printed Circuit Board
- Programmer
- Pulley
- Quadrajet
- Quarter Panel
- Quartz Conversion
- R134
- Radiator
- Radio
- Rattle
- Rear brakes
- Rebuild
- Recalibrate
- RediRad
- Reed Switch
- Relais
- Relaunch
- Removing Overspray
- Repaint
- Repair
- Restoration
- RIP
- Roadhouse
- Roadmaster
- Rochester
- Rocker Arm Cover
- Rocker Panel Extension Clips
- Rostio
- Rotary Valve
- Rotterdam
- Rupes
- Rust removal
- Rust removal gel
- Sabre Wheels
- Sand Blasting
- Sandblasting
- Screed
- Season Greetings
- Seasons Greetings
- Seat Back Locks
- Seat Padding
- Seat Transmission
- See through ornament
- Self adjusters
- Self Starter
- Sepp's Garage
- Seville
- Sheetmetal
- Shocks
- shop manual
- short
- Sign
- Solenoid
- Spark Plug Wire Routing
- Speakers
- Special Award
- Speed Bleeder Screws
- Splash Guard
- Starter Diagram
- Starter Motor
- Steering Column
- Storage
- suction throttling valve
- sunroof
- suspension
- Swirl Mark removal
- Switzerland
- T3
- Taillight Cover
- Texan´s Choice Award
- Thermostat
- Tilt and Telescope
- Time capsule
- Tomsclub
- Torque Specifications
- Tower Hose Clamp
- Towtruck
- Trailer
- Transducer
- Transmission
- transmission control selector
- transmission control selector indicator light
- transmission shift indicator
- Treadle Vac
- Treffen
- Tri-Band
- Troubleshooting
- Trunk Cardboard Kit
- Trunk lid
- Trunk lining
- Trunk to bumper cover
- Turn Signal Switch
- TV
- Typisierung
- Ultimate Garage
- Underbody
- Undercarriage
- Undercoating
- Undercoating Removal
- Vacuum Booster
- Vacuum diagram
- Vacuum hoses
- Vacuum Master Switch
- Vacuum Schematic
- Vacuum Valve
- Valve Cover
- Various
- Vent Window Switch
- Vibration
- Vibrator
- Vicodec roof
- Video
- Vinegar
- Vinyl Roof
- Visitor
- Washer Fluid Float
- Washer Fluid Low Level Indicator
- Water Pump
- Wax
- Weatherstripping
- Website News
- Westclox
- Wheel Bearings
- Wheel Housing
- Wiesbaden
- Windlace
- Winter
- Wiring
- Wiring Diagram
- Wonderbar
- Workbench
- Zurzach
 GERALD´S CADILLACS - NEWS