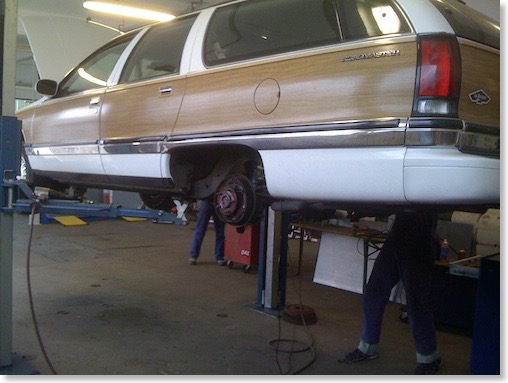
ROADMASTER BRAKE FLUSH
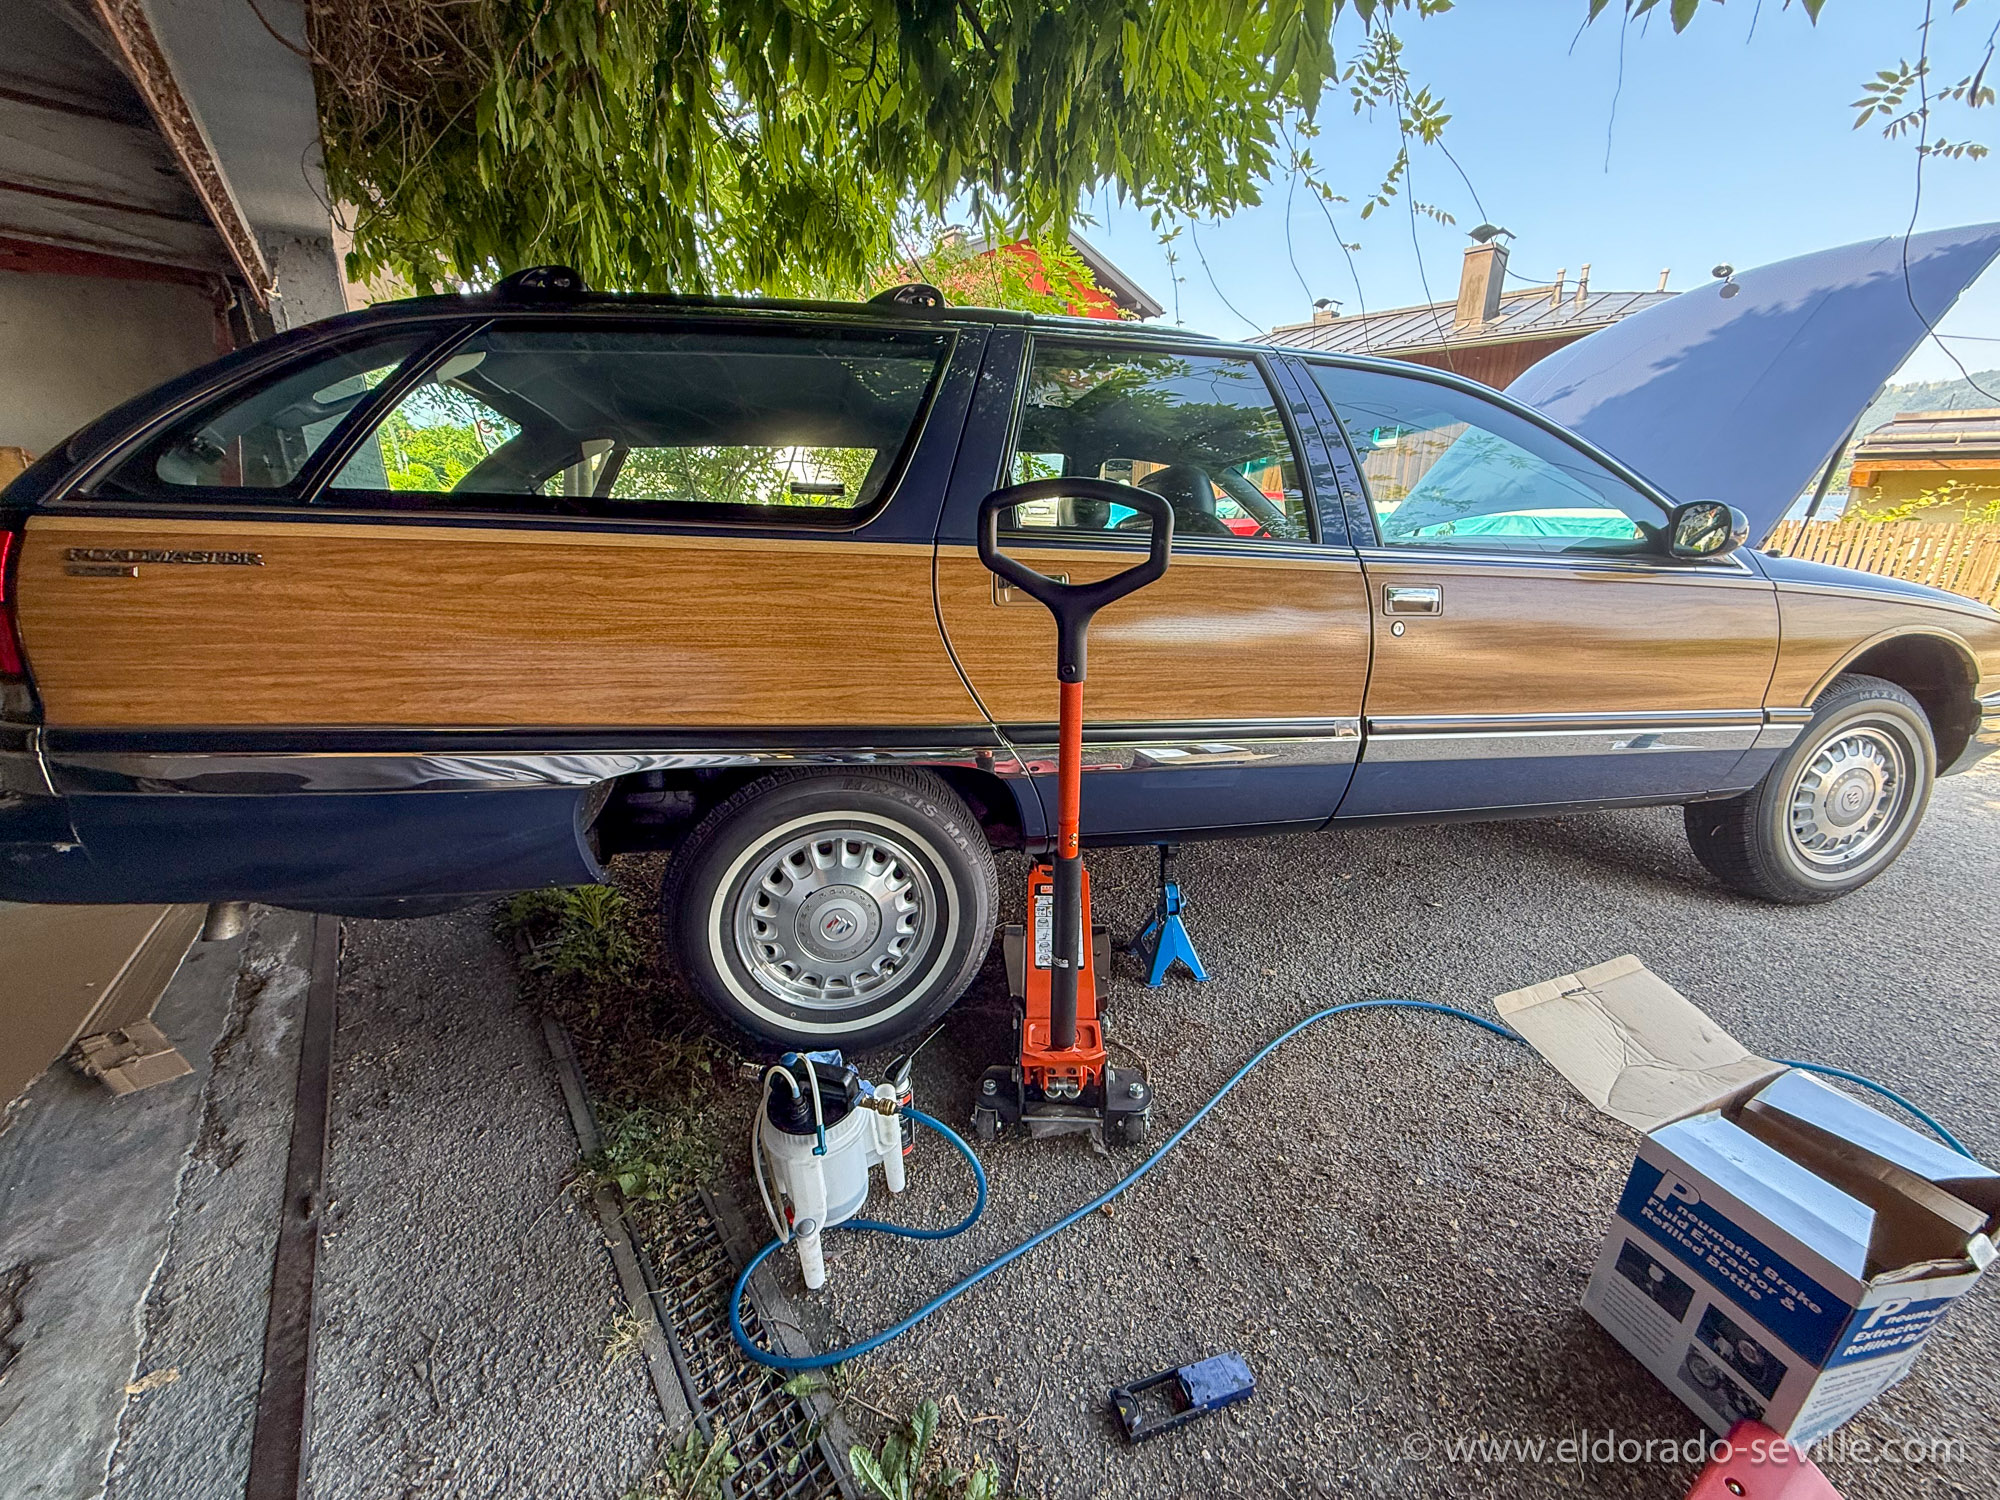
The Roadmaster got some fresh brake fluid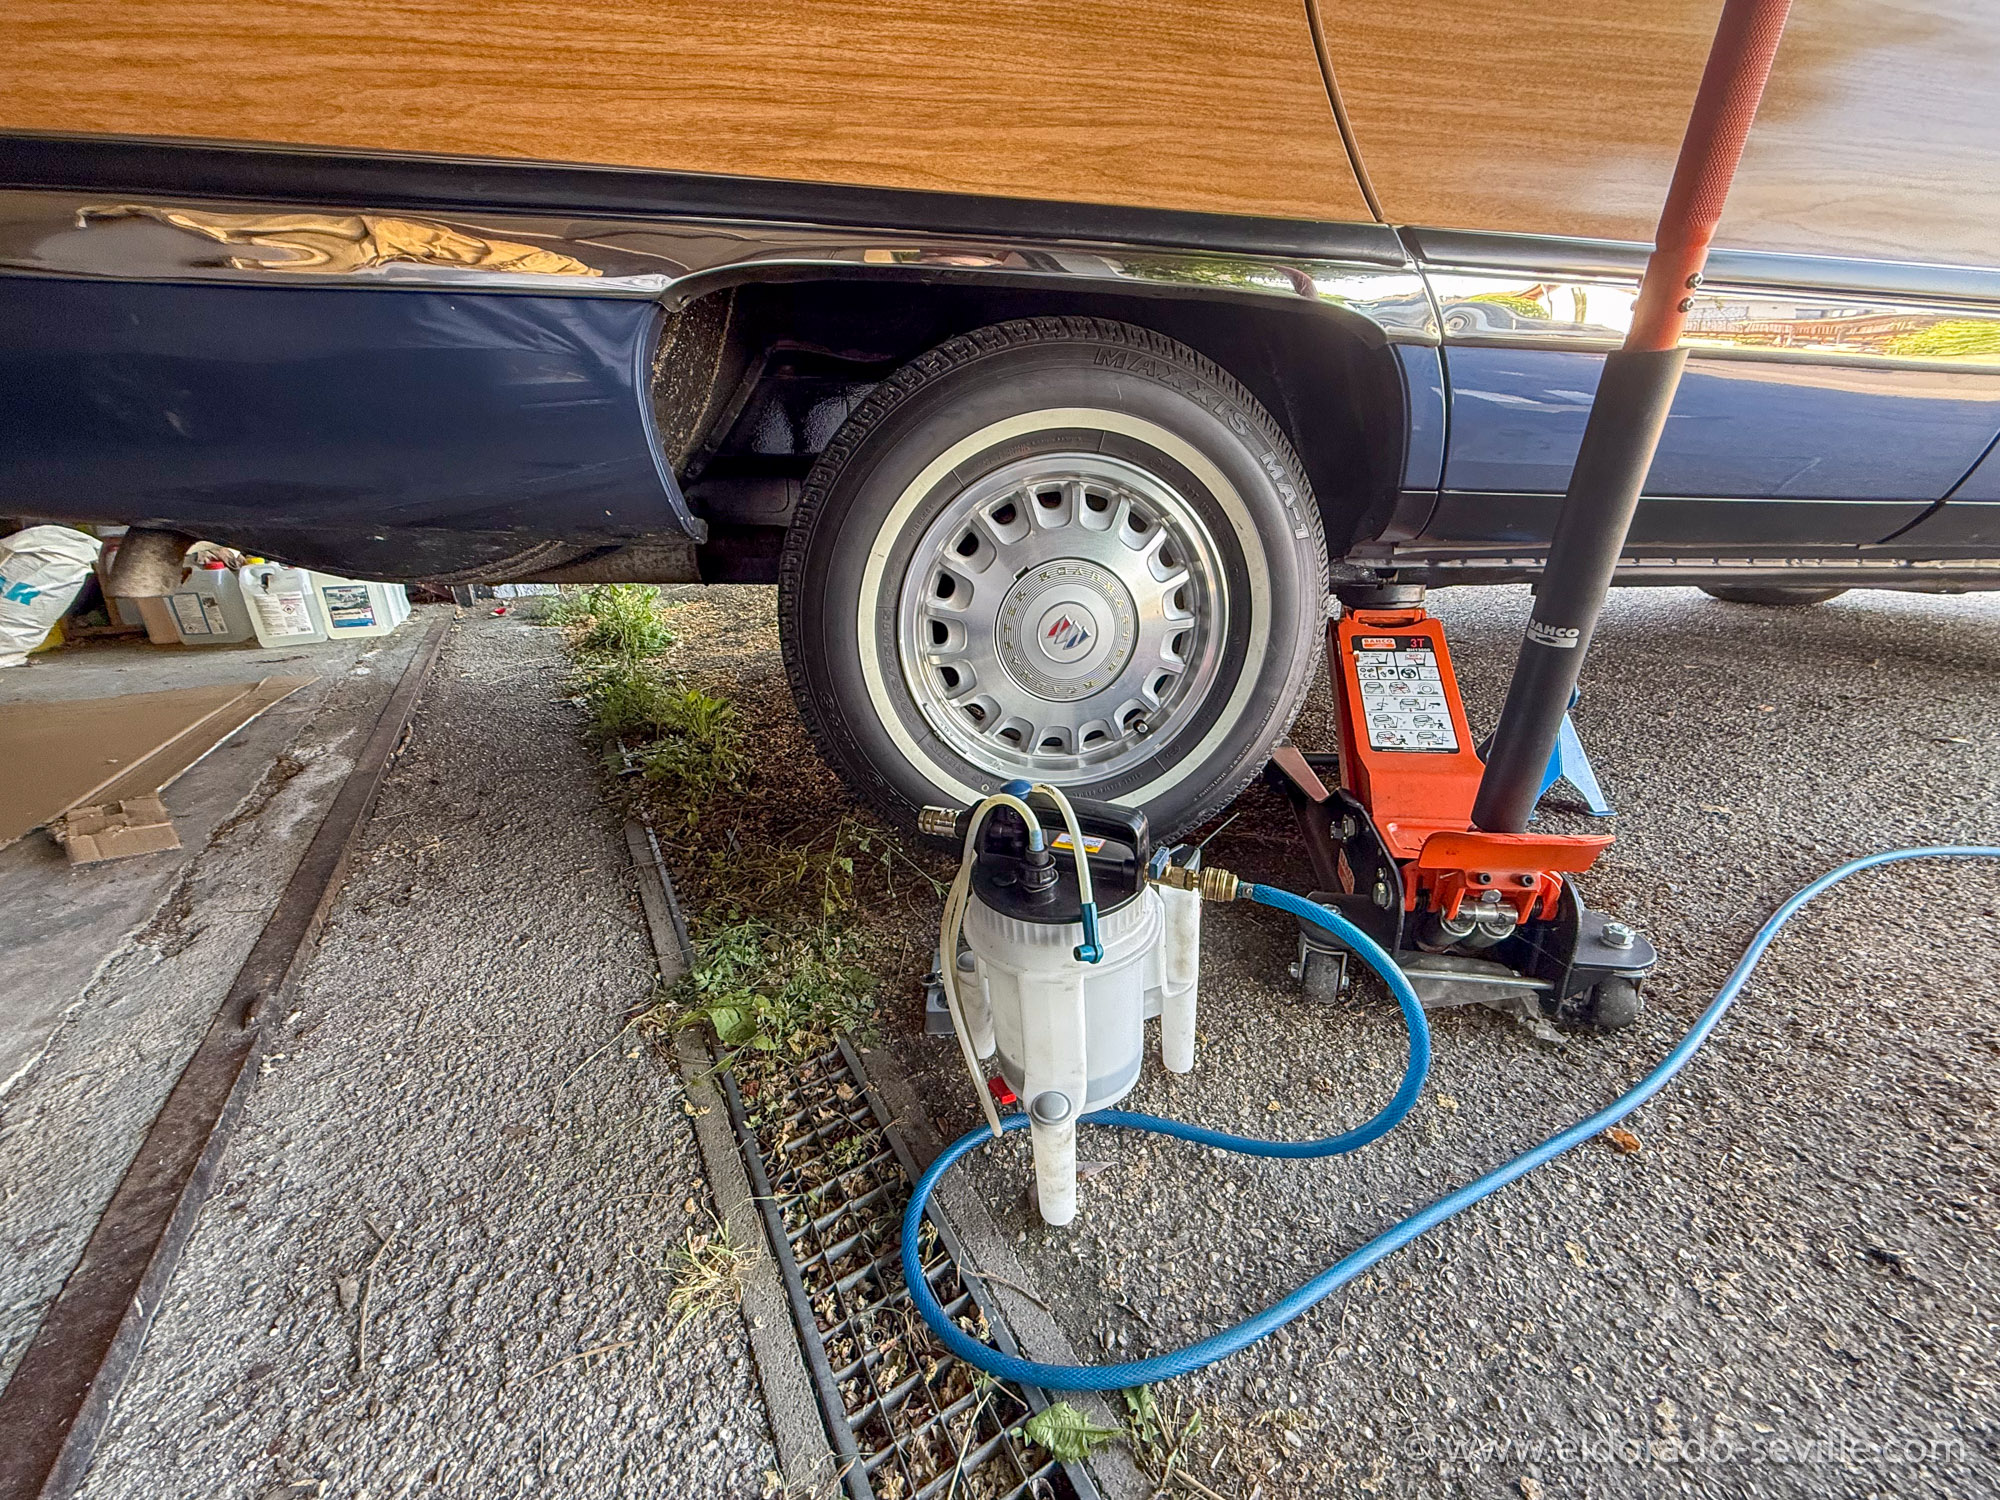
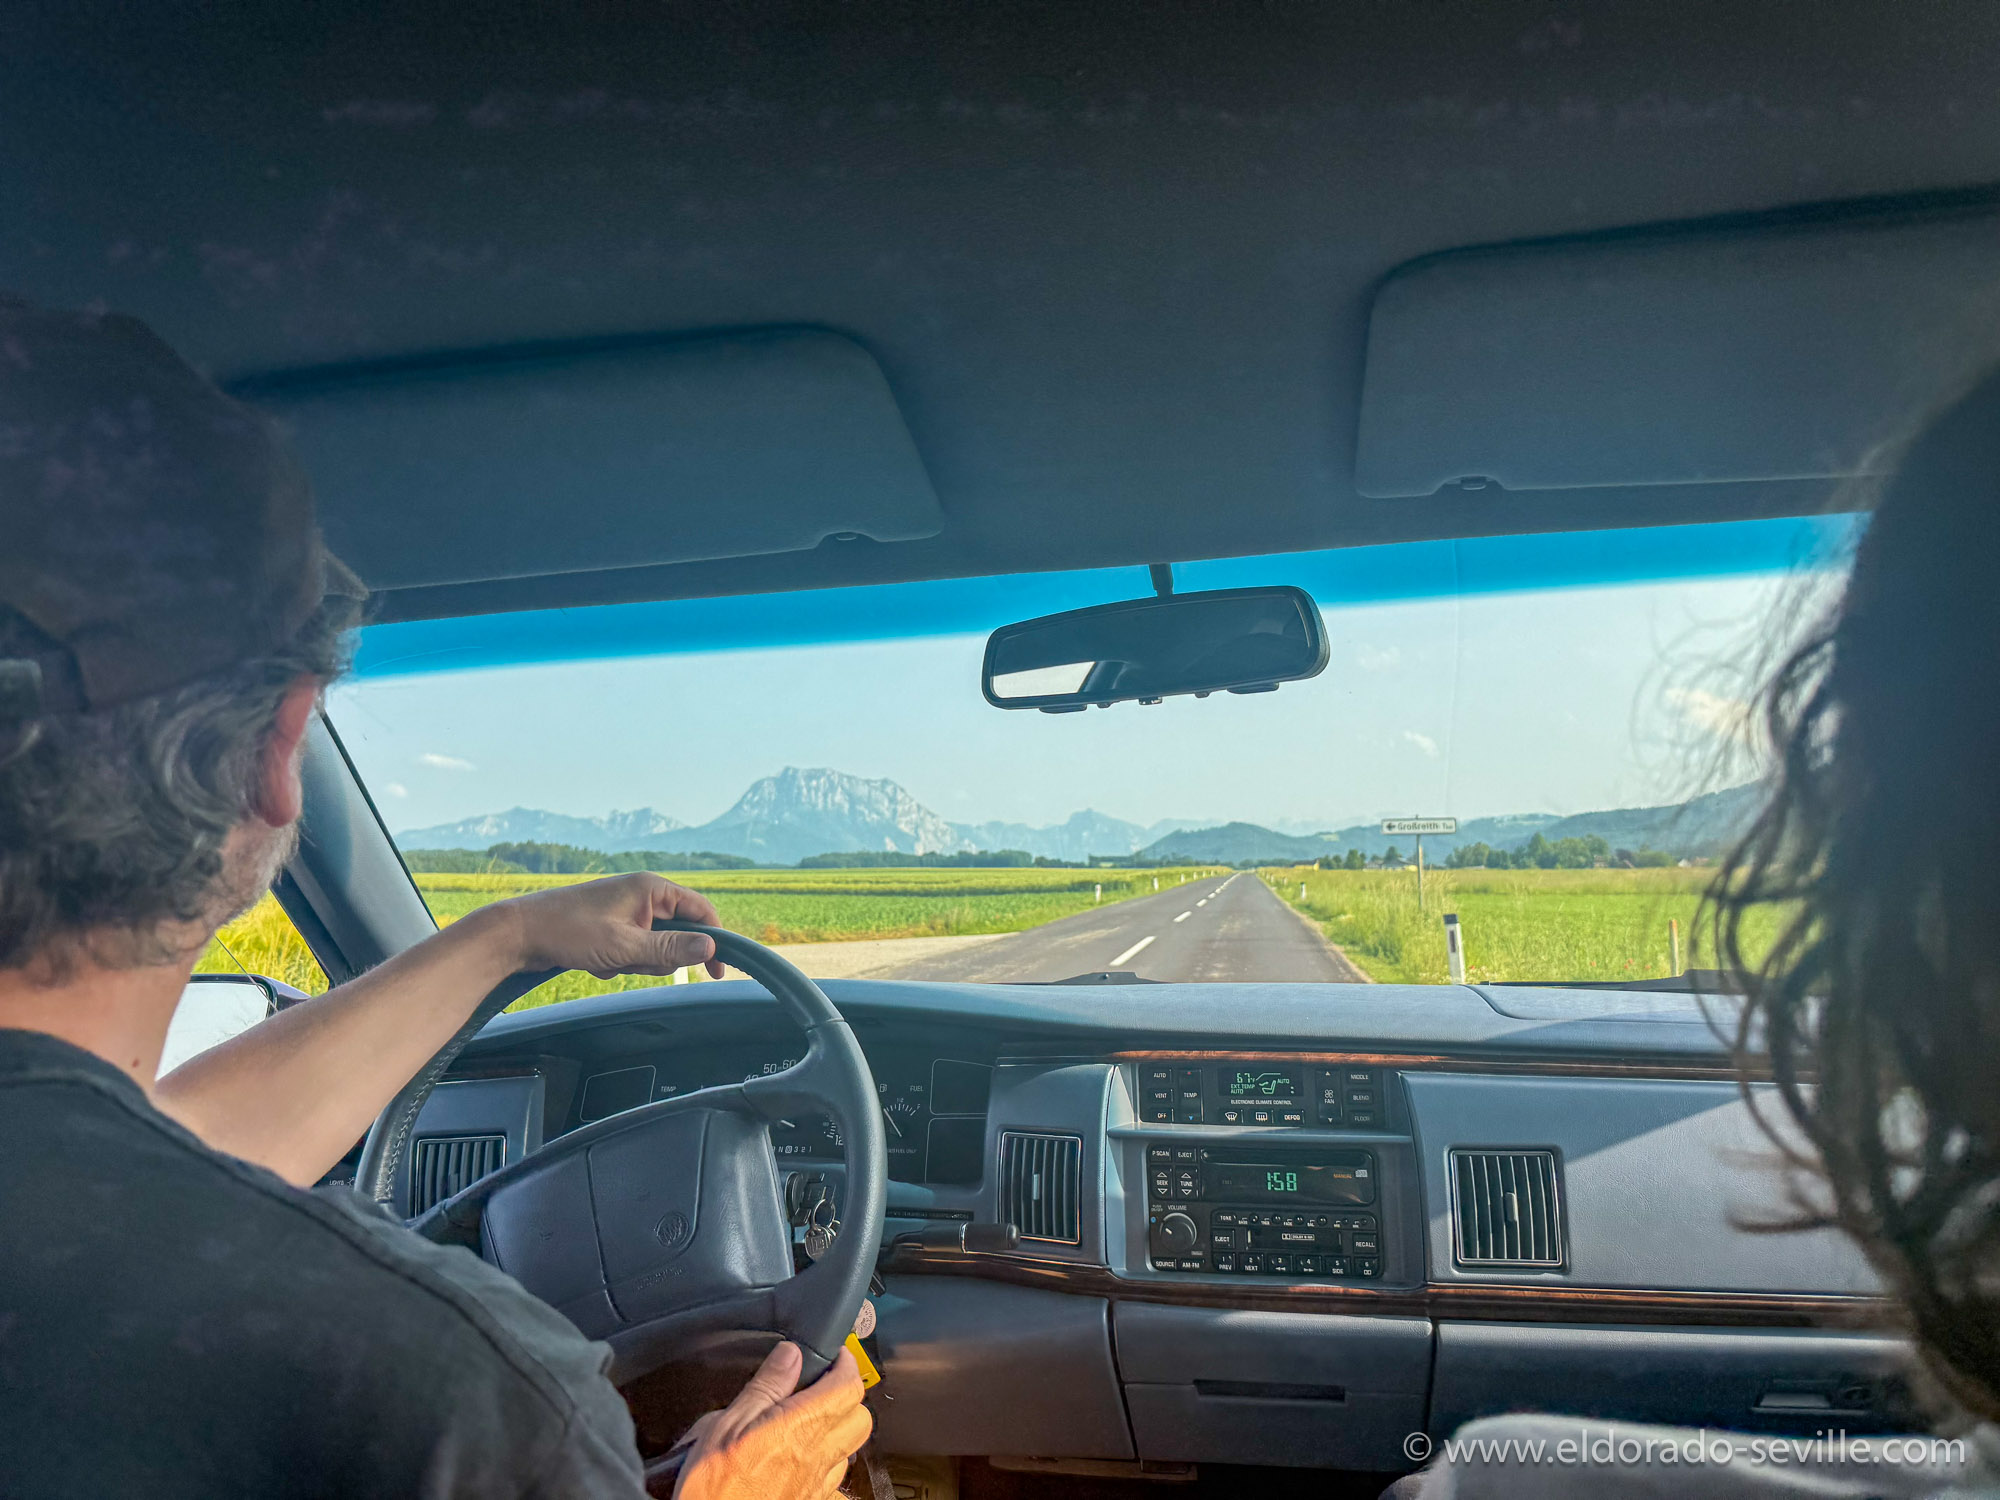
Enjoying a drive afterwards with my son.
WINTER STORAGE IN A PLASTICBAG?
Here is a short time-lapse video of putting the car in.
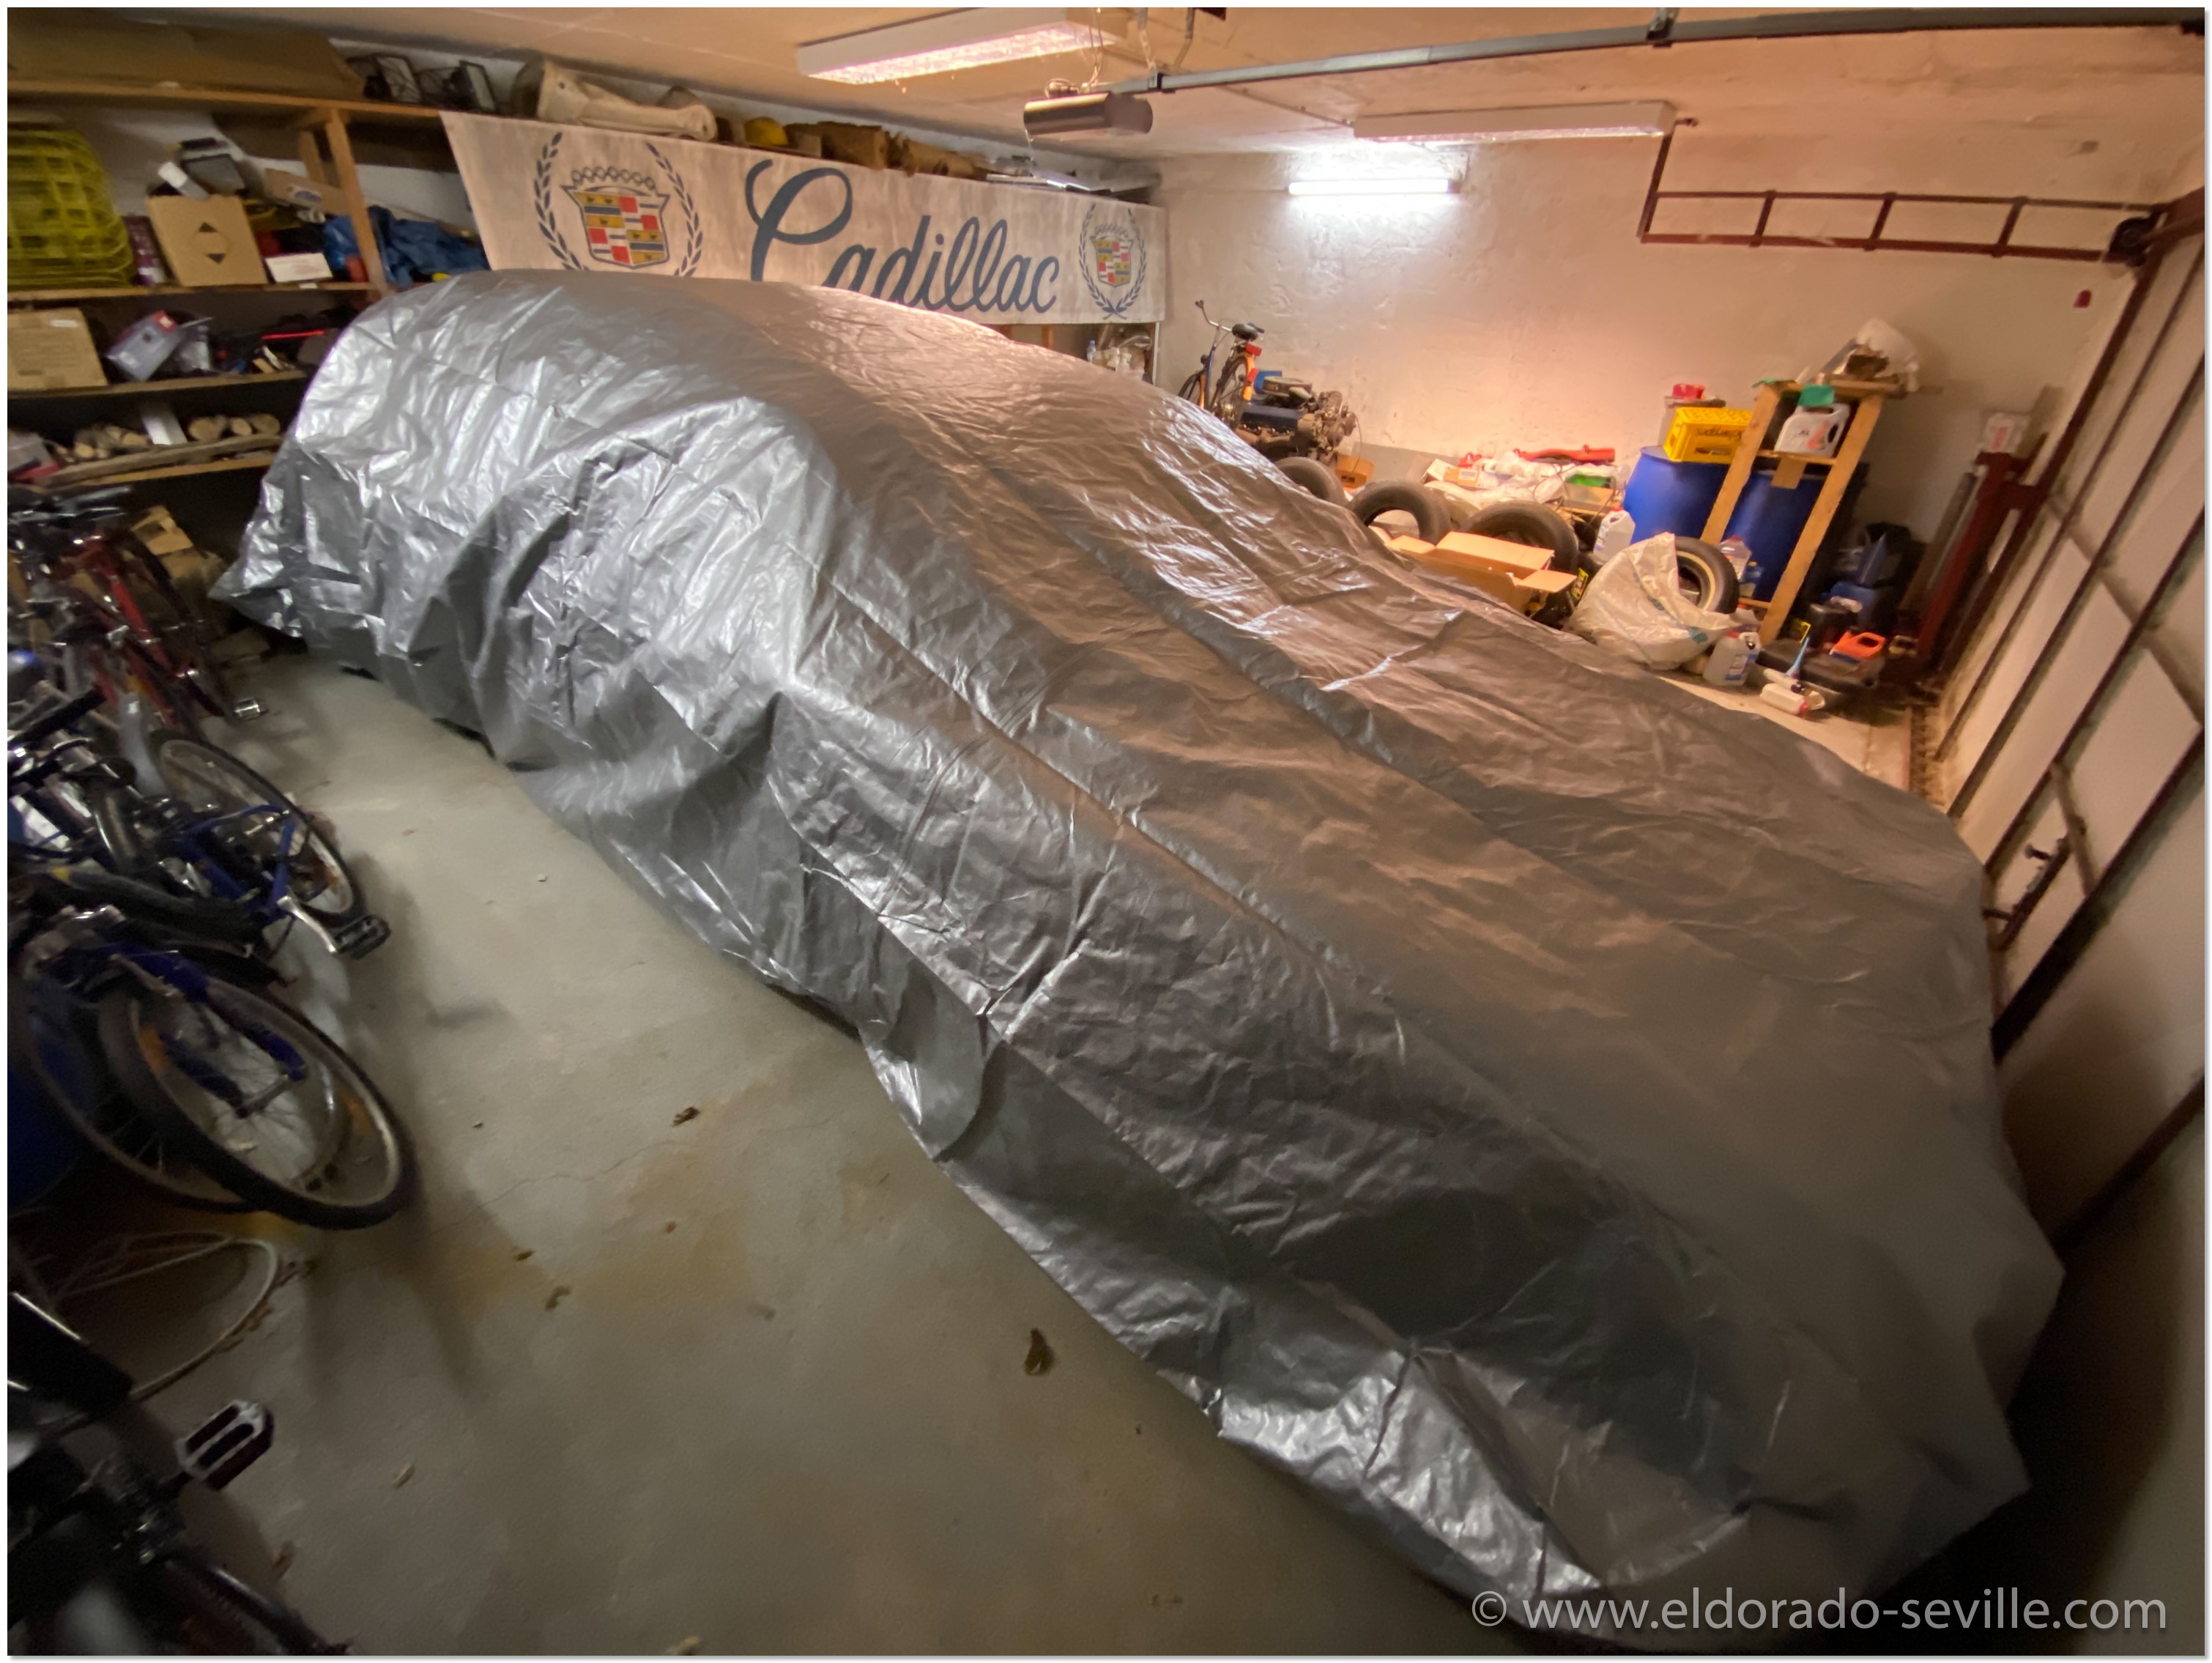 The Roadmaster is in the bag for the winter
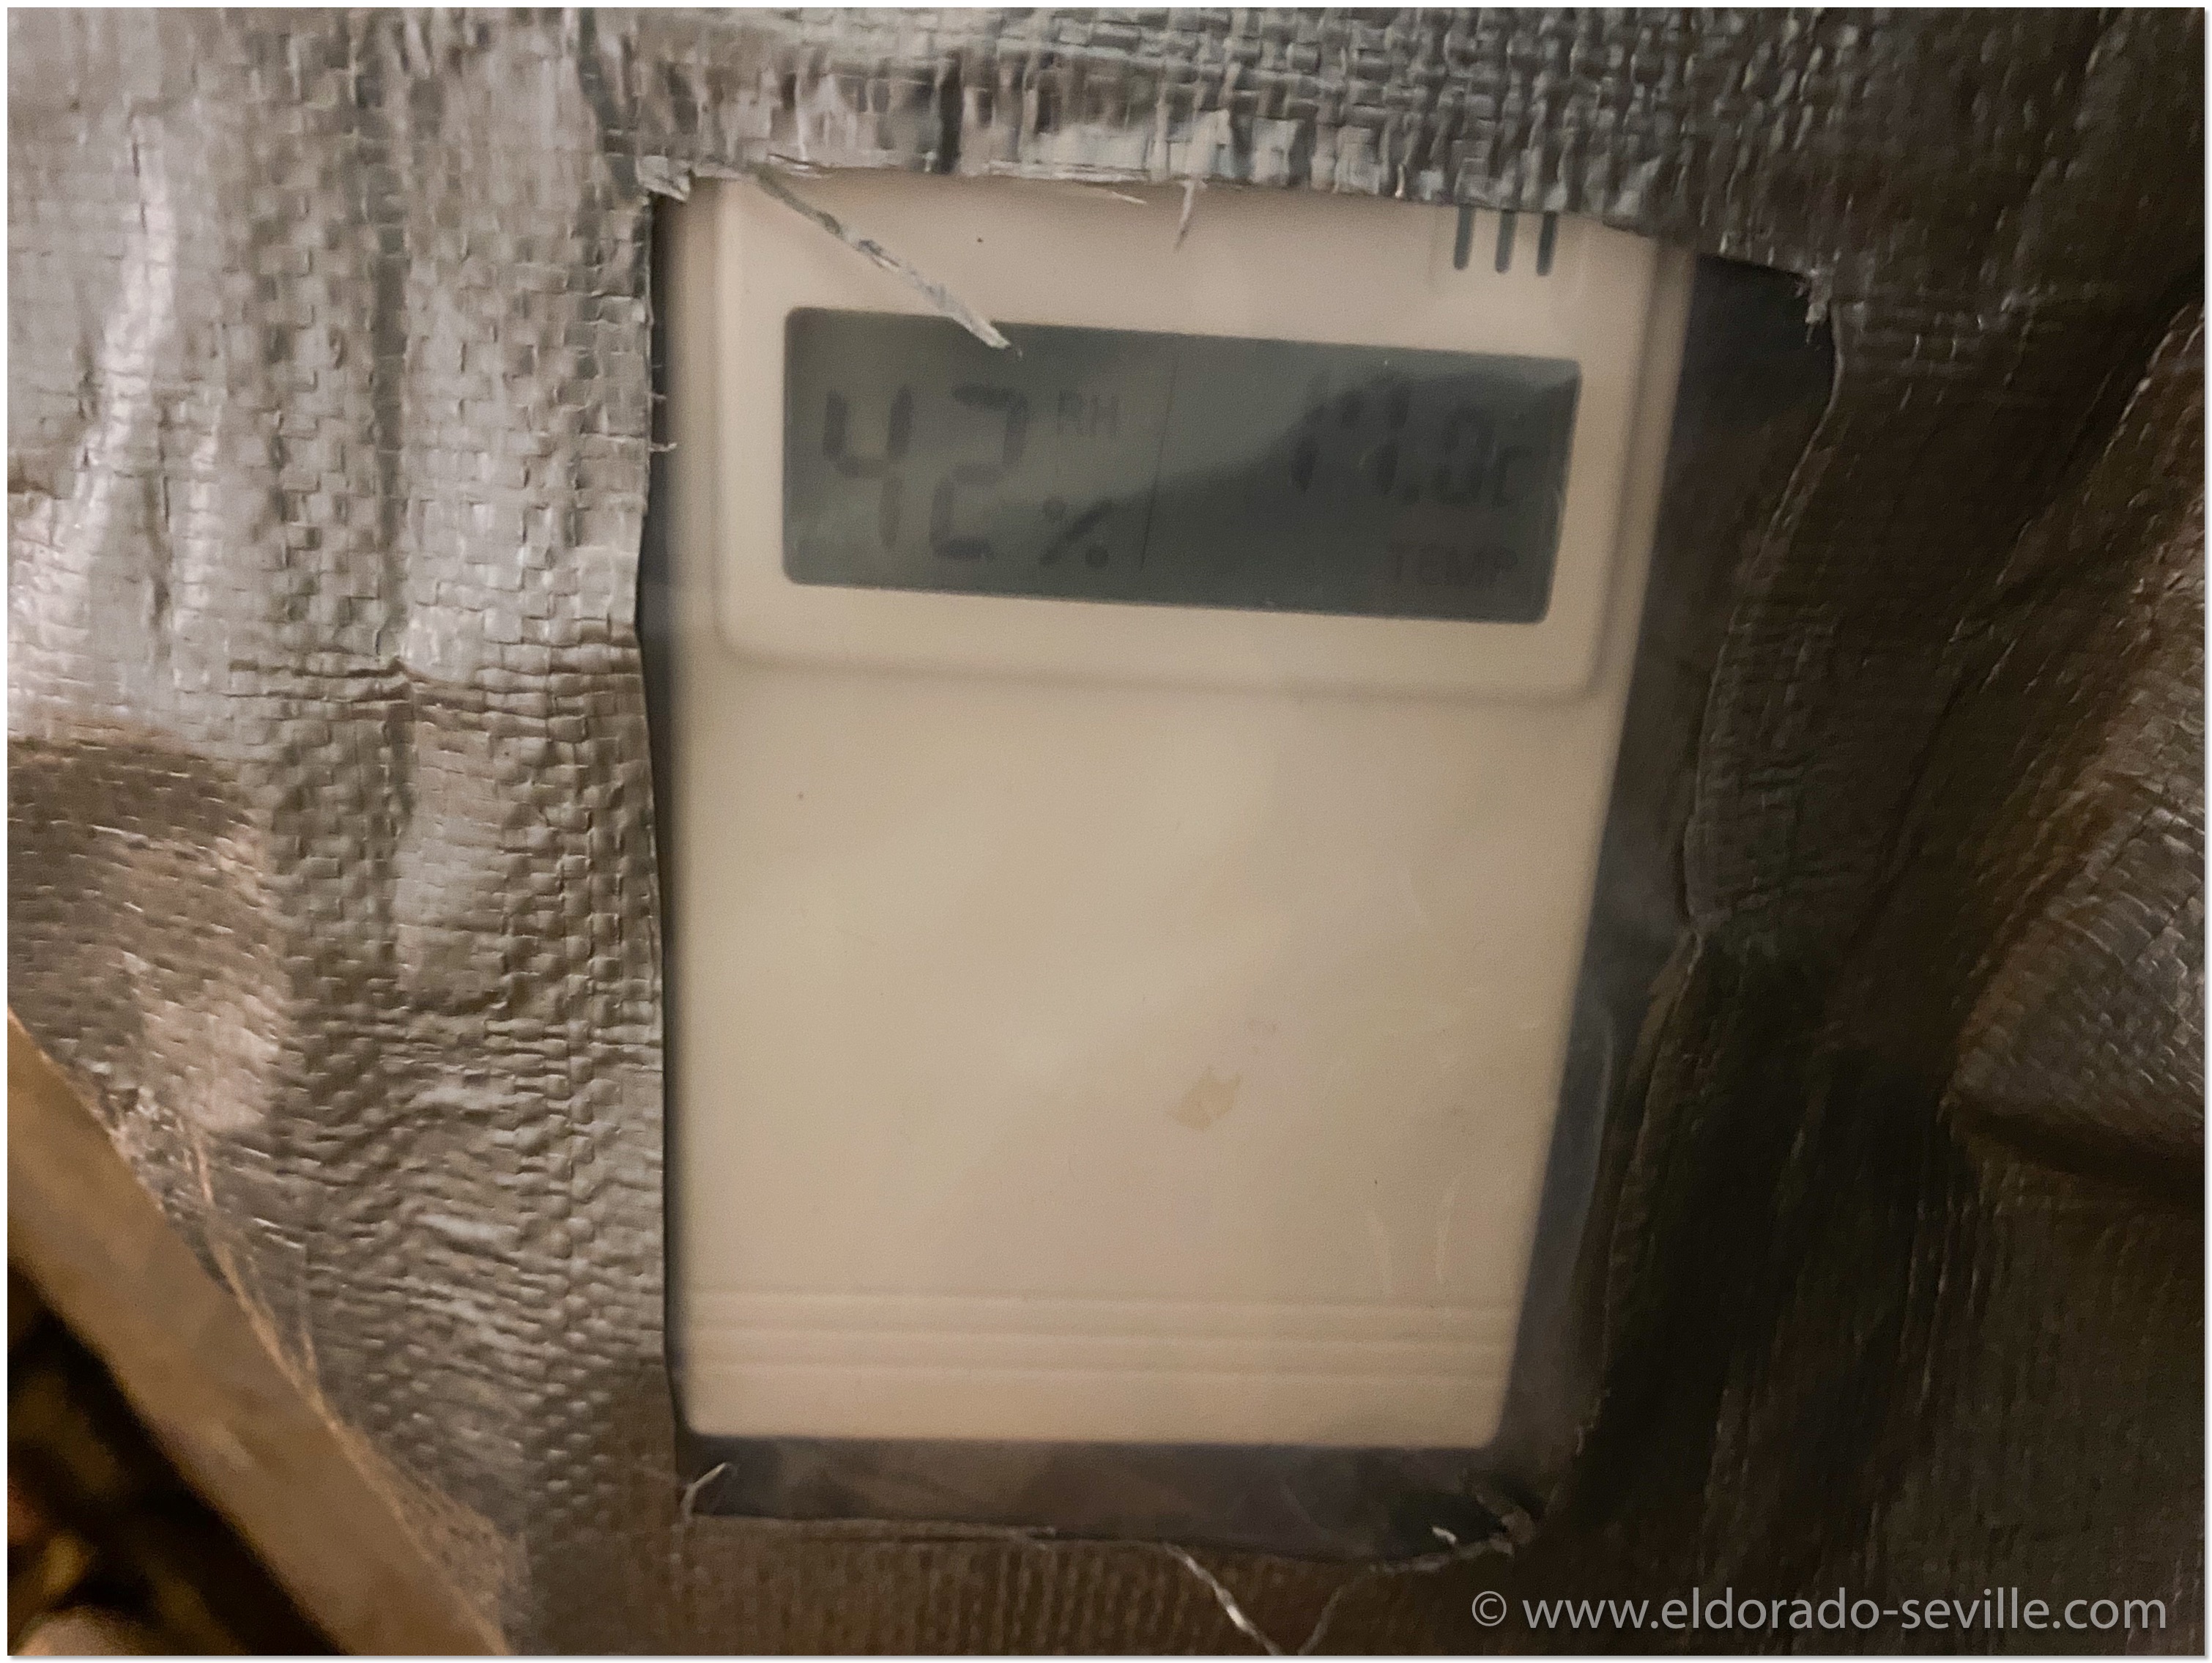
Humidity inside the bag should stay below or around 50% -this is controlled by a hygrometer.
I SOLD THE OLD ROADMASTER
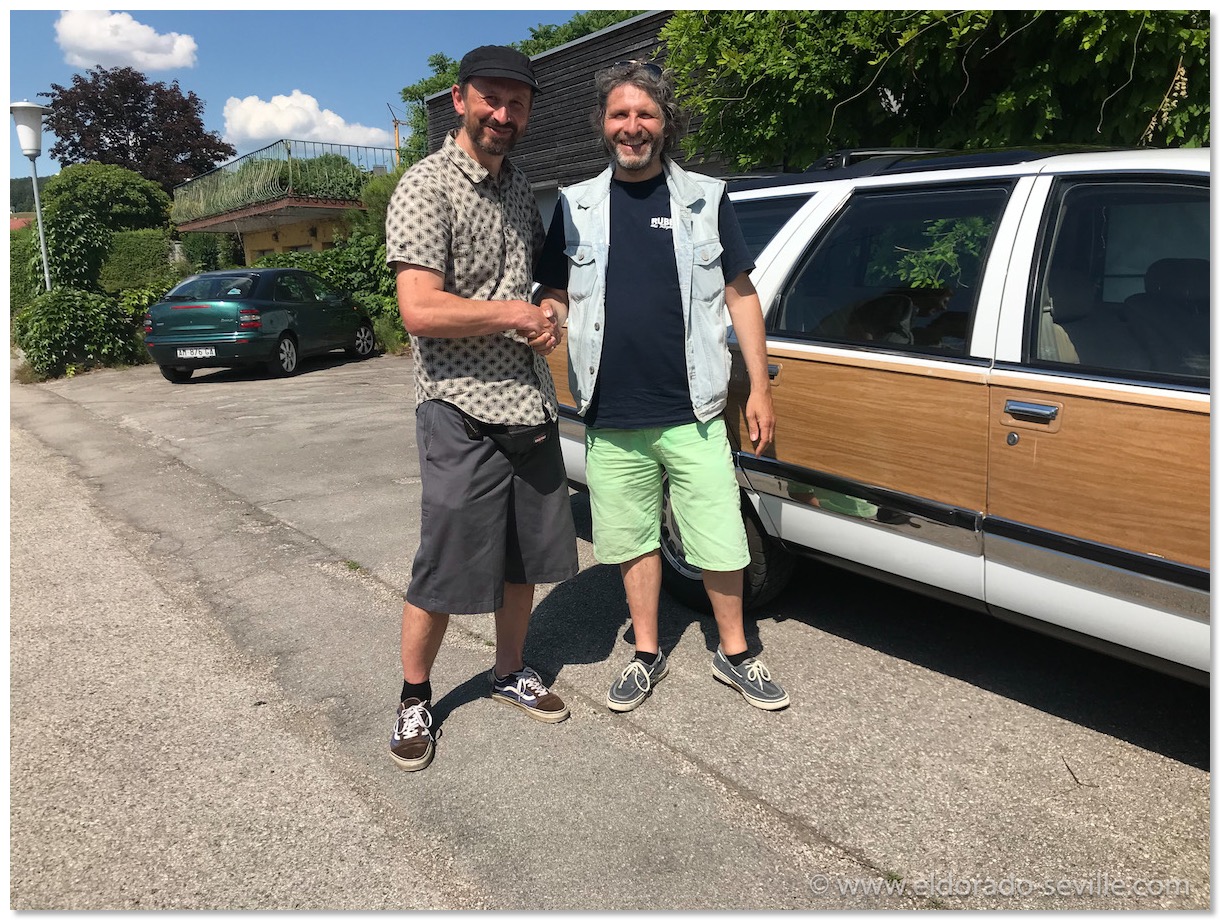
Me and Remo, the new owner of our old Roadmaster.
I could not keep both of my Roadmasters as I already own too many cars and I do not have the necessary funds to keep it alive. I'm glad that I found a great new owner for it.
With tears in my eyes I took a last video of the car departing. I know - I'm way too much attached to my cars and I hate seeing them go…
A short video of the Roadmaster driving away.
CLEANING THE UNDERCARRIAGE OF THE "NEW" 1996 BUICK ROADMASTER
This is how the car looked like after dry ice cleaning.
READ MORE...FIXING OUR OLD 1996 BUICK ROADMASTER
So we decided that we wanted to restore our beloved car during the winter to get it back onto the road for next summer. Then we accidentally ran into our brand new low mileage 1996 Roadmaster…
I now had to decide what to do with the "old" one.
I had already bought all the spare parts before we found the new one, and my dear friend Lucky was so kind to offer me his help and let me do all the work in his fantastic workshop…
The plan now is to sell the old one, but of course nobody wants a car with all these things that need to be fixed. And to be honest I do not want to sell any car in this condition.
My friend Lucky helped me for a full day to fix the Roadmaster.
First we started to replace the heater core, which is a huge pain in the a** to replace on these cars. Everything is hidden away and access to the heater hoses and the heater core itself is very limited and tight.
The heater core is hidden behind the glove box and the two hoses going to the heater core can only be un-tightened with a special hose clamp plier I had to buy. We then did not get the hose off the heater core… Several hours later, after lot of cursing, twisted and bloody fingers and a sore back, the heater core finally was out and the new one in. We pre-filled it with fresh coolant and it works perfectly again. No more fogged up windshield.
At the technical inspection the inspector noticed that the front brake rotors needed to be replaced, as they were slightly vibrating during hard stops. So I ordered new ones from AC Delco. We replaced those as well and cleaned up everything and re-greased the wheel bearings as well.
In the front wheel housings we cleaned up some corrosion and welded some fresh metal in.
So we managed to fix a lot of things during this long day at the shop.
Next time we will rebuild the rear brakes, replace the wheel cylinder and a brake hose. Then the car is back in perfectly working order again technical wise. We will then fix the corrosion the rear wheel well and I can then do the technical inspection again and it should pass it without a problem.
I will then offer the car for sale and drive it until a new owner takes over… If I would not need the money I would just keep this car, as it drives beautifully and I like it verrry much…
Unfortunately I did not take many pictures of the heater core removal process, but there are a few videos on youtube showing how to replace the heater core on the 96 Roadmaster.
Thanks again for a great day in your shop Lucky!
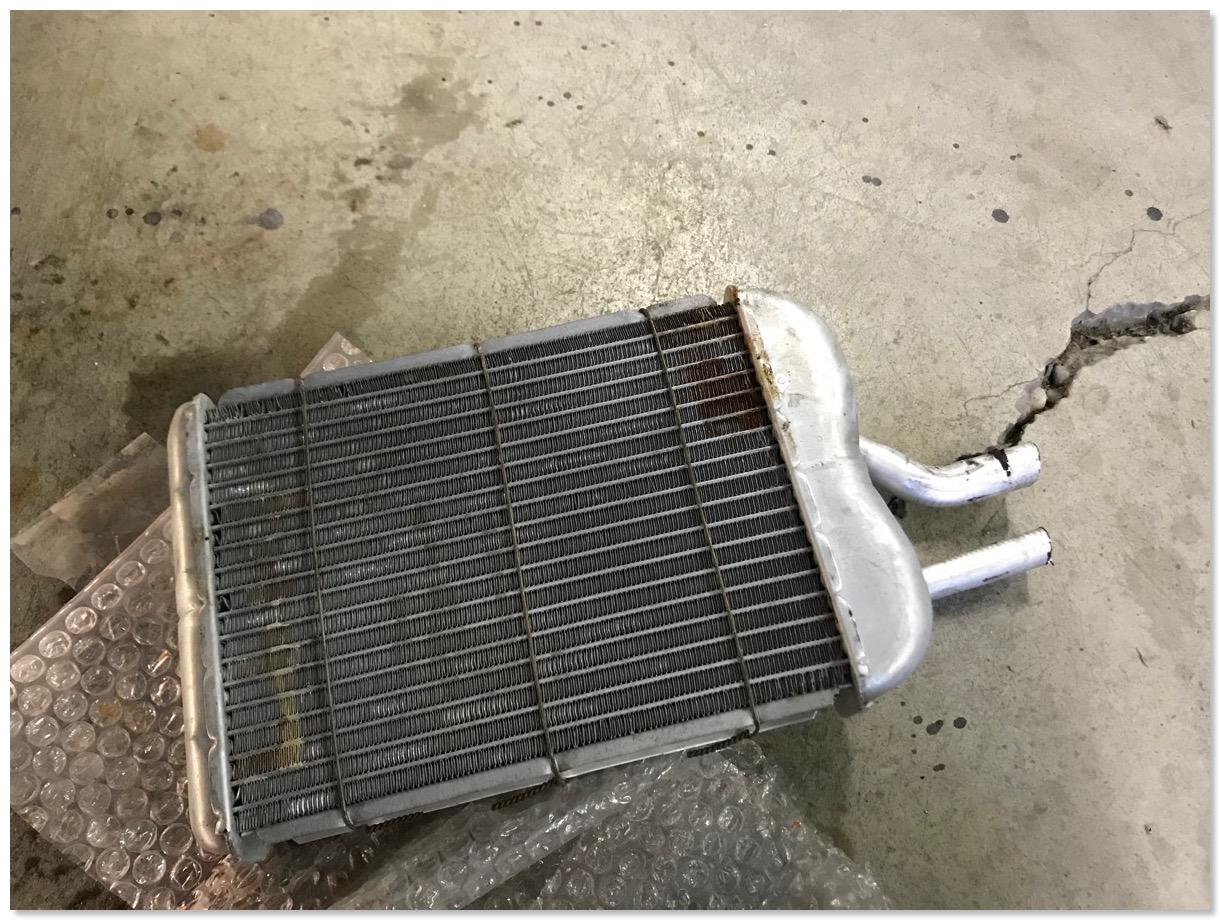
The old heater core is out - it had a small leak. Luckily the coolant did not drain into the car but escaped through the drain hose on the firewall.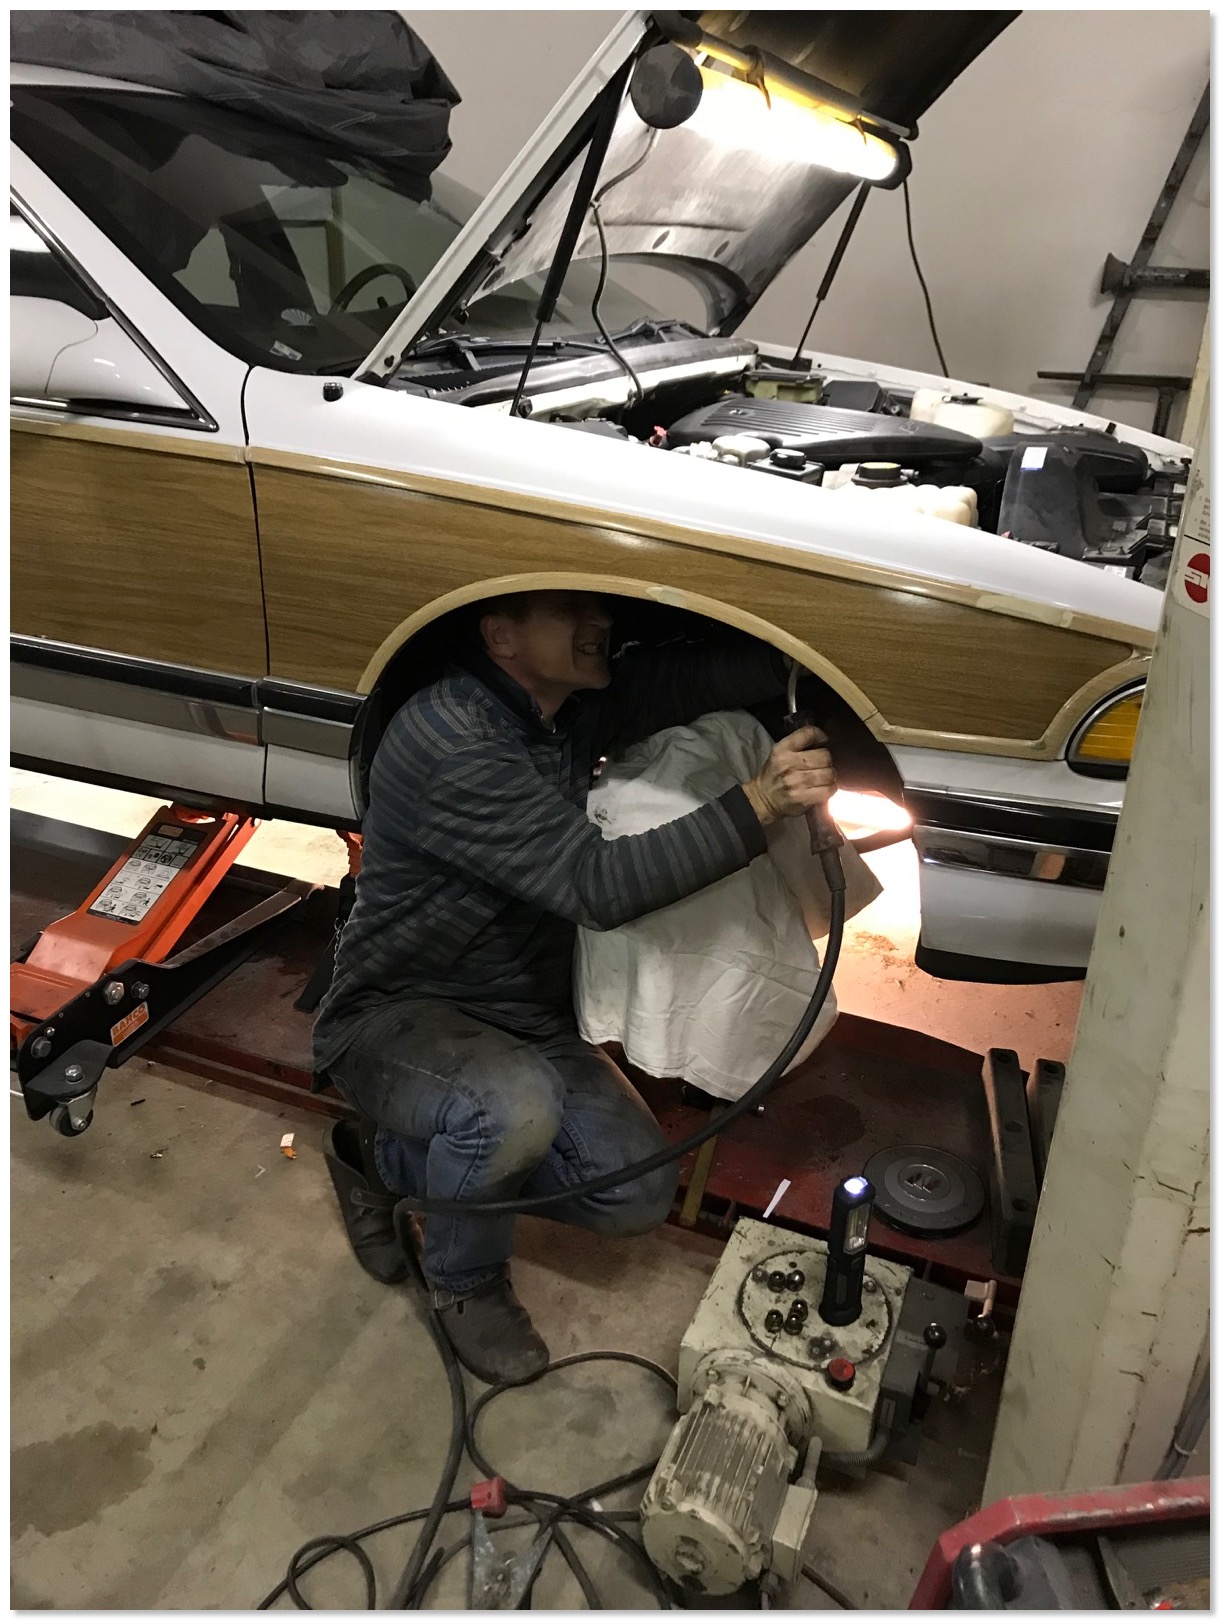
My friend Lucky working in the wheel housing…
I BOUGHT A NEW 1996 BUICK ROADMASTER LIMITED ESTATE WAGON WITH 23K MILES!
In August 2017 our Roadmaster was due for its annual technical inspection and unfortunately it did not pass… It needed brake work and there was some corrosion in the rear wheel wells. To make things even more fun it also decided to develop a leak in the heater core…
So we decided that we wanted to restore our beloved car this winter to get it back onto the road for next summer.
The other plan we had in mind was to find a really good one in the USA and import it to Austria. As we soon found out there are some extremely high taxes involved doing this.
A $ 5000,- car in the USA would cost at least $ 15.000,- until its on the road in Austria, and it is very complicated to have it registered… While we were looking, we also could not find any other Roadmaster for sale in Europe, as they are very rare over here and were never sold in Europe when new.
So we were ready for the restoration and I ordered all the necessary parts.
Shortly after everything arrived, we found an ad for a Roadmaster for sale here in Austria.
I immediately called and got in contact with the owner.
The car has only has 23k miles and was collector owned from day one. The first owner bought the car and never drove it during the 9 years he owned it, and he stored it in his climate controlled garage. In 2005 a new owner bought it and only drove it in summer on dry days and maintained it carefully. It also was always garaged.
Thats why the car is still in fantastic condition and looks and drives like a new car. It has zero rust and the woodgrain is in perfect condition. It's a "Limited" version with all available options ordered for it except the CD radio. Everything works as it should. It is in beautiful "Adriatic Blue Metallic"
After a couple of weeks of negotiating we bought the car almost on the same day in December as we bought our first 1996 Roadmaster 10 years ago. Coincidence has it that we also found this one in the same district in Vienna (Austria) as the last one. I know of 5 Roadmaster Wagons in existence in Austria - so they are pretty rare here.
The previous owner had a very "special" taste, and he glued a couple of decals, emblems and other things onto the exterior and interior of the Roadmaster which I could not live with, as they were absolutely not my style.
With the help of a heat gun and some WD 40, I luckily could remove everything without leaving a trace. I just warmed the decals and emblems with a heat gun on the lowest setting and applied some WD 40 and it came right off. The remaining residue could also be removed with the help of a paper towel and WD40.
Works great!
Our new car will now get a full detail and I will change all fluids and it will then be ready for the road next spring. I also plan to install white wall tires instead of the blackwalls it came with. They are a "must have" for the Roadmaster IMHO.
Our old Roadmaster will be for sale, I will fix it up during the next few winter months and it will be available around May 2018…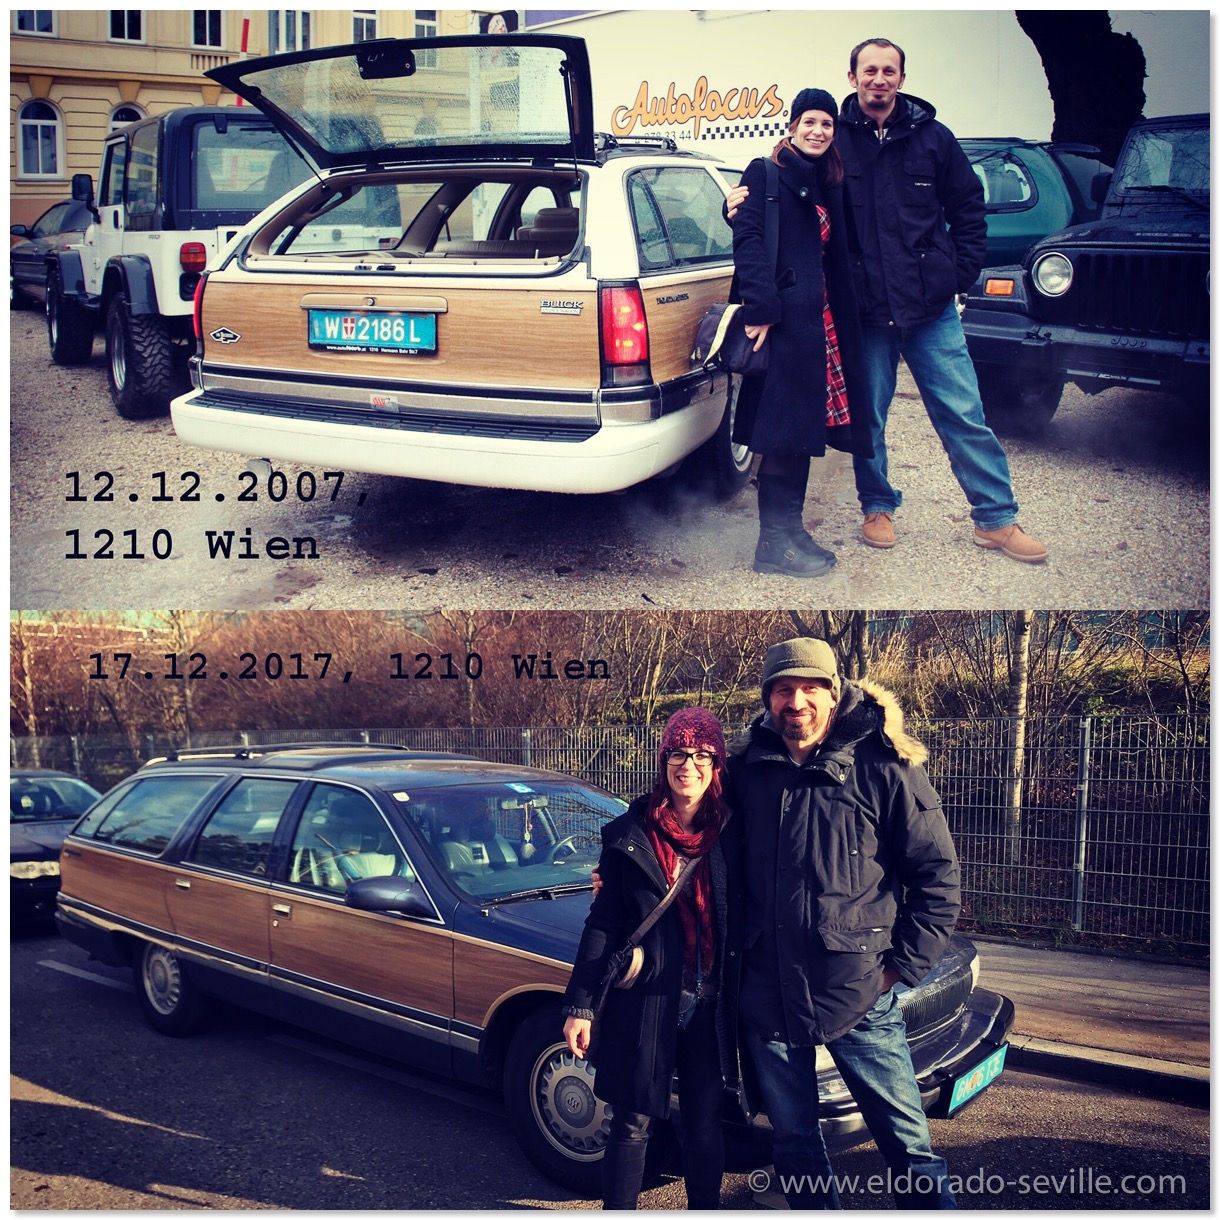
10 years ago and now.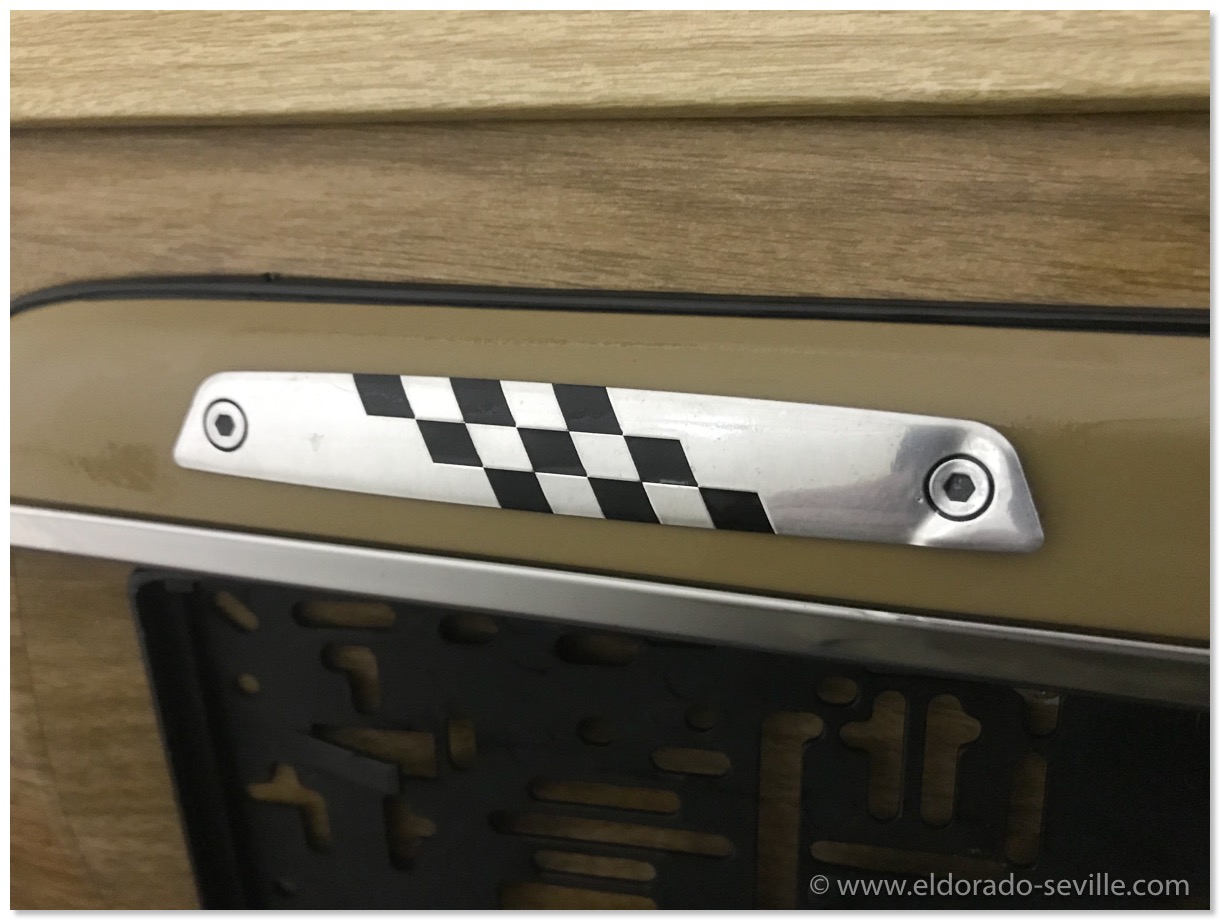
Strange items were glued onto the car…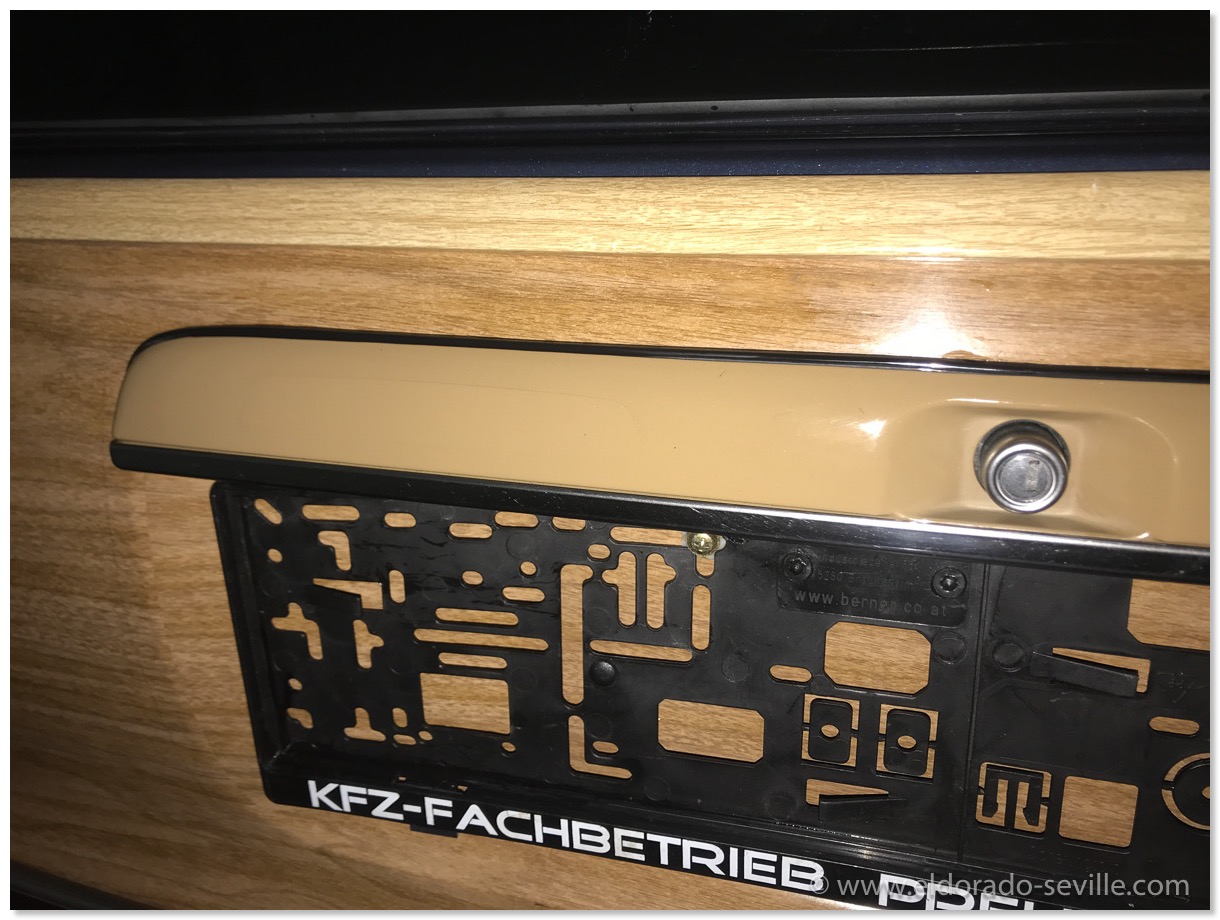
… but everything came off easily.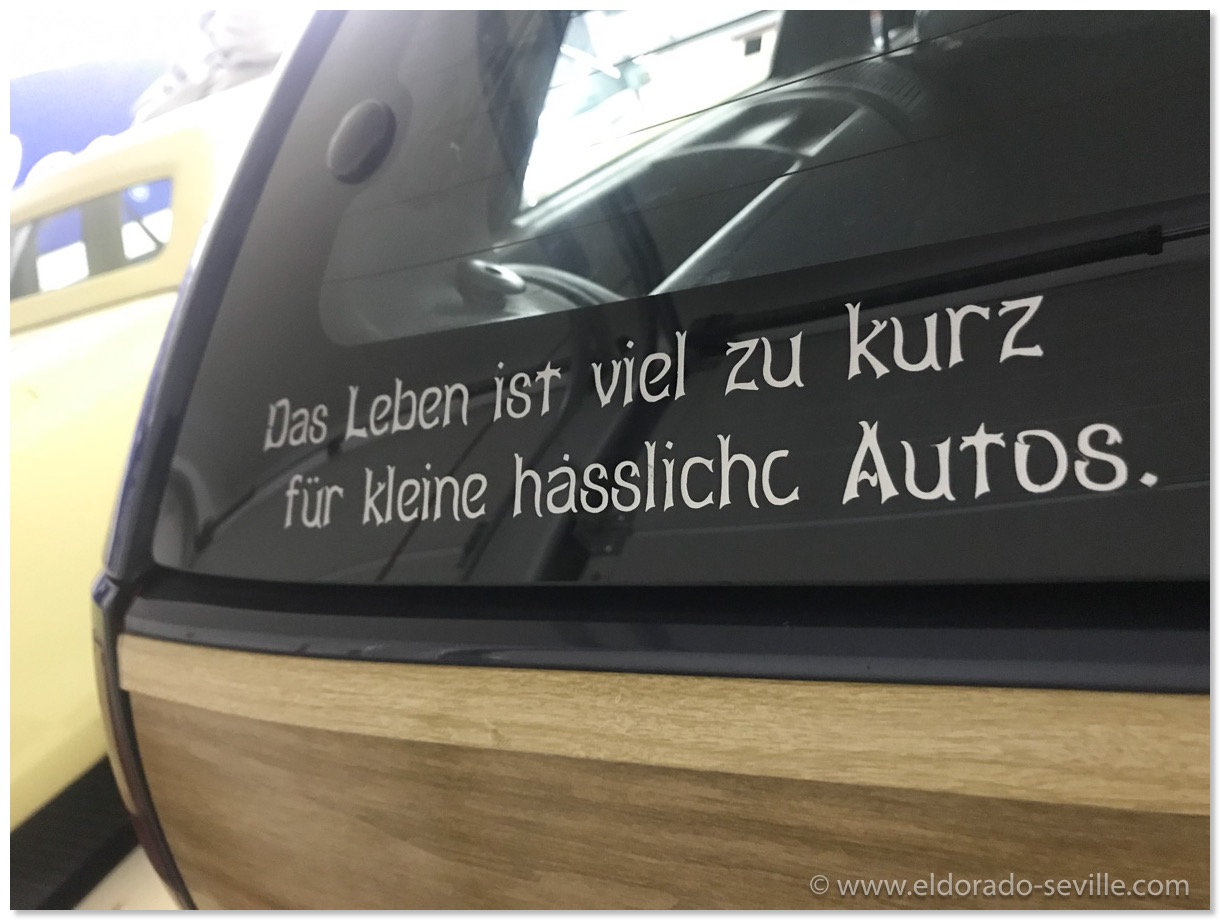
While I can agree with what is written here: "Life is too short for small ugly cars" I wanted to remove the decal…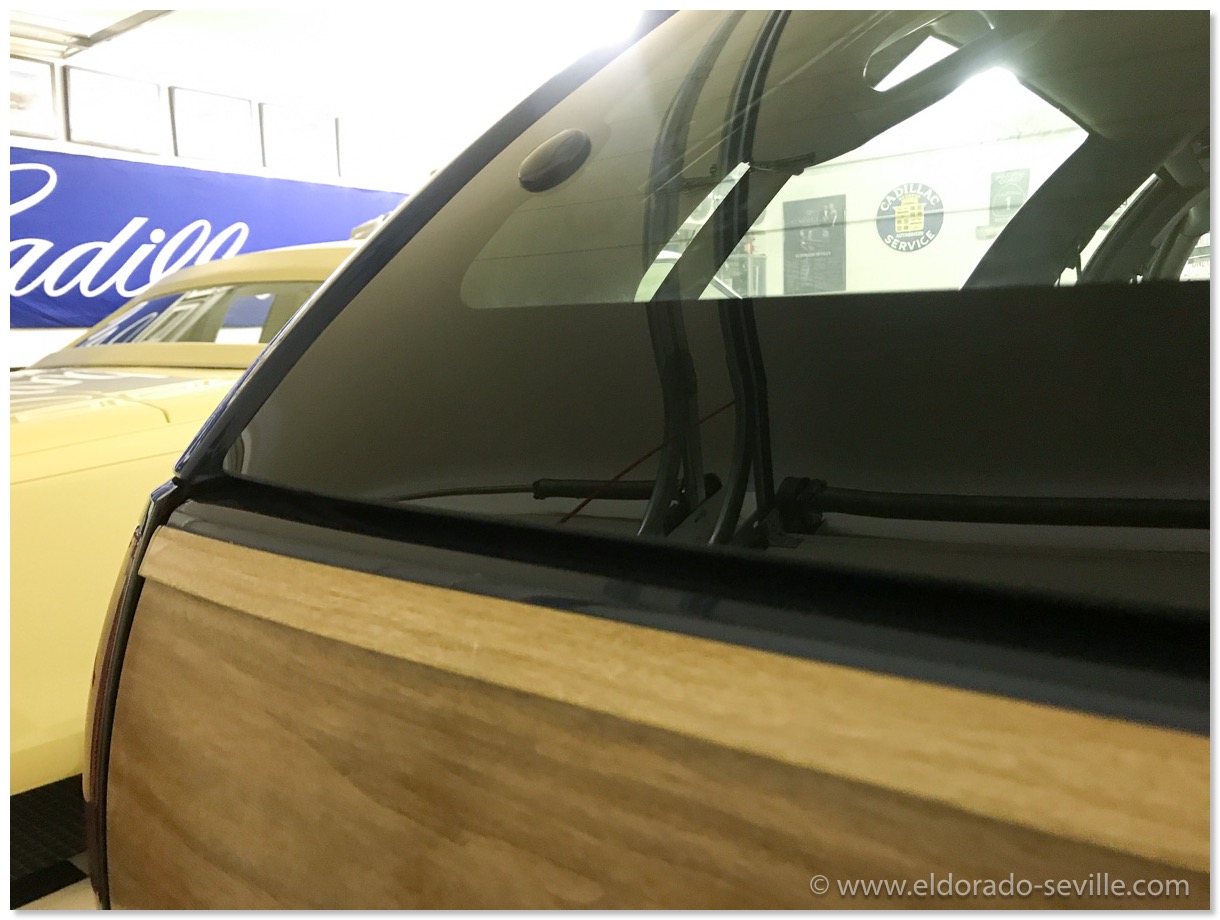
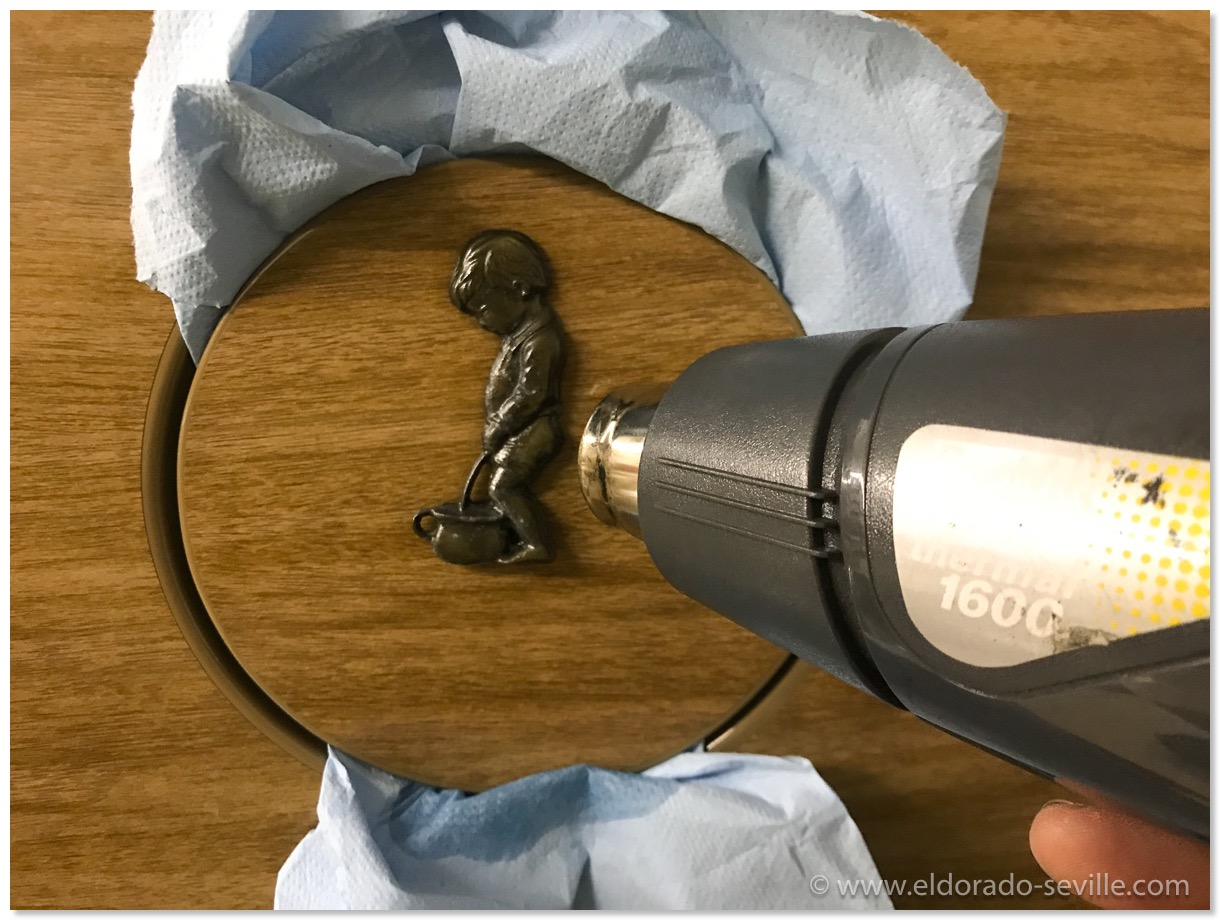
The previous owner had an eclectic taste…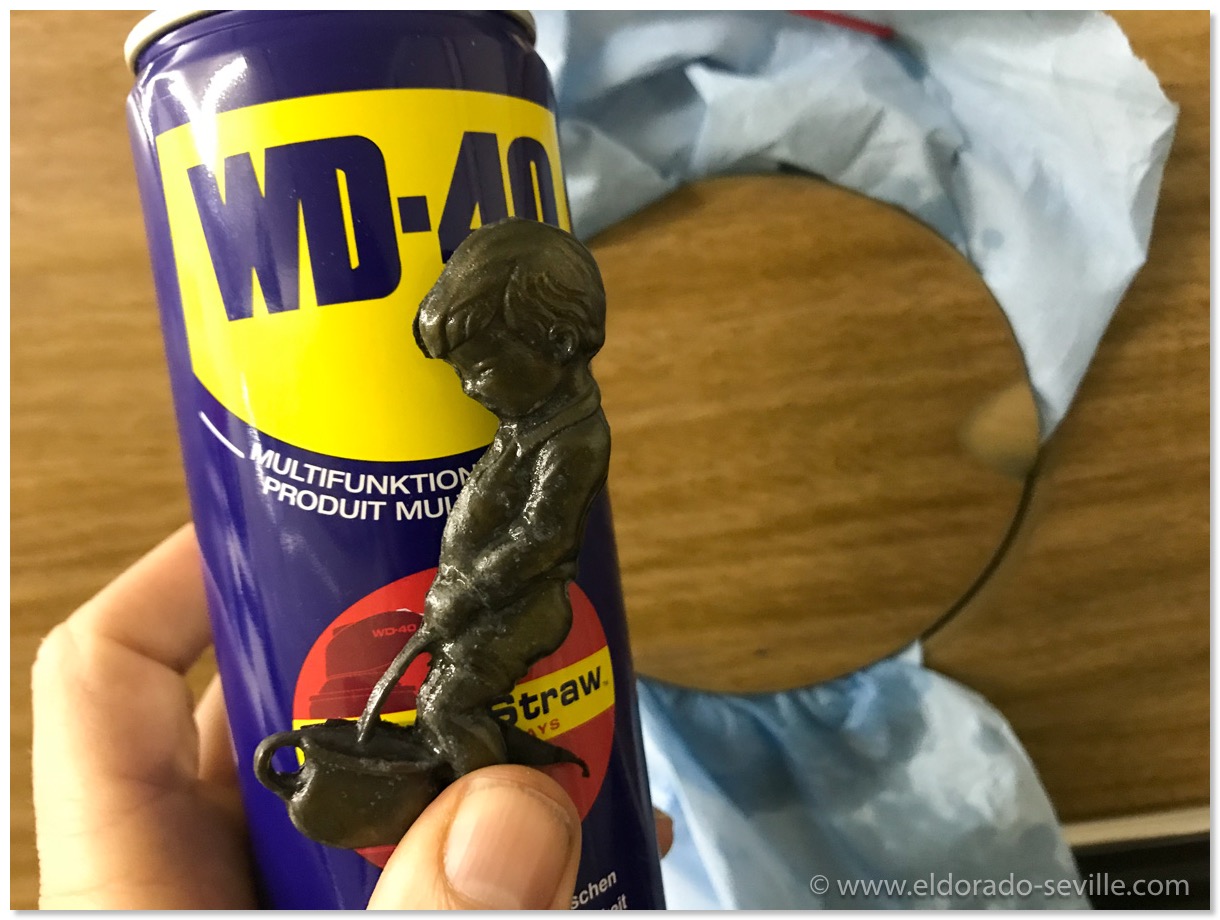
Thanks for your help WD40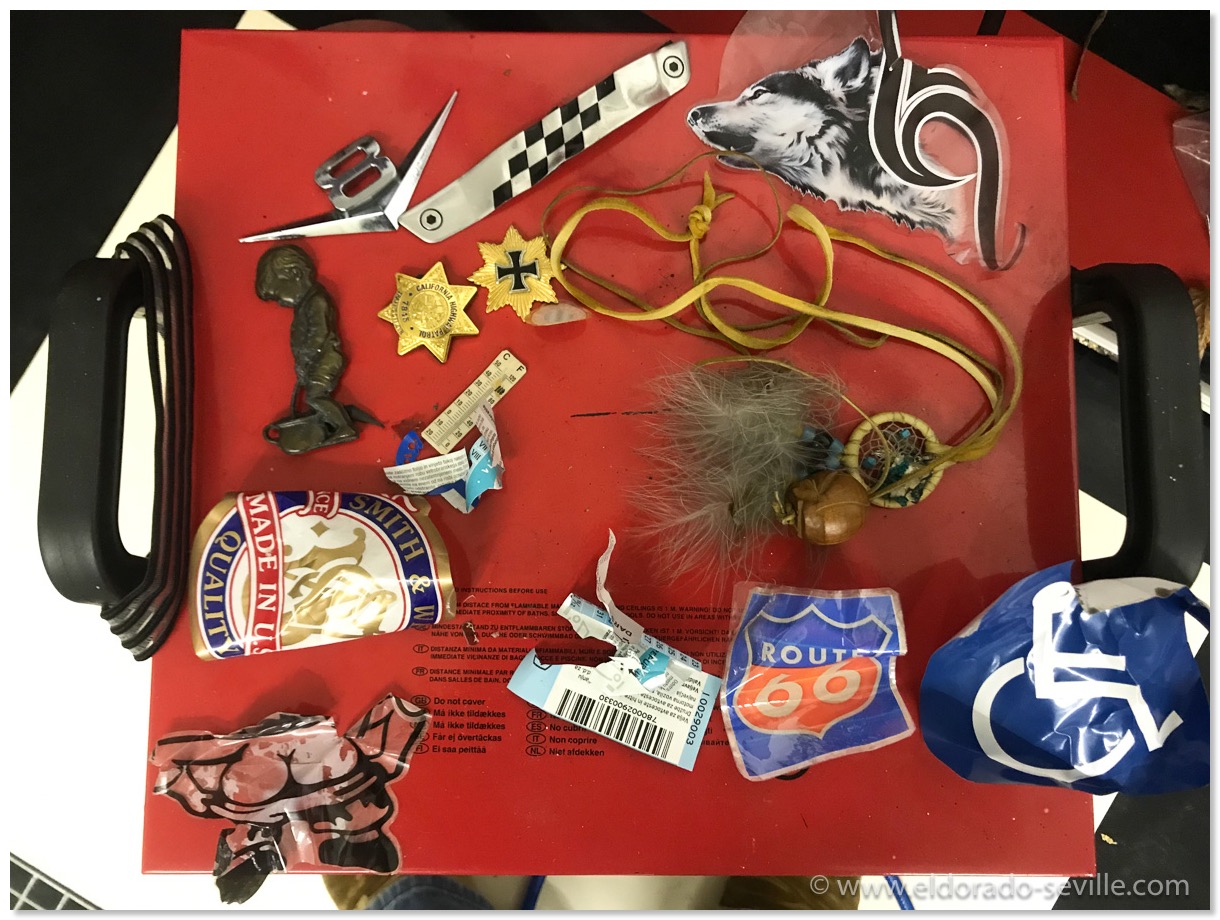
A few of the things I had to remove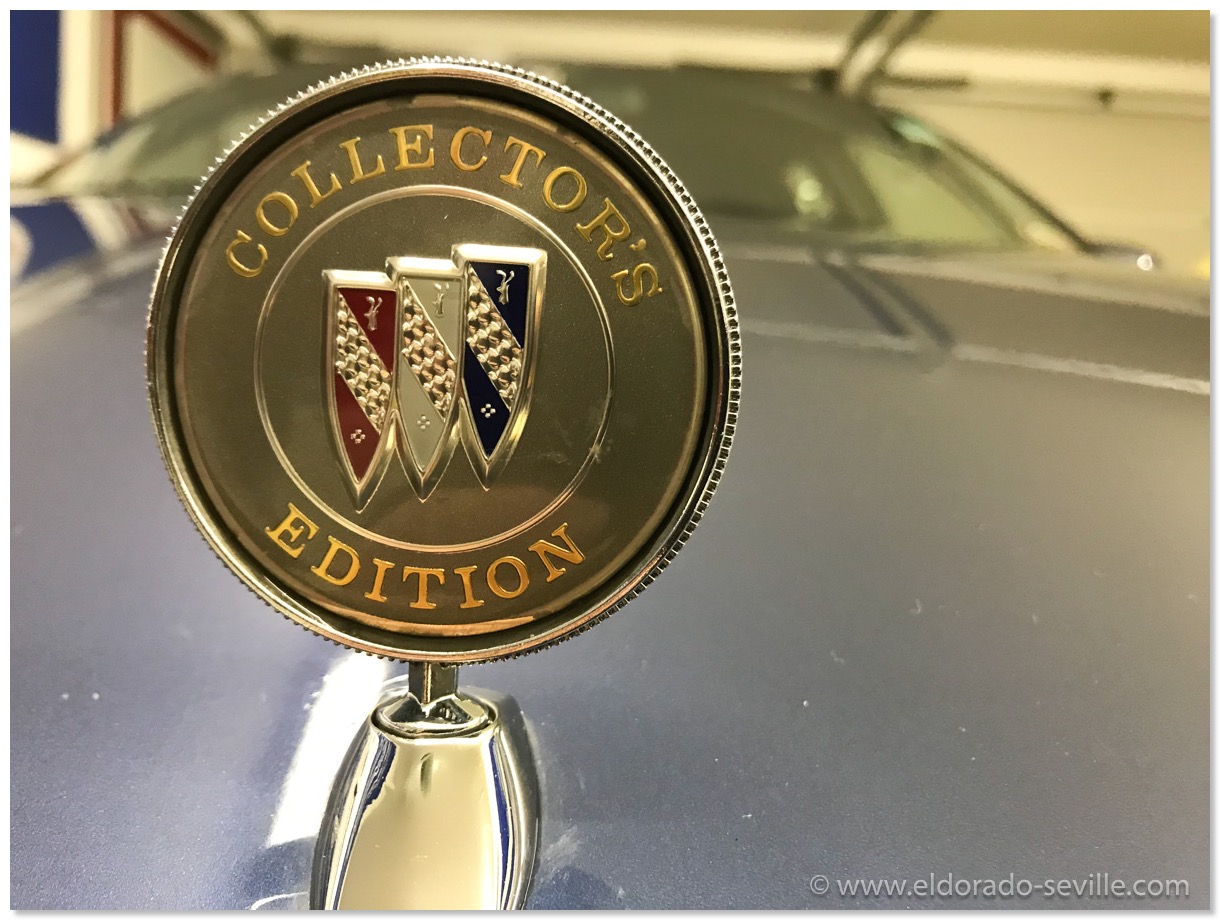
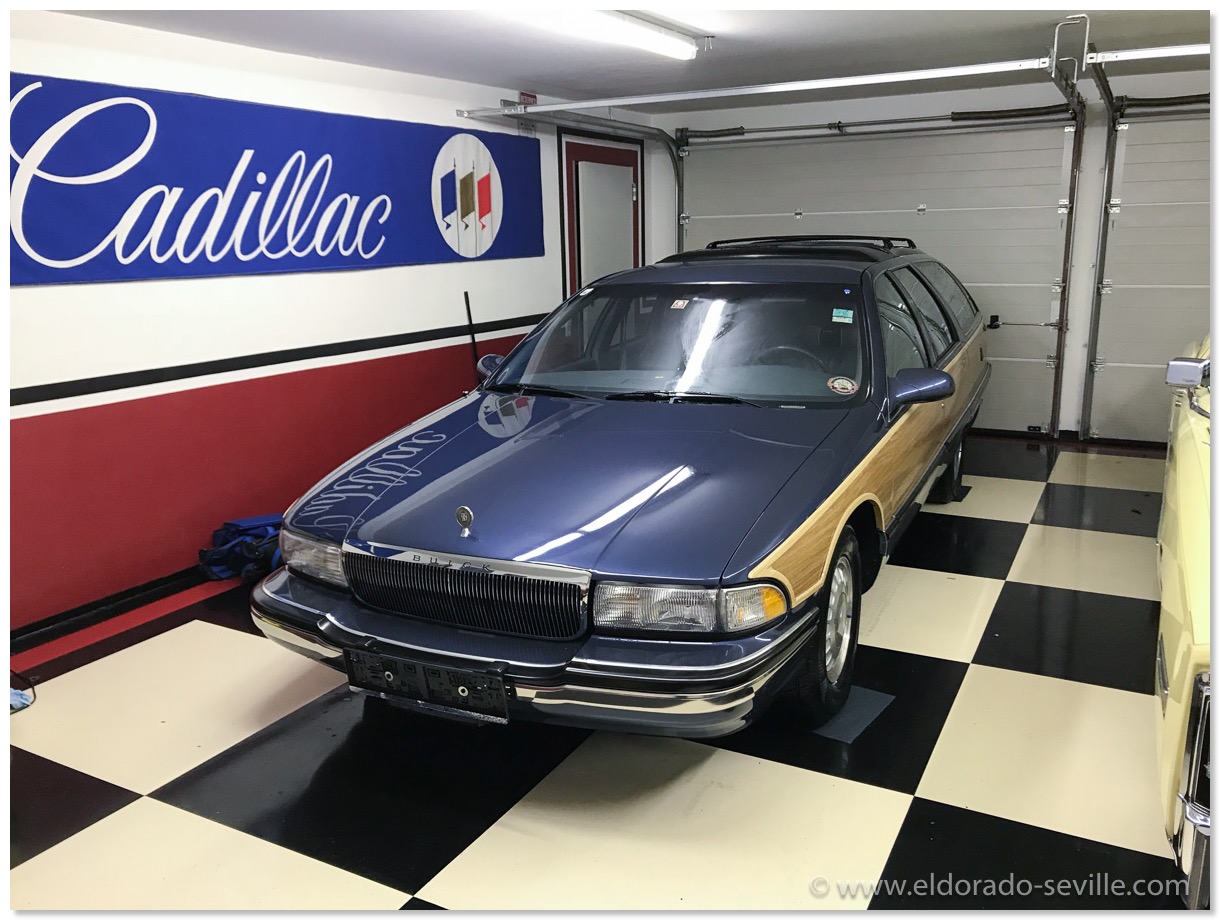
In my garage now.
PHOTOSHOOTING WITH THE FLEET
It took me quite a while to drive all the cars to the location and park them, as only 3 of them live in the big garage in the picture…
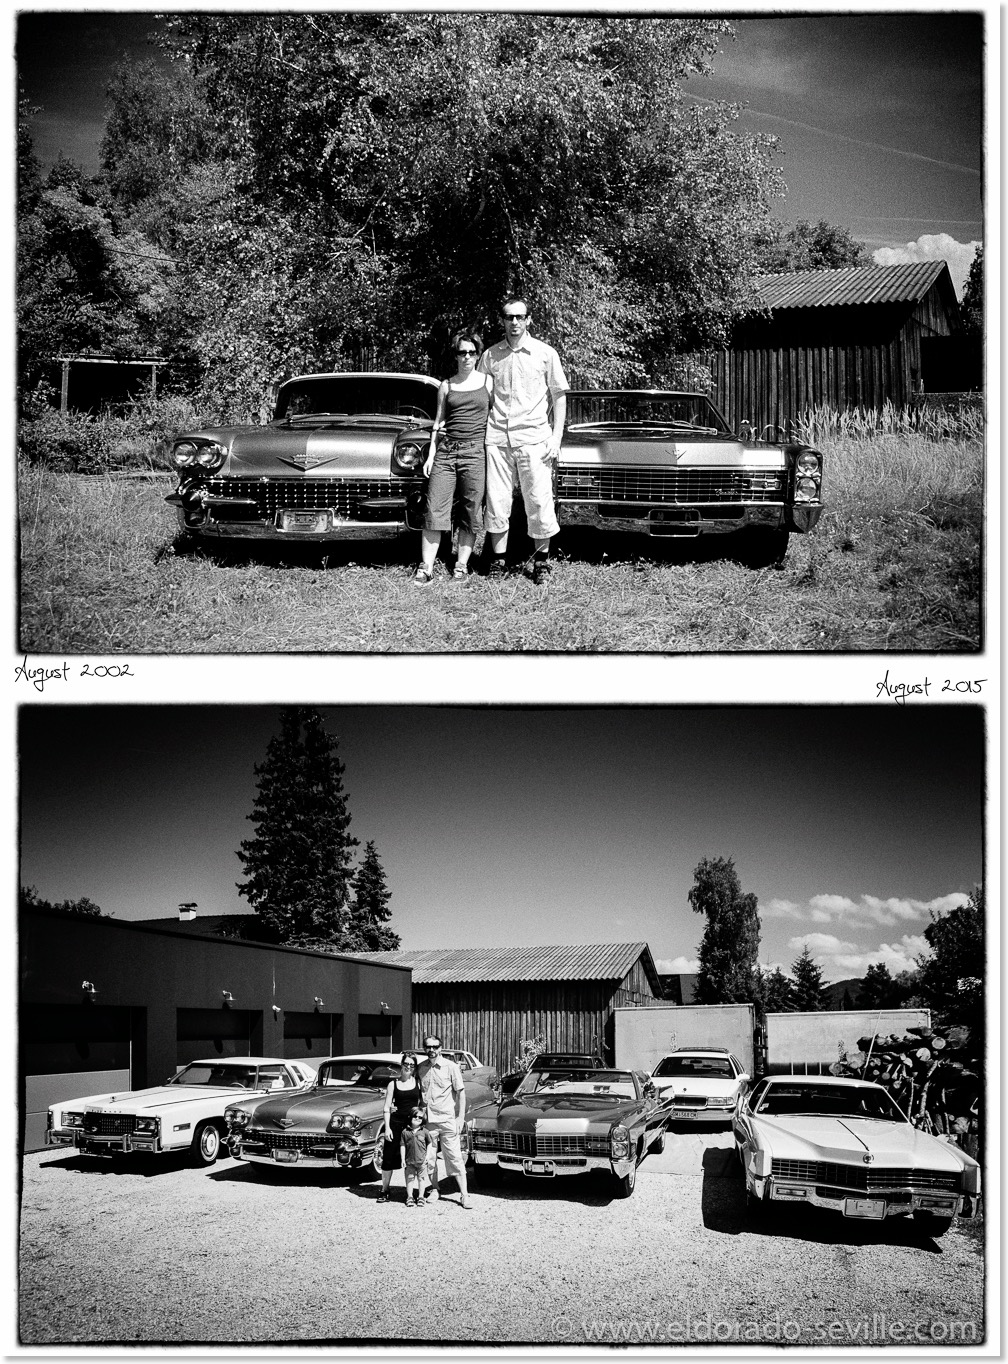
A lot of things have changed during the last 13 years.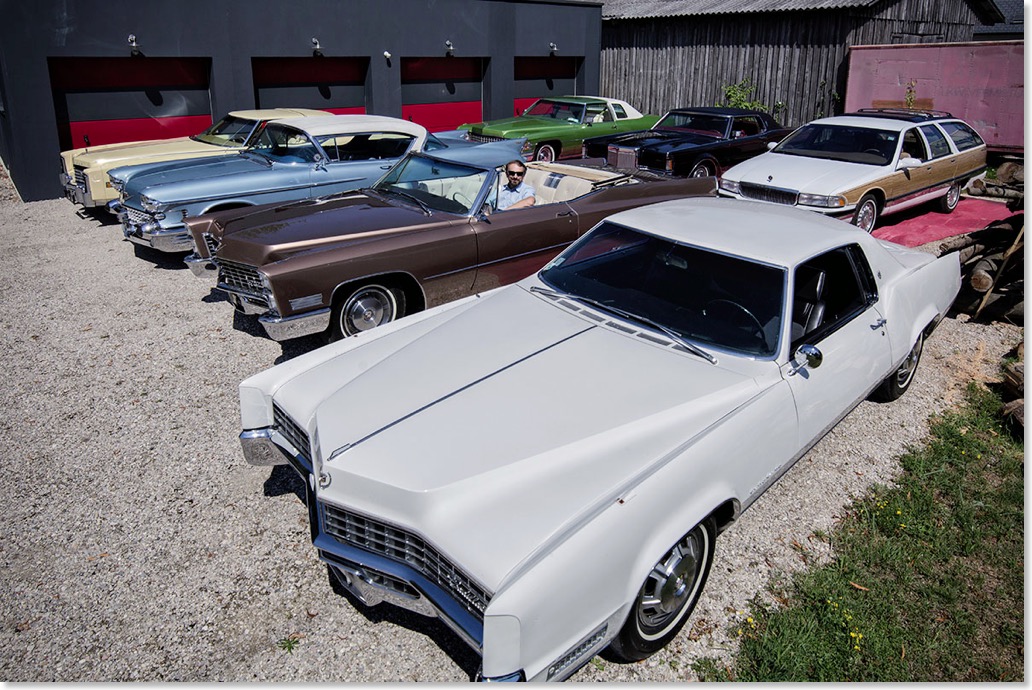
Our 1976 AMC Pacer is missing in this picture as it does not run at the moment.
The cars are in winter storage :-(
The cars are now in their cosy garages and will all get a new wax-, lubrication- and thorough cleaning job during the next few weeks. I usually also disconnect all the batteries, give the weatherstripping and rubber a good coat of silicone spray and treat all leather areas with leather conditioner. I also clean the interior carefully and over-inflate the tires to make sure that they do not get any flat spots. I will also park the tires on styrofoam. I really hate winter and snow and I am already looking forward to next spring... Over the winter I will rebuild the starter motor of my 1967 Eldorado and detail the undercarriage. The Lincolns undercarriage will get a very good cleaning as well. The 67 DeVille will get some new front wheel bearings and probably a new wheel cylinder and power booster. The 58 Eldorado will also need new front wheel bearings. So there will be a lot of minor things that will keep me busy over the winter...
Below are some pictures of our very last cruising tour this week with the Mark III
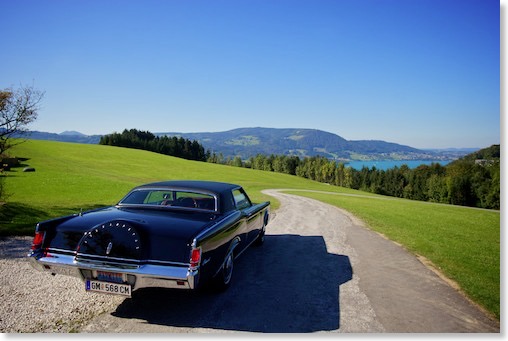
Cruising through the scenic landscape of Austria looking down at a lake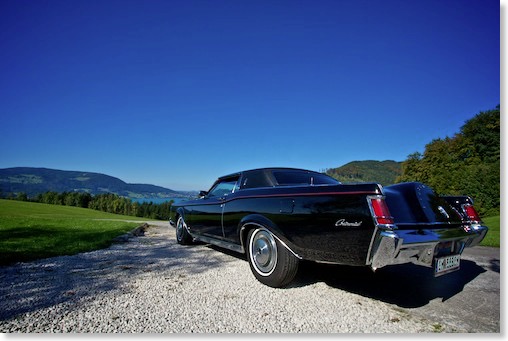
The Mark III enjoying the last sun rays...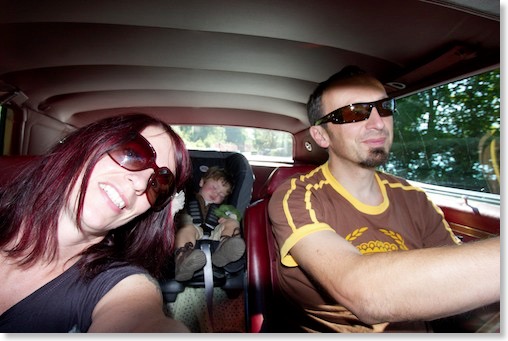
The whole family in the Lincoln - little Elliot is taking a nap as usual - nothing beats the soothing sound of the V8...
A Photoshooting with my Cars
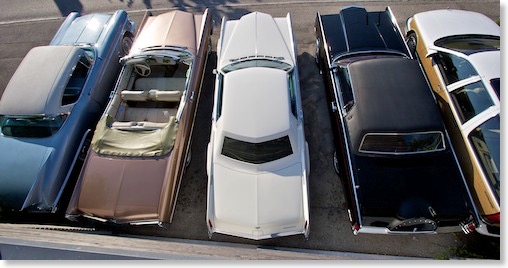
Seen from the roof top of the garage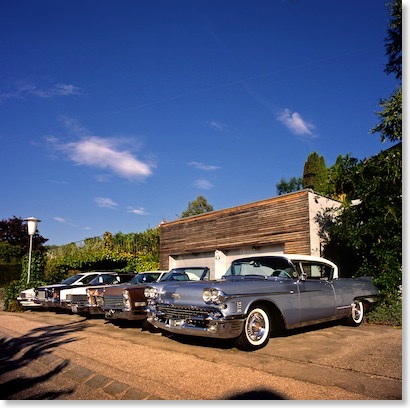
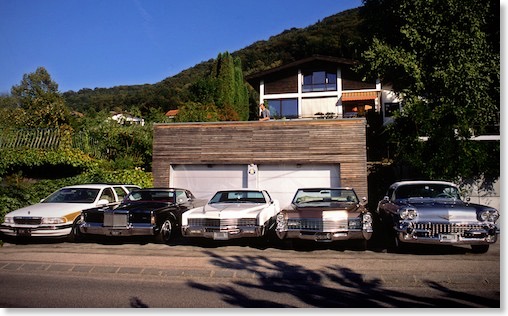
Most of my American cars in front of the garage...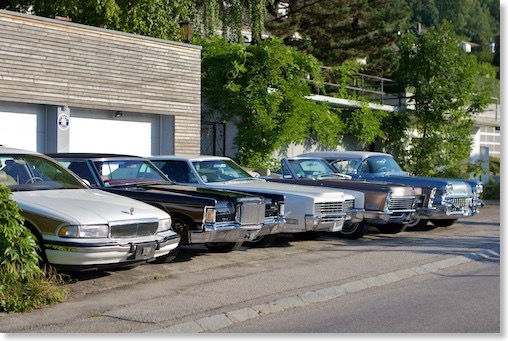
Changing the Roadmasters Oil
The 96 Roadmaster gets a new fuel sending unit
I ordered a new pump from Rockauto. When it arrived I dropped the tank to get access to the unit. You also need some special tools to disconnect the fuel lines. I found these tools at Summit racing and ordered them.
When I had the fuel sending unit out of the tank I noticed that at the previous repair they did not install a strainer. I also got the tip that it would be a good idea to also exchange the whole fuel sending unit, just to be sure that I would not have to remove the tank again anytime soon. So I bit the bullet and also ordered a complete fuel sending unit including a strainer. So the car was sitting there waiting for the parts to arrive from the USA blocking the garage for the 67 Eldorado which I already wanted to put into winter storage.
As it turned out the parts where delivered to Australia, not Austria where I live... After 3 weeks they finally arrived. My wife helped me putting everything back together. The most difficult part turned out to install the strainer, as it came loose whenever I wanted to reinstall the fuel sending unit back into the tank. Eventually everything was back together and it was time to reinstall the tank. I worked from underneath the car, standing in the pit and my wife helped to reconnect the fuel lines. Everything is back together now and works as it should. So the Roadmonster is ready for the 2011 season waiting in its garage for spring to arrive.
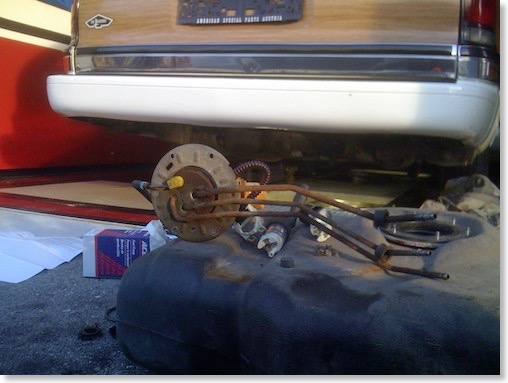
The old unit and the dropped tank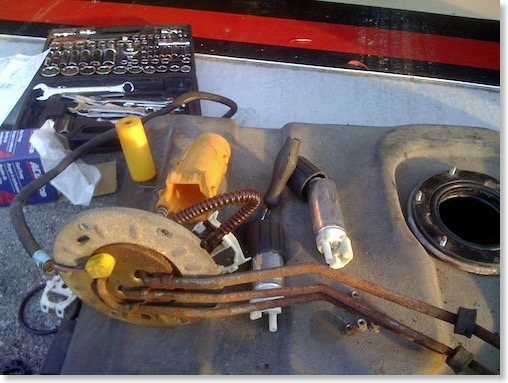
the old unit with the fuel pump removed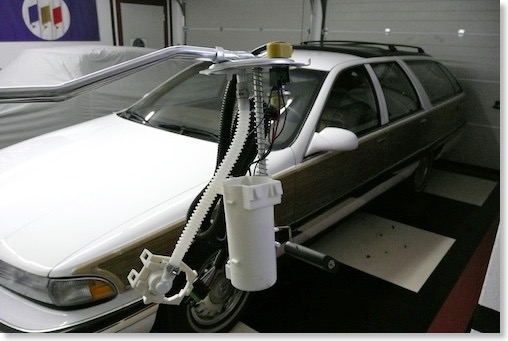
the new fuel sending unit when it arrived
The 67 Eldorado is now at the shop to get an Austrian license
The cars have to be safe and in very good condition. They check the brakes, all the suspension parts, rust, emissions and everything else what is important. The regulations are very strict - so basically everything has to be in perfect order. We even have to change the lighting system. Its obligatory to have amber rear turning signals, which makes it impossible to keep the rear lighting system in original condition (at least for the time of the inspection...). Often there is no other way than to install additional amber turn signals somewhere on the rear bumper or trunklid. (!)
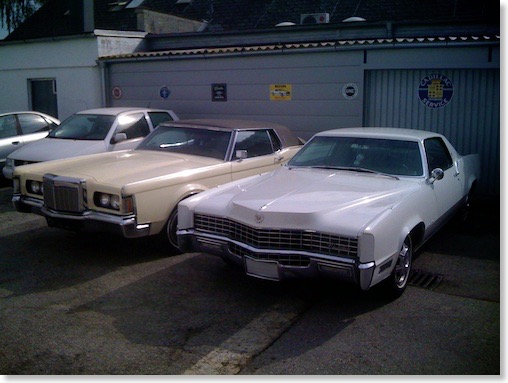
The 1967 Eldorado is now at the restoration shop - here it is on the side of a nice low mileage 1971 Lincoln Mark III.
As I finally want to be able to drive the Eldorado on our roads, today I delivered the Eldorado to my restoration shop, where they will do some of the necessary conversions and repairs. They already helped me with my 67 Deville and the 58 Eldorado.
The Eldorado will now get a new radiator as the original one is leaking badly. Actually I will have the original one recored and repaired. The front disc brake will get an overhaul due to a partly sticking piston, together with all new brake hoses. The fuel line will be replaced as it started to leak as well. The lower ball joints and the idler arm will get exchanged along with some rubber bushings. Besides of this list of repairs the rear lights will be converted for the inspection.
After the Eldorado is back in perfectly working condition, the inspector will check the car and hopefully approve it... Unfortunately until all this will be done it will take some time, and the winter is just around the corner - so it will go right back in winter storage after this procedure.
The 1996 Buick Roadmaster - new rear wheel cylinders
As our 96 RMW did not pass the technical inspection 3 weeks ago I had to order new rear wheel cylinders which were installed today as well. It then passed the annual inspection and can be driven for another year.Music video with our Roadmaster in the background
We shot this “no budget“-production on a rainy sunday morning in a storage facility - the cars in the background were the perfect backdrop for the band. The musicians are a great bunch of guys and we had lots of fun during the shoot. Our Buick Roadmaster also served as a background props for the shooting - thats why I´m posting this video on my website.
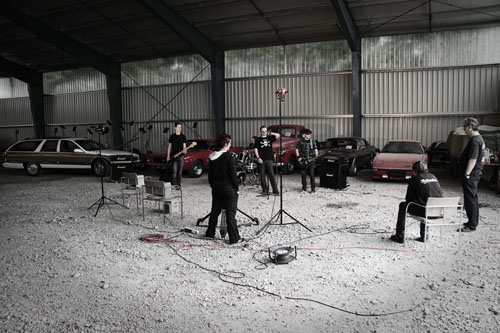
The shooting location with our Roadmaster in the background
The finished video
Time to change the engine oil
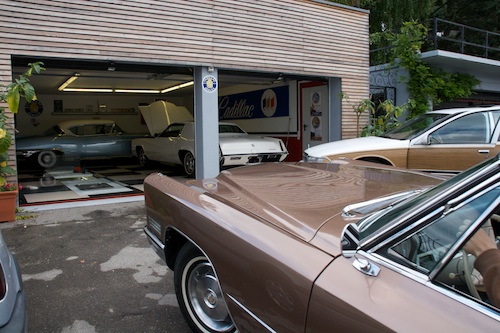
I had to drive one after each other over the pit...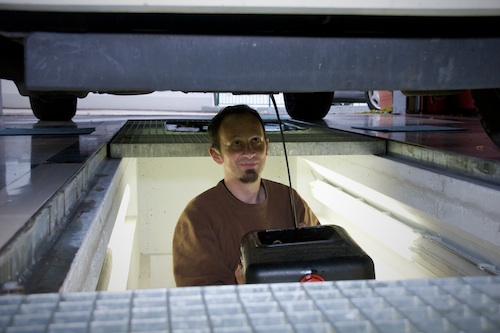
somehow its always a mess to change the oil...
Dornbirn Car Show - Picture Gallery
I always exhibited one of my Cadillacs at the indoor show in the past years, but this year I decided to take the Roadmaster for the trip and just take part as a regular visitor.
We met with some friends and drove there in a 7 car convoy. It took us a 7 hours to get there as we also stopped at a very cool diner along the route.
The show itself is a class of its own. You can find hundreds of Hotrods, Classics and Muscle Cars there which you do not see at any other shows in Austria. We really had a great time there and are looking forward to the next edition of the show in 2011.
You can find a huge selection of pictures of this trip in the image gallery. Most pictures were taken by my wife Afra as I did the filming part this time. The black and white one were shot on real "old fashioned" analog film with a medium format camera. Afra also shot two roll of slides which were scanned after development.
Enjoy! A very cool High Definition film will follow in a couple of weeks. So stay tuned.
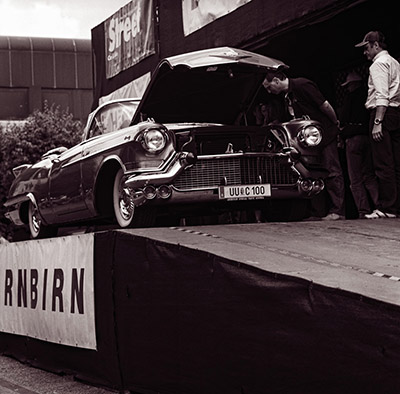
a great 1957 Cadillac Eldorado Biarritz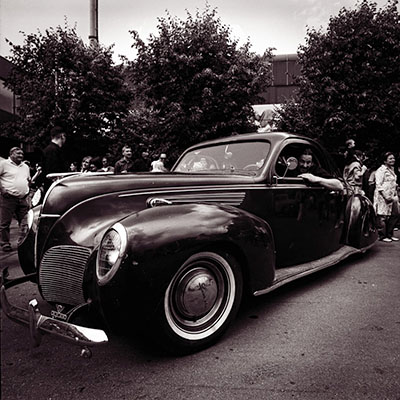
Sepps Lincoln Zephyr - Aweseome and rare car. Click on the images to go to the gallery for more images like this.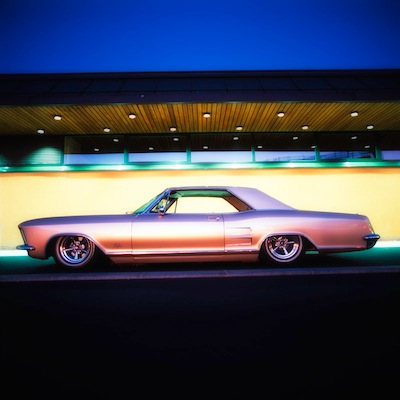
Alex´s 1963 Riviera shot during the night cruising on Saturday
The Roadmaster is back home with "new" transmission
Finally, after 2 1/2 months in the shop we got the Buick back yesterday. The shop had problems locating all the parts for the rebuild. As I lost patience and they still could not find the parts, eventually I found the parts myself without a problem. Anyway, the car now is back home in the garage and drives beautifully again. The transmission was completely rebuilt, including all internal parts.
we could follow the repair on the webcam of the car dealer - this is a screenshot of the final day.
Defective Transmission - Roadmaster
We stopped on the next rest area, but I could not find anything wrong with the car. So we continued our journey and stopped at the next specialized dealer to have the error code read out. Code "P1886" showed up - which is transmission related. The 2-3 upshift solenoid seemed to be defective. So we decided not to drive any farther, as it turned out that the car only ran on second and third gear. Finally the car was delivered to the next national automobile club service station of the "ÖAMTC" to be towed to the dealer I bought the car from. I still have 6 months warranty left, so he has to repair the transmission at his costs. Worst thing was that we just could not continue to enjoy our trip with the Roadmaster and had to borrow a tiny Suzuki Jeep from my wifes mom instead...
UPDATE: In the meantime a transmission specialist took over my car and is completely rebuilding the transmission now... At least I´ll have a like new transmission!
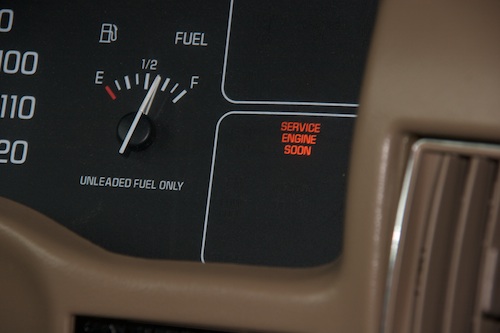
suddenly this lamp showed up...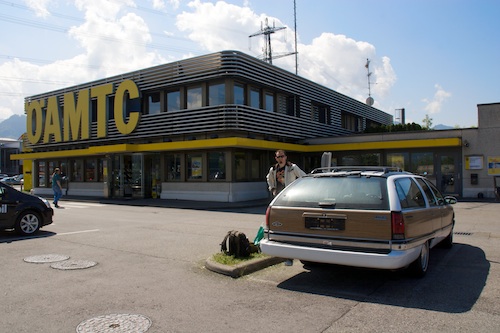
delivering the car at the national automobile club "ÖAMTC"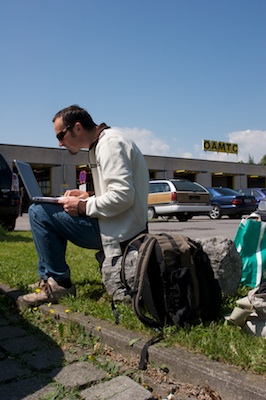
checking the Buick´s digital shop manual we had with us...
First official Cruise 2008
Today weather was perfect and so it was time for the first cruise with the Cadillacs as well. First I took the 58 for a spin - it ran perfectly and it was a dream to drive it once again after almost 8 months in storage.
After the 58 it was time to move the 67 out. Unfortunately the 67s battery is dead after 12 years of reliable service, and the new one did not arrive yet. So I had to jump start it with jumper cables. This worked perfectly and so I headed off with the 67 as well. After a few miles it started to hesitate pretty badly. As I would not be able to restart the car with the dead battery along the road, I got pretty nervous in heavy traffic. Eventually I made it home safely and I immediately started investigating the issue. I was worried that something broke somewhere along the ignition or the fuel distribution. I found out that one ignition cable managed to slip off the spark plug. I have no idea how this could happen - but the problem was fixed easily and I took the car for another spin to the gas station....
Great to be able to drive all my cars again.
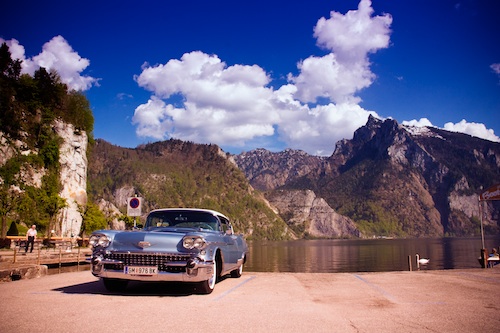
the 1958 Cadillac on the shores of the "Traunsee" in Traunkirchen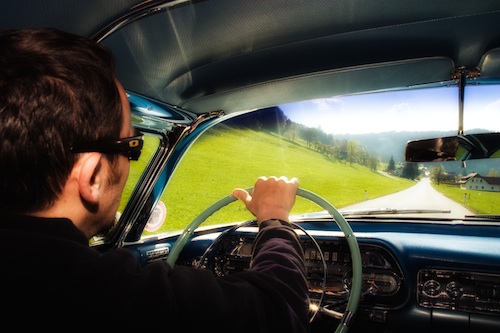
cruising with the 58 through the countryside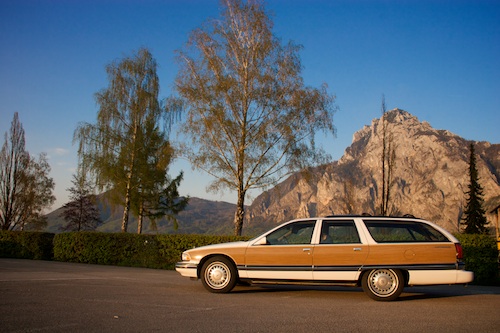
we took the Roadmaster for a spin...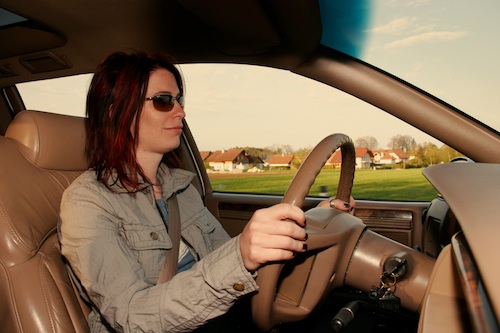
my wife enjoying the "new" family car
Happy New Year! - Roadmaster detailing
The paint on this 1996 Buick Roadmaster was pretty much neglected and a lot of cleaning, buffing, polishing and waxing was necessary to bring it up to like new condition.
It took us 2 days to just do the paint properly. We worked more than 20 hours in reviving the paint job and the exterior chrome.
We´ll do some more detailing work on the car later - it is now in winter storage anyway.
The car looks really good now - the white paint job is very bright. I have the impression that the shade actually changed...
Next up: Interior, engine and engine bay, rims and everything else...
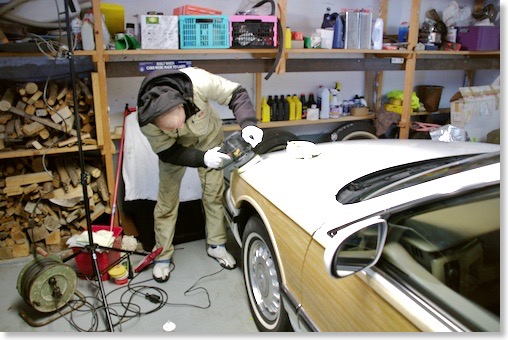
My buddy Tayfun with the buffing machine...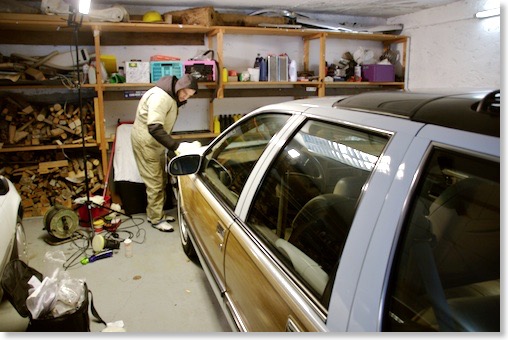
more polishing....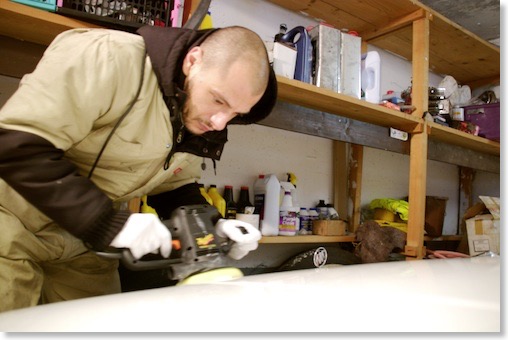
and more...
Our new company car!
Here it is:
It's a 1996 Buick Roadmaster Wagon and we will mainly use it to haul our film and photo equipment to various shootings.
We finally bought it from a dealer in Vienna and brought it home today. The car is in nice condition and drives like a dream. So far we are very satisfied with it.
Attached are the first pictures.
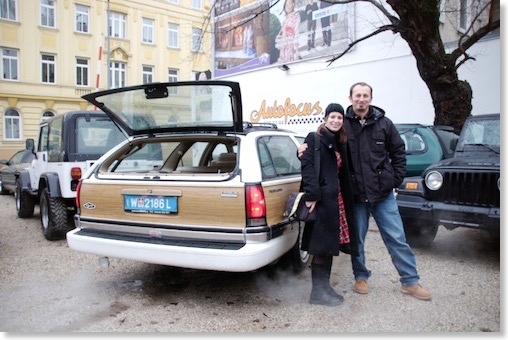
At the dealer lot when we picked up the Roadmaster.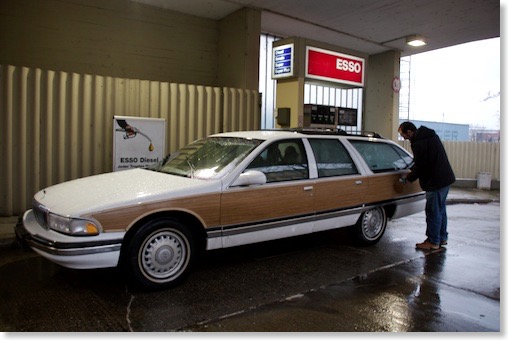
first tank of gas...
1966 Cadillac Coupe deVille (16)
1967 Cadillac DeVille (54)
1967 Cadillac Eldorado (73)
1971 Lincoln Continental Mark III (24)
1974 Cadillac Coupe deVille (46)
1978 Cadillac Eldorado Biarritz (25)
1996 Buick Roadmaster (20)
Cadillac BIG Meet (2)
Car Shows (55)
Cruising (4)
CT6 (1)
For Sale (3)
Garage Stuff (32)
Pacer (1)
Restoration (140)
Various (55)
Video (20)
Website News (31)
- 6 way power seat
- 8-track
- 10 Ohm
- 429
- 1932
- 1957
- 1958
- 1958 Cadillac Eldorado Seville
- 1958 Cadillac Repair Tip
- 1959 Cadillac Eldorado Seville
- 1964
- 1965
- 1966
- 1966 Cadillac Coupe deVille
- 1966 Cadillac Repair Tips
- 1967
- 1967 Cadillac DeVille
- 1967 Cadillac Eldorado Repair Tip
- 1967 Cadillac Repair Tip
- 1967 Eldorado
- 1968
- 1970 Cadillac Eldorado
- 1971
- 1971 Lincoln Continental Mark III
- 1974
- 1974 Cadillac Coupe DeVille
- 1974 Cadillac Repair Tip
- 1976
- 1977
- 1978
- 1978 Cadillac Eldorado Biarritz
- 1978 Cadillac Repair Tip
- 1980 Cadillac Eldorado Biarritz
- 1996
- 2012
- 2014
- 2017
- 2018
- 2019
- 2022
- 2023
- 2025
- 3063206
- 7027235
- 7800483
- 7805675
- 7805676
- 12355706
- 17058531
- 17059968
- 17059969
- 22010515
- 22010661
- A.I.R
- A6
- AC
- AC Compressor
- AC Electrical Diagram
- ACC
- Accelerator Pump
- Accelorator pump
- Accident
- Actuators
- Adriatic Blue Metallic
- Ads
- Aftermovie
- Air Pump
- Aircondition
- AIRPUMP
- ALC
- Alternator
- AM
- AM-Transmitter
- Antenna
- Anti Rattle Clips
- Antique Gold
- Arizona Vintage Parts
- Arrival
- Article
- ASC
- Ash Tray removal
- ATC
- Atlantis Blue Firemist
- Austria
- Austro Classic
- Autolite SP-459
- Automatic Seat Back Release
- Award
- Banner
- Barn Find
- Battery
- Battery Tray
- Beach Race
- Bearing
- Bendix
- Biarritz
- Bigfoot
- Bill Hirsch Engine Enamel
- Bleeder Screws
- Bleeding
- Blower
- Bodywork
- Bolts
- Book
- Borg
- Brake Booster
- Brake Fluid
- Brake Gray
- Brakes
- Broken Bolt
- Brougham
- Bucket seats
- Buick
- Bumper End
- Bushings
- Cadillac
- Cadillac BIG Meet
- Cadillac BIG Meet
- Cadillac birthday cake
- Cadillac Blue
- Cadillac Color Selections Dealer Book
- Cadillac Coupe deVille
- Cadillac Dealer
- CADILLAC GRAND EUROPEAN
- Cadillac Meeting
- Cadillac Mini Meeting
- Camaro RS
- Caorle
- Car Show
- Carburetor
- Card
- Carpet
- Carter AFB
- Cavalry Twill Vinyl
- CB
- CBM
- CCCD
- Choke
- Christmas
- Citizens Band
- Classic Cadillac Club Deutschland
- Clay Towel
- Cleaning
- Clock
- Clockwork
- Clutch
- Clutch Coil
- Collector
- Colonial Yellow
- Color Coded Springs
- Commercial
- Compound
- Compressor
- Condenser
- Continental Mark III
- Control Head
- Conversion
- Convertible top
- Coolant
- Corona
- Cowl
- Cruise Control
- Cruising
- CT6
- CV Boots
- CV JOINTS
- D6230
- Dash Trim
- Decal Removal
- Decals
- Decoration
- Dehumidifier
- Delco Moraine
- Der Standard
- detailing
- Deville
- Diagnosis Chart
- Diagram
- Dial
- Digital Rotary Drum Clock
- Diner
- Disc Brakes
- Distributor
- Diverter Valve
- Door Jamb Switch
- Door Rubber Conduit
- Dornbirn
- Dot3
- Drive Shaft
- Driving tour
- Drum brakes
- Dry Ice Blasting
- Dry Ice Cleaning
- DVD
- Eastwood
- Eldorado
- Electric Choke Thermostat
- Electrical schematic
- Elvis
- Engine Bay
- Ep
- Epoxy floor
- Europe
- Evaporator
- Exide
- Factory Markings
- Fender Skirt
- Floor
- Flushing
- Flyer
- Foam
- For Sale
- Front AXLE
- Front brakes
- Front bumper filler
- Front Floor
- Front wheel bearing
- Fuel Filter
- Fuel Pump
- Fuel Sending Unit
- Fusible Link
- Garage
- Garage Cabinets
- Gasket
- GE
- Gear indicator
- General Time
- Glove box light
- Grand European
- H4
- Haus of Hot Rod
- Headlight Actuator
- Headlight doors
- Headlights
- Heater Core
- Heater Hose
- Heater Valve
- High Idle
- History
- Holley
- Honest John
- Hood
- Hood Emblem
- Hood Ornament
- Hose Clamp
- Hot Choke
- Hot Water Valve
- HotRod
- How to
- Hödlmayr
- Ignition Diagram
- Illuminated Entry
- John D‘Agostino
- John Foust
- Klassikwelt Bodensee
- Kremsmünster
- LaSalle
- Leather seats
- Light Switch
- Limited
- Lincoln
- Lincoln Mark III Repair Tip
- Low Mileage
- Magazine
- Marilyn Monroe
- Mark III
- Master Cylinder
- Master Switch
- Master Vacuum Switch
- Media Blasting
- Meeting
- Meguiras
- MK II
- Mobile
- Model
- Moldings
- Mom
- Mopar Nationals
- Mostkost Kustom
- Movie
- Munich
- Neon
- NOS
- Oberösterreicher des Tages
- oilchange
- ORF
- Overspray
- Pacer
- Paint
- Paint correction
- Paintjob
- Part Number
- Parts
- Patch Panel
- Perfect Circle
- Permabag
- Persian Lime
- Photo shooting
- Photoshooting
- Pictures
- PinUp
- POA Valve
- Power Antenna
- Power Servo
- Power Vent Windows
- Power Window
- Printed Circuit Board
- Programmer
- Pulley
- Quadrajet
- Quarter Panel
- Quartz Conversion
- R134
- Radiator
- Radio
- Rattle
- Rear brakes
- Rebuild
- Recalibrate
- RediRad
- Reed Switch
- Relais
- Relaunch
- Removing Overspray
- Repaint
- Repair
- Restoration
- RIP
- Roadhouse
- Roadmaster
- Rochester
- Rocker Arm Cover
- Rocker Panel Extension Clips
- Rostio
- Rotary Valve
- Rotterdam
- Rupes
- Rust removal
- Rust removal gel
- Sabre Wheels
- Sand Blasting
- Sandblasting
- Screed
- Season Greetings
- Seasons Greetings
- Seat Back Locks
- Seat Padding
- Seat Transmission
- See through ornament
- Self adjusters
- Self Starter
- Sepp's Garage
- Seville
- Sheetmetal
- Shocks
- shop manual
- short
- Sign
- Solenoid
- Spark Plug Wire Routing
- Speakers
- Special Award
- Speed Bleeder Screws
- Splash Guard
- Starter Diagram
- Starter Motor
- Steering Column
- Storage
- suction throttling valve
- sunroof
- suspension
- Swirl Mark removal
- Switzerland
- T3
- Taillight Cover
- Texan´s Choice Award
- Thermostat
- Tilt and Telescope
- Time capsule
- Tomsclub
- Torque Specifications
- Tower Hose Clamp
- Towtruck
- Trailer
- Transducer
- Transmission
- transmission control selector
- transmission control selector indicator light
- transmission shift indicator
- Treadle Vac
- Treffen
- Tri-Band
- Troubleshooting
- Trunk Cardboard Kit
- Trunk lid
- Trunk lining
- Trunk to bumper cover
- Turn Signal Switch
- TV
- Typisierung
- Ultimate Garage
- Underbody
- Undercarriage
- Undercoating
- Undercoating Removal
- Vacuum Booster
- Vacuum diagram
- Vacuum hoses
- Vacuum Master Switch
- Vacuum Schematic
- Vacuum Valve
- Valve Cover
- Various
- Vent Window Switch
- Vibration
- Vibrator
- Vicodec roof
- Video
- Vinegar
- Vinyl Roof
- Visitor
- Washer Fluid Float
- Washer Fluid Low Level Indicator
- Water Pump
- Wax
- Weatherstripping
- Website News
- Westclox
- Wheel Bearings
- Wheel Housing
- Wiesbaden
- Windlace
- Winter
- Wiring
- Wiring Diagram
- Wonderbar
- Workbench
- Zurzach
 GERALD´S CADILLACS - NEWS