 GERALD´S CADILLACS - NEWS
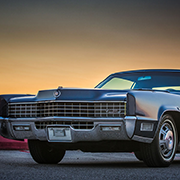
SPRING CLEANING THE 1967 ELDORADO
Unfortunately its very rainy and I can't test drive it.
Here is a short video.
POST CADILLAC BIG MEET CLEAN UP
GARAGE CLEANING AFTER A PROJECT
Especially after a project the garage is always a mess unfortunately . As the car …
 READ MORE...
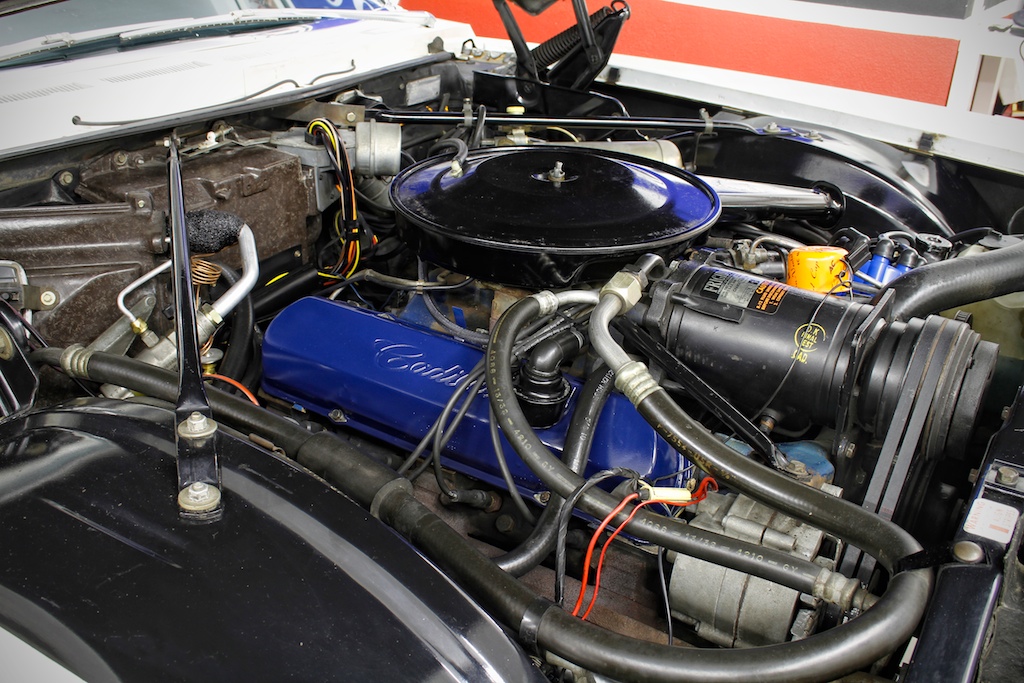
FINISHED THE 1974 CADILLAC ENGINE BAY RESTORATION PROJECT
Everything that came out was cleaned up, and wherever I found some surface rust or flacking paint it was completely removed and the according part was repainted. I had to do all of this on a very tight budget, but luckily the total cost of this project was extremely low, as all I needed were 3 cans of paint, some wire brushes and some cleaning chemicals .
I took a break from Nov. 2016 to April 2017 where I did not do any car related work at all. During the last 2 weeks I finished everything, and the car is now ready and only needs a good cleaning prior to the upcoming season. When everything was back together the car started up immediately (see video below) but I could not let it run for a longer time yet as the engine enamel (I used Bill Hirsch engine enamel) needs at least 2 weeks to fully cure.
I did not restore parts which still had their original decals, because some are irreplaceable, as there are no correct reproduction decals for the 1974 Cadillac out there. Many decals for sale for the 1974 Cadillac are totally incorrect - beware! For example there is no correct "Caution Fan" decal or AC compressor decal available anywhere. So there is still some patina left on some areas, and at first glance the engine bay does not look restored at all, but more like an extremely well kept car with very low mileage. I did not want to go for this over restored look.
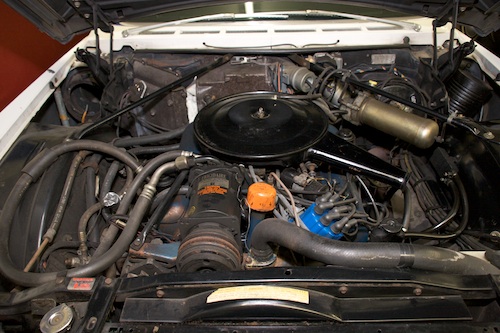
But let the pictures speak for themselves - here are 3 Before/After pictures (Click on them for a larger view) and the rest of the restoration pictures can be found here.
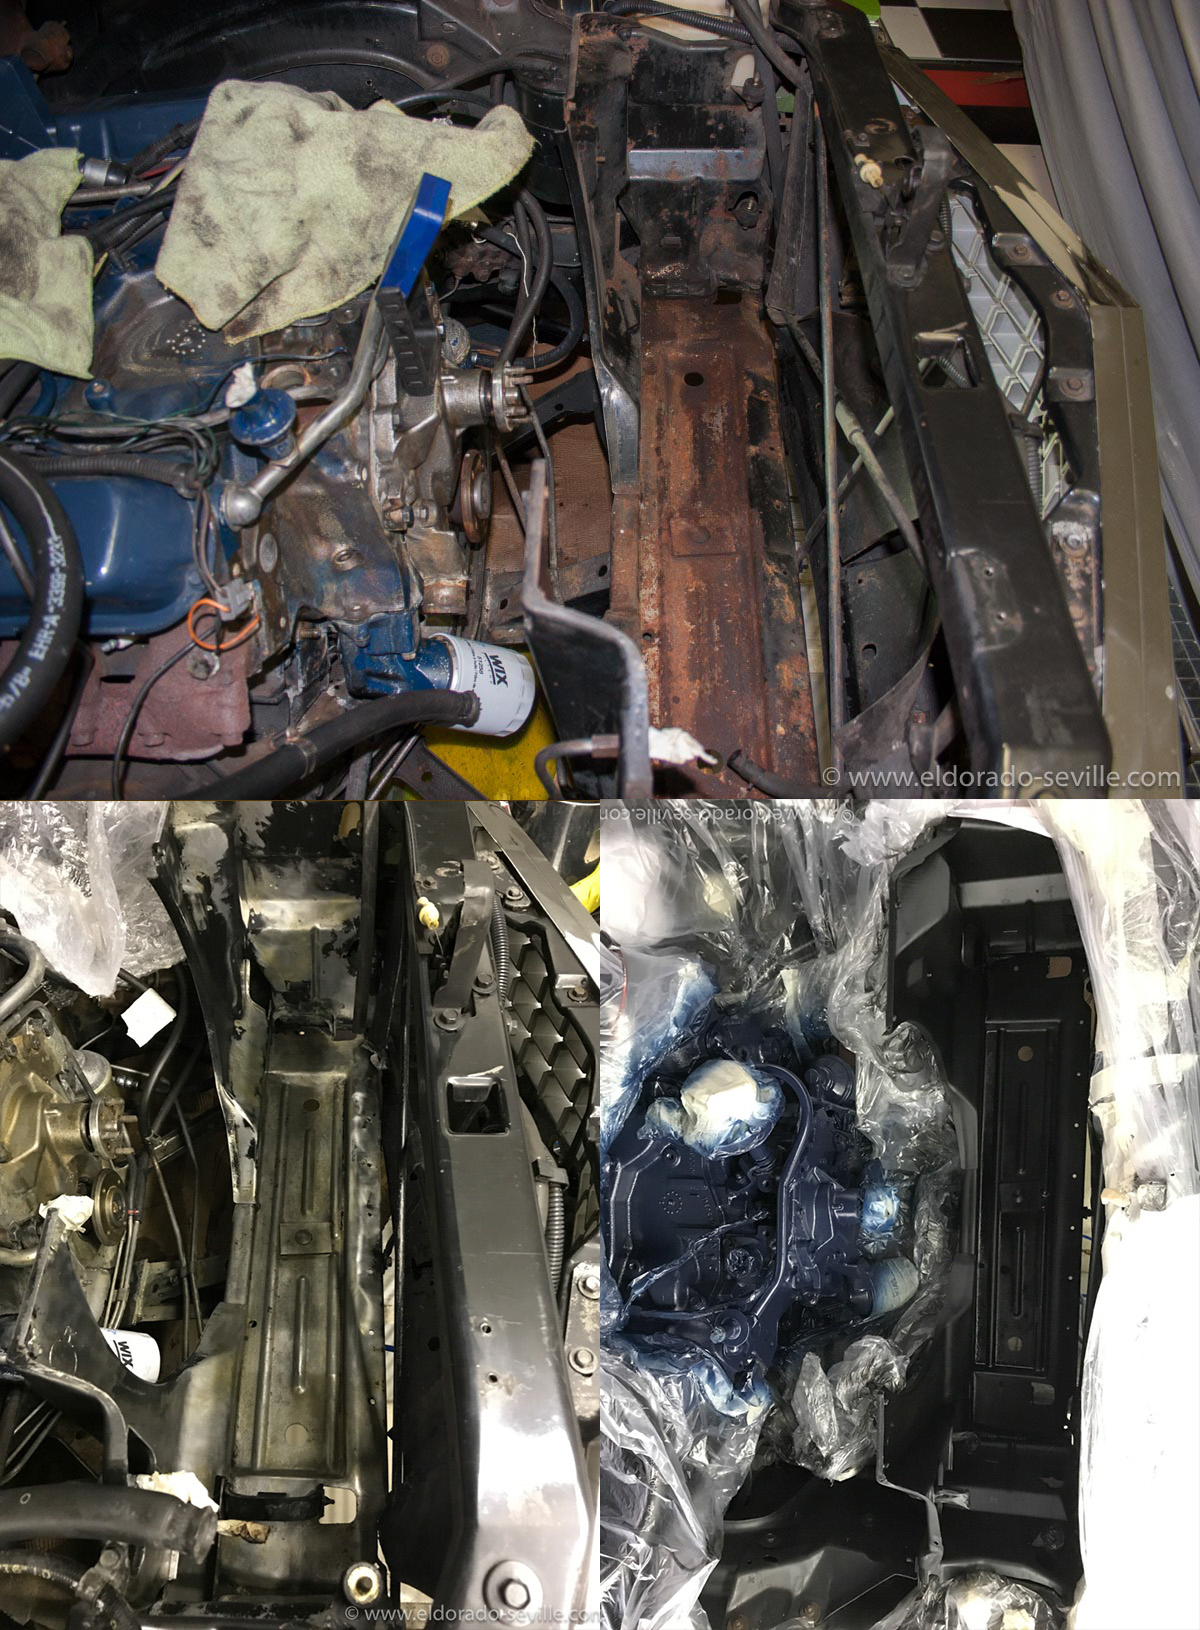
The radiator support frame before, after removing the rust and after painting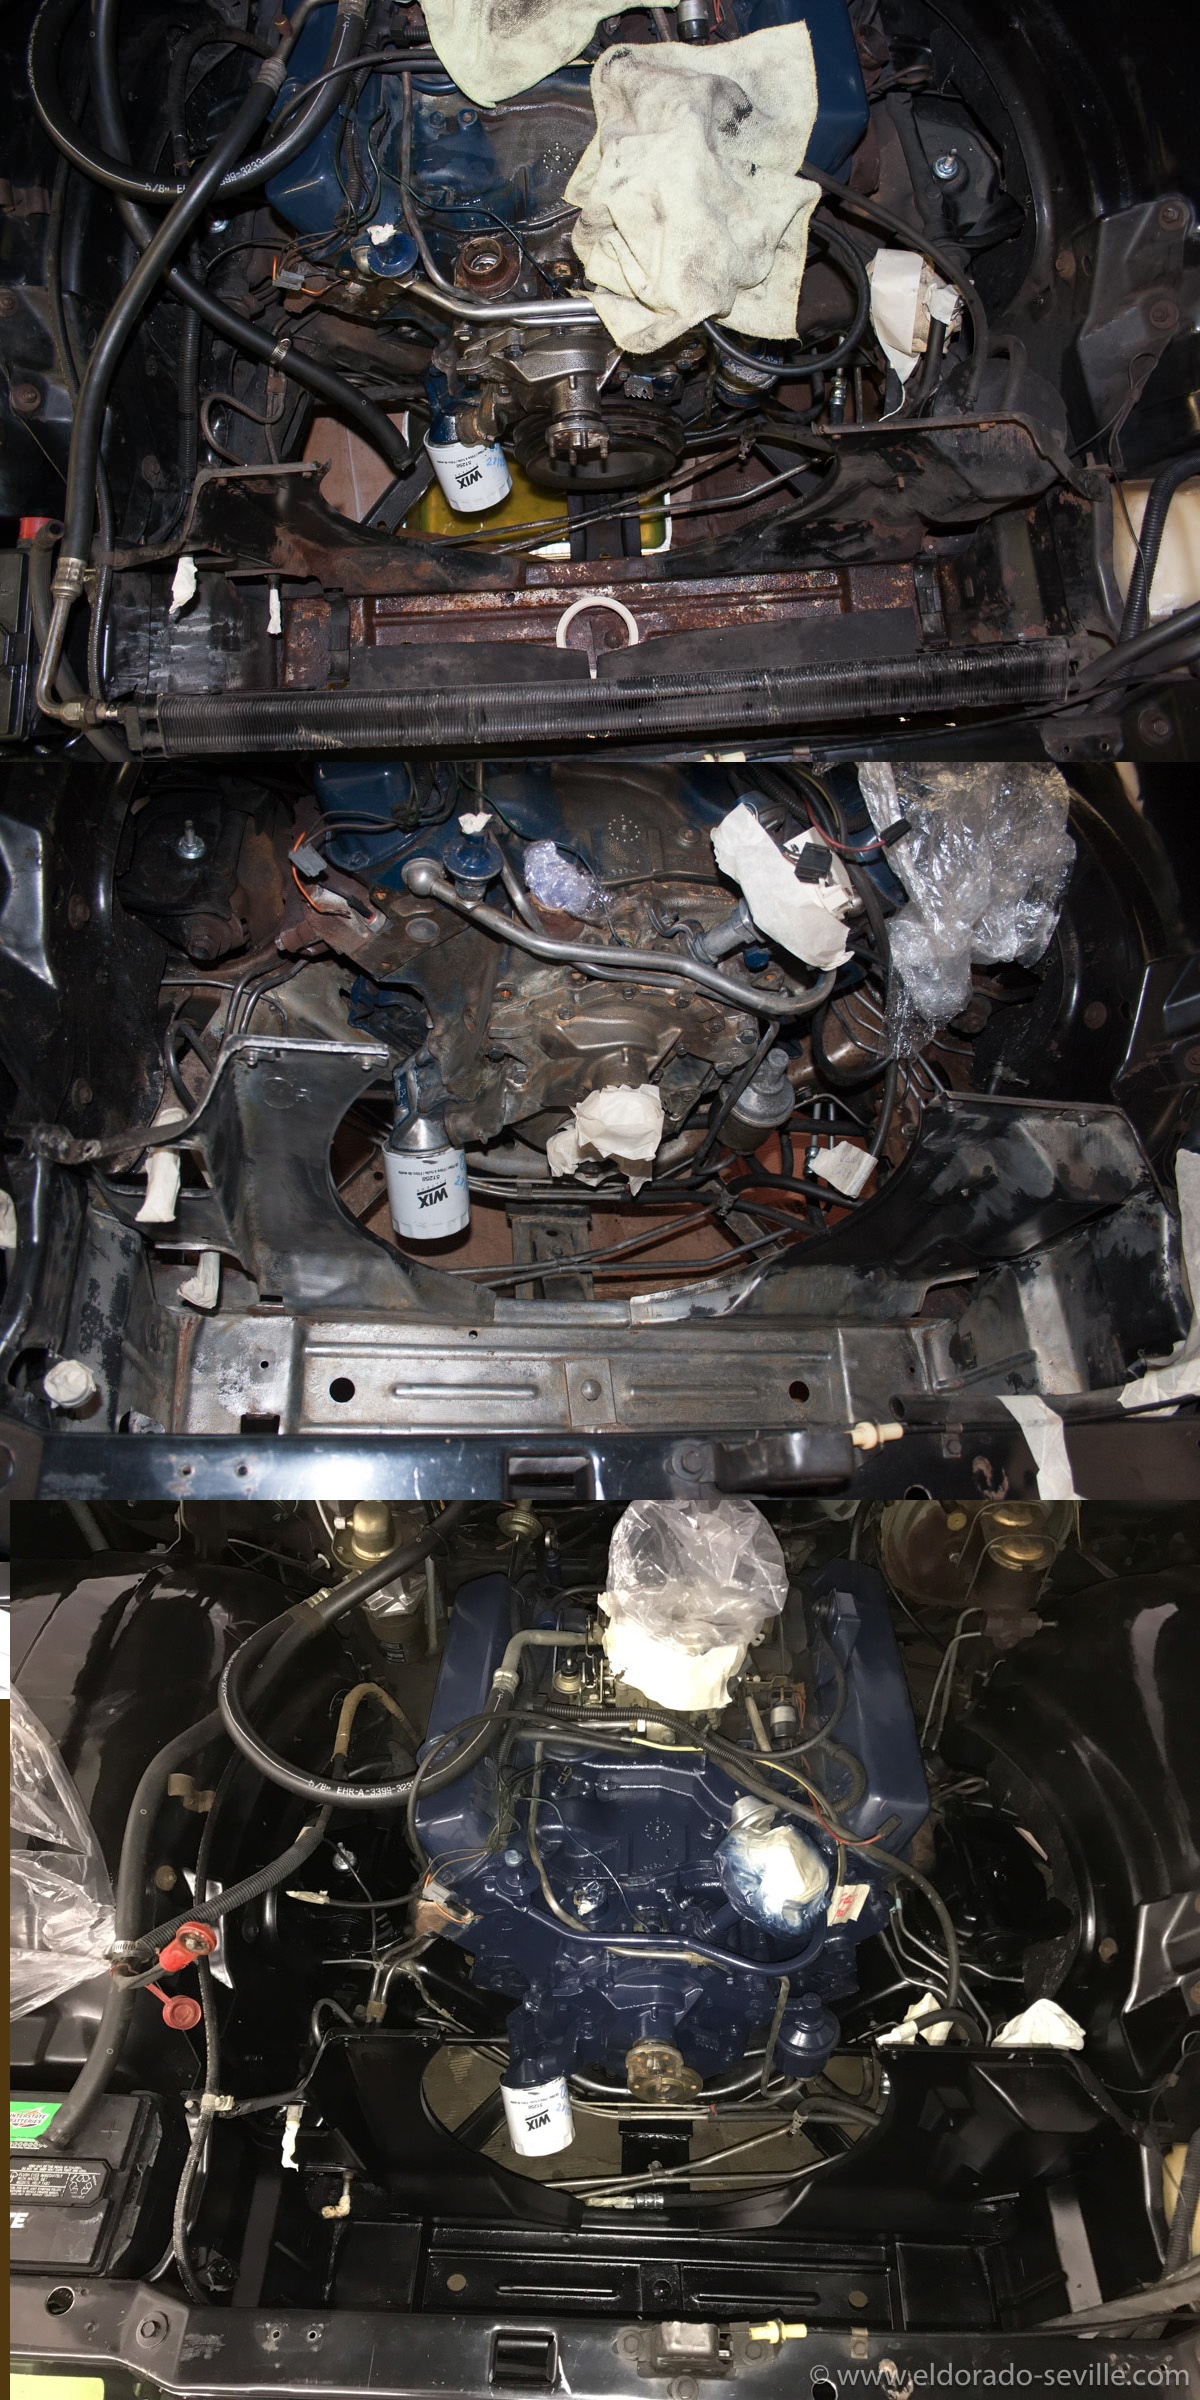
The radiator support frame before, after removing the rust and after painting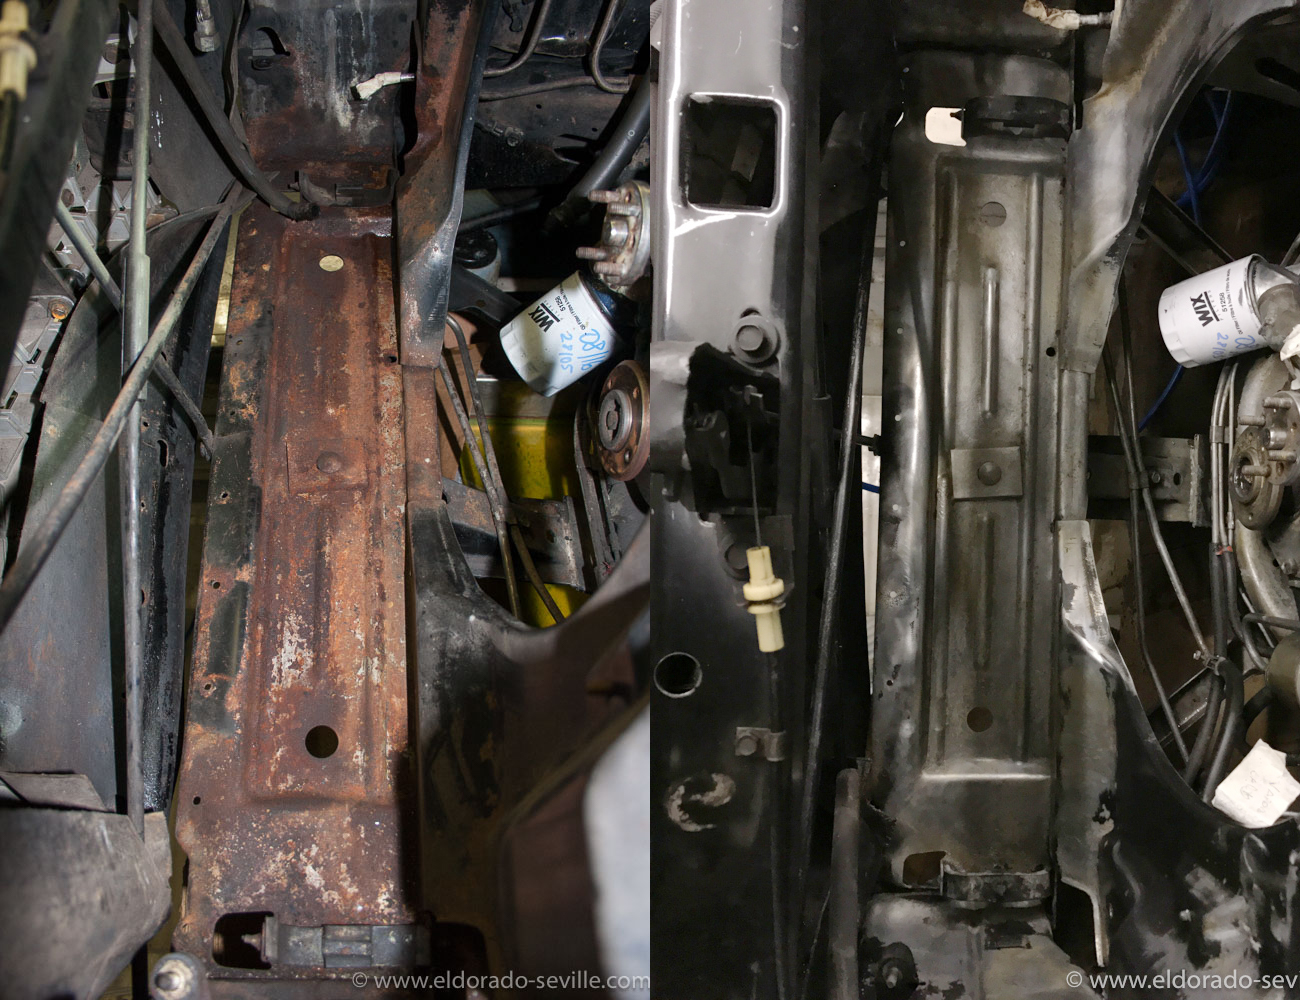
Before and after rust removal
Here is short video of the first start up after the restoration.
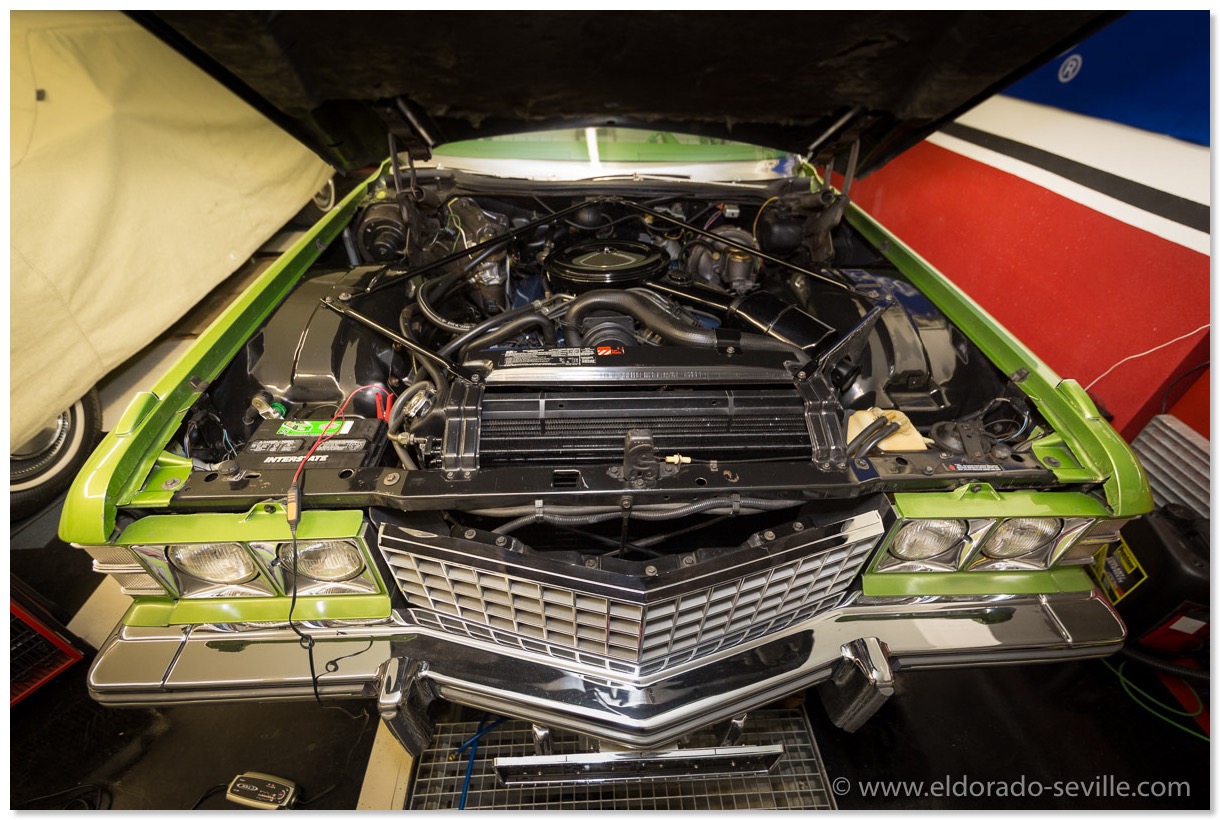
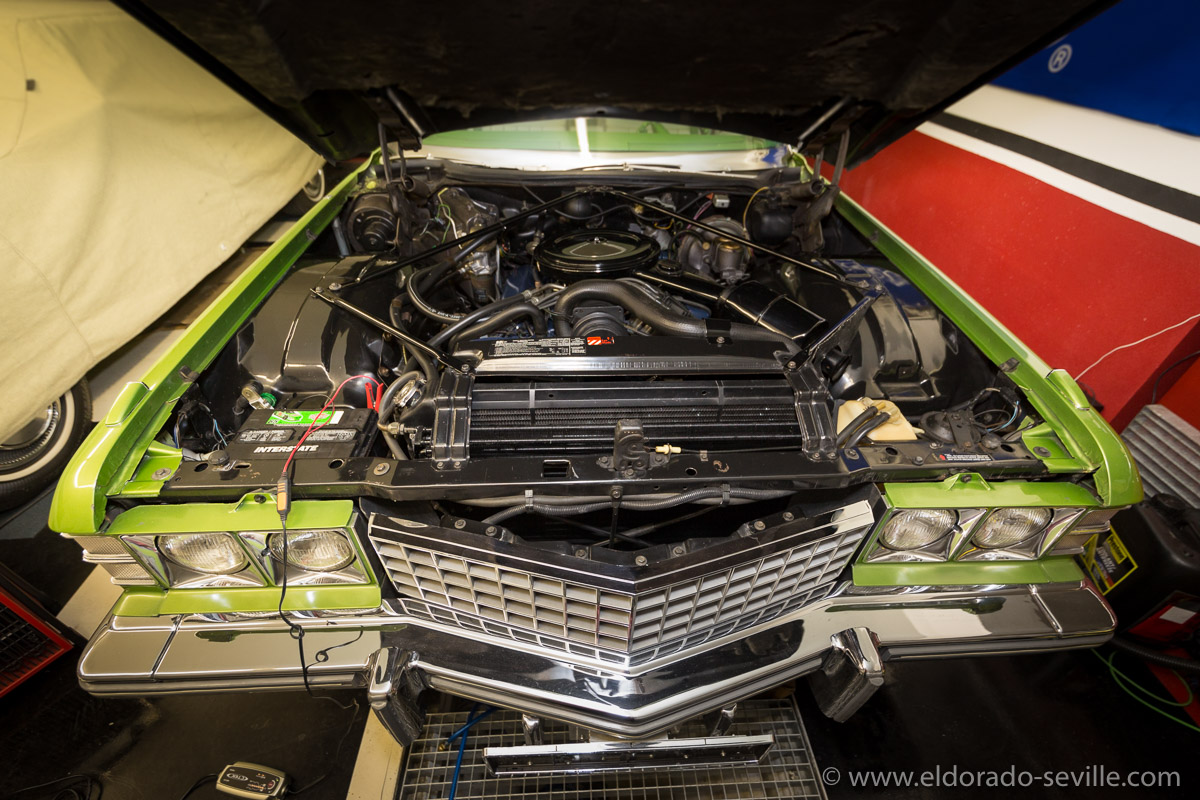
The finished engine bay looks pretty nice!
More pictures of the finished engine bay can be found here.
Cleaning the Vicodec roof of the 58 and the convertible top of the 67.
I have tried a variety of cleaning methods and cleaners over the years.
This time I used Meguiars professional vinyl cleaner #M39 ( I think this product is no longer available and they only offer #M40 now) along with their stiff nylon brush followed by a special nano foam sponge which is called "dirt eraser". It really removes dirt very thoroughly even from textured materials.
Both tops came out very clean - I then used Meguiars Convertible top impregnation to protect them from getting dirty again soon. It also weatherproofs the tops. (not that I would ever drive in rain with my cars... ;-) )
I have heard really good things about Meguiars Convertible Top Cleaner as well - will try it out next time...
Disclaimer: I´m not getting paid or receive any free products from the companies I´m mentioning here. If I like products or services I mention them and if I dislike things I will also talk about them in a less positive way ;-) I just like to share my findings.
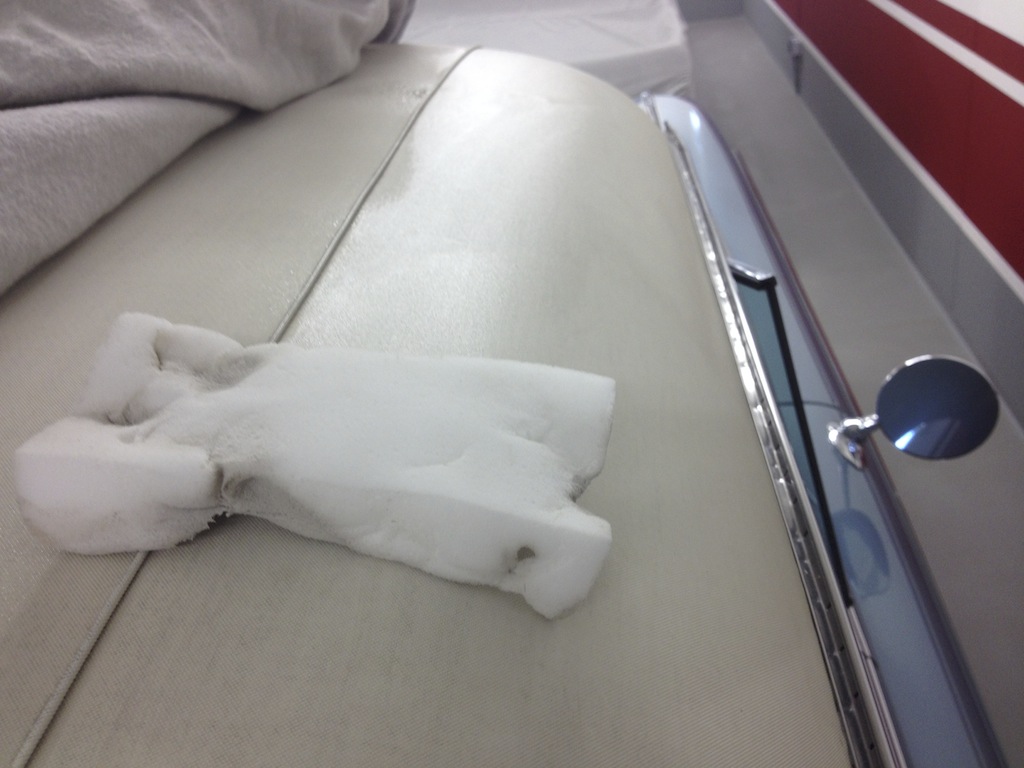
One of the dirt eraser sponges in action on the original roof from 1958. White tops are a pain to keep clean...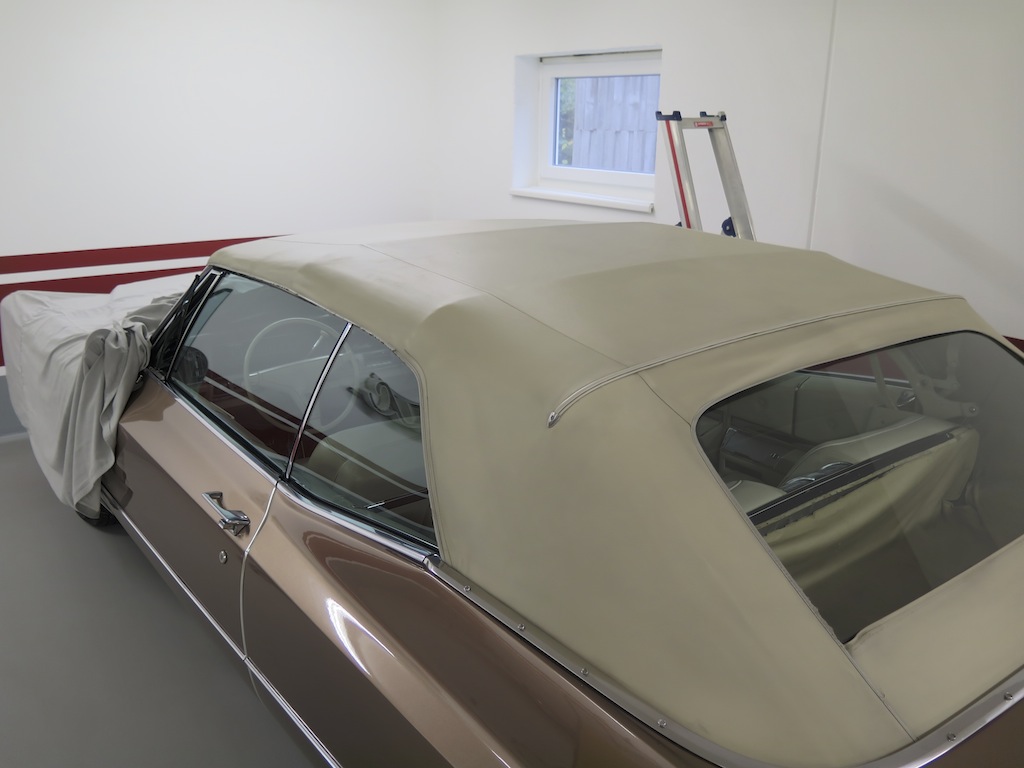
Looking o.k. now - its still the original top from 1967...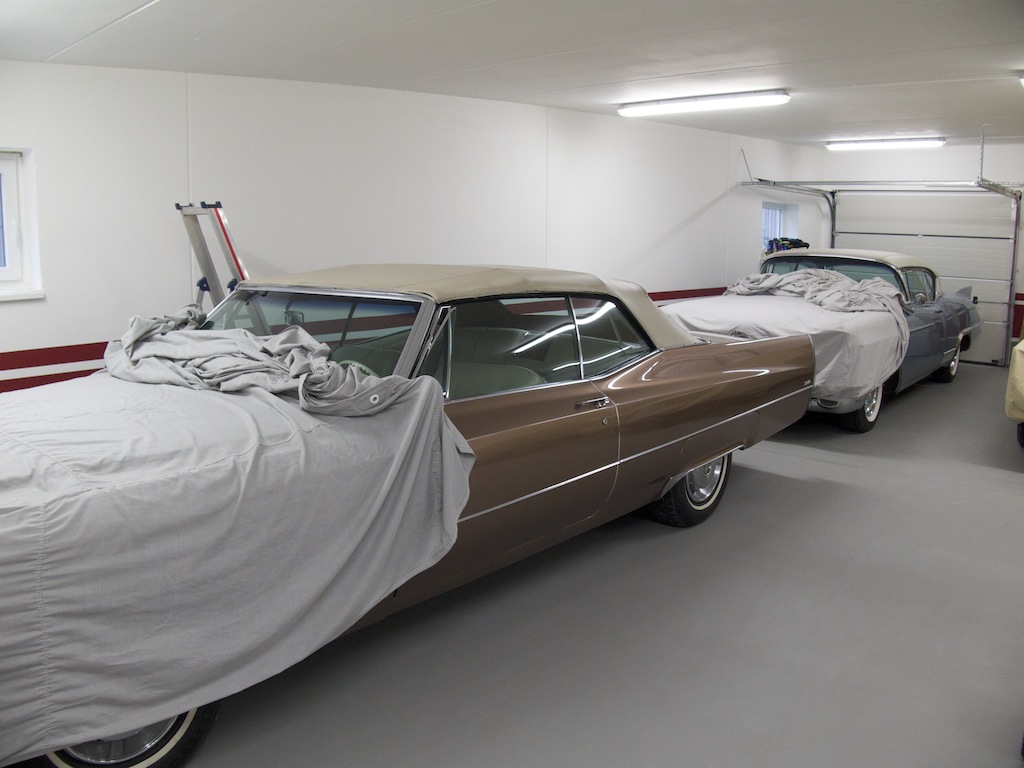
In the garage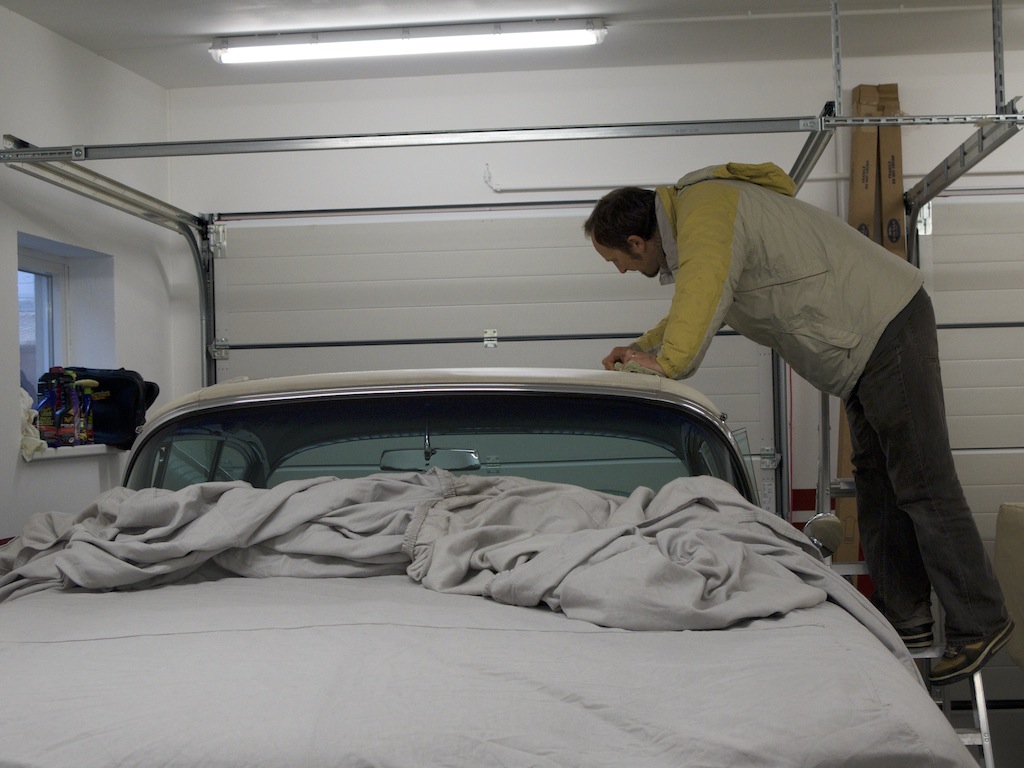
Thoroughly cleaning the Vicodec roof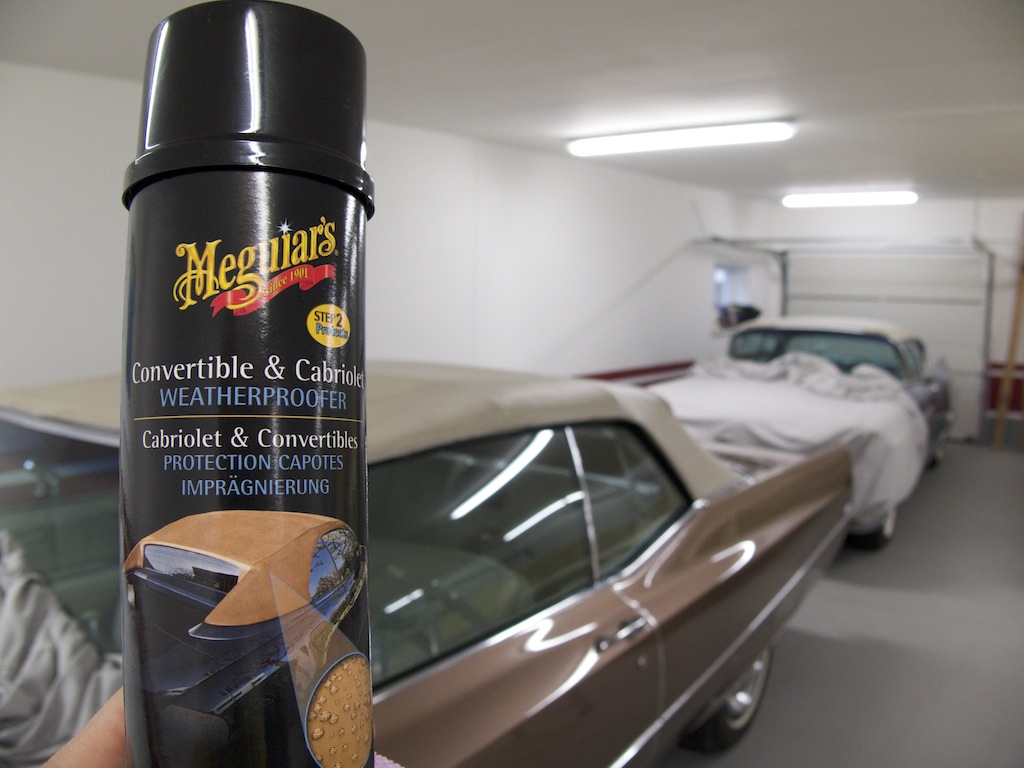
Meguiars weatherproofer for additional protection
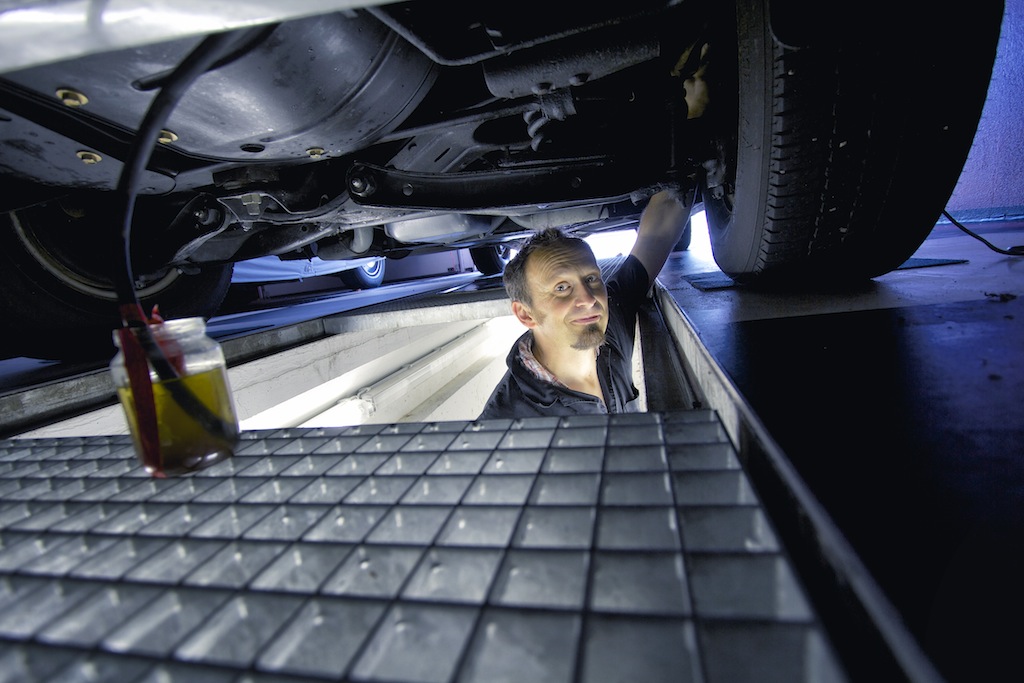
Bleeding brakes and spring cleaning
First up was the 1958 Cadillac Eldorado Seville which needed new brake fluid.
So I sucked out the old fluid from the reservoir and flushed all the lines with fresh DOT 3 brake fluid.
I started at the right rear line, the left rear, the right front and left front brake cylinder.
Although I have a pit its still a pain to reach all the bleeding screws. The power brake cylinder itself also needs some good bleeding.
Thanks to my dear wife Afra for gently pumping the brake pedal and helping me out.
When you bleed brakes make sure your assistant does not push the brake pedal all the way through as this could damage your master cylinders membrane.
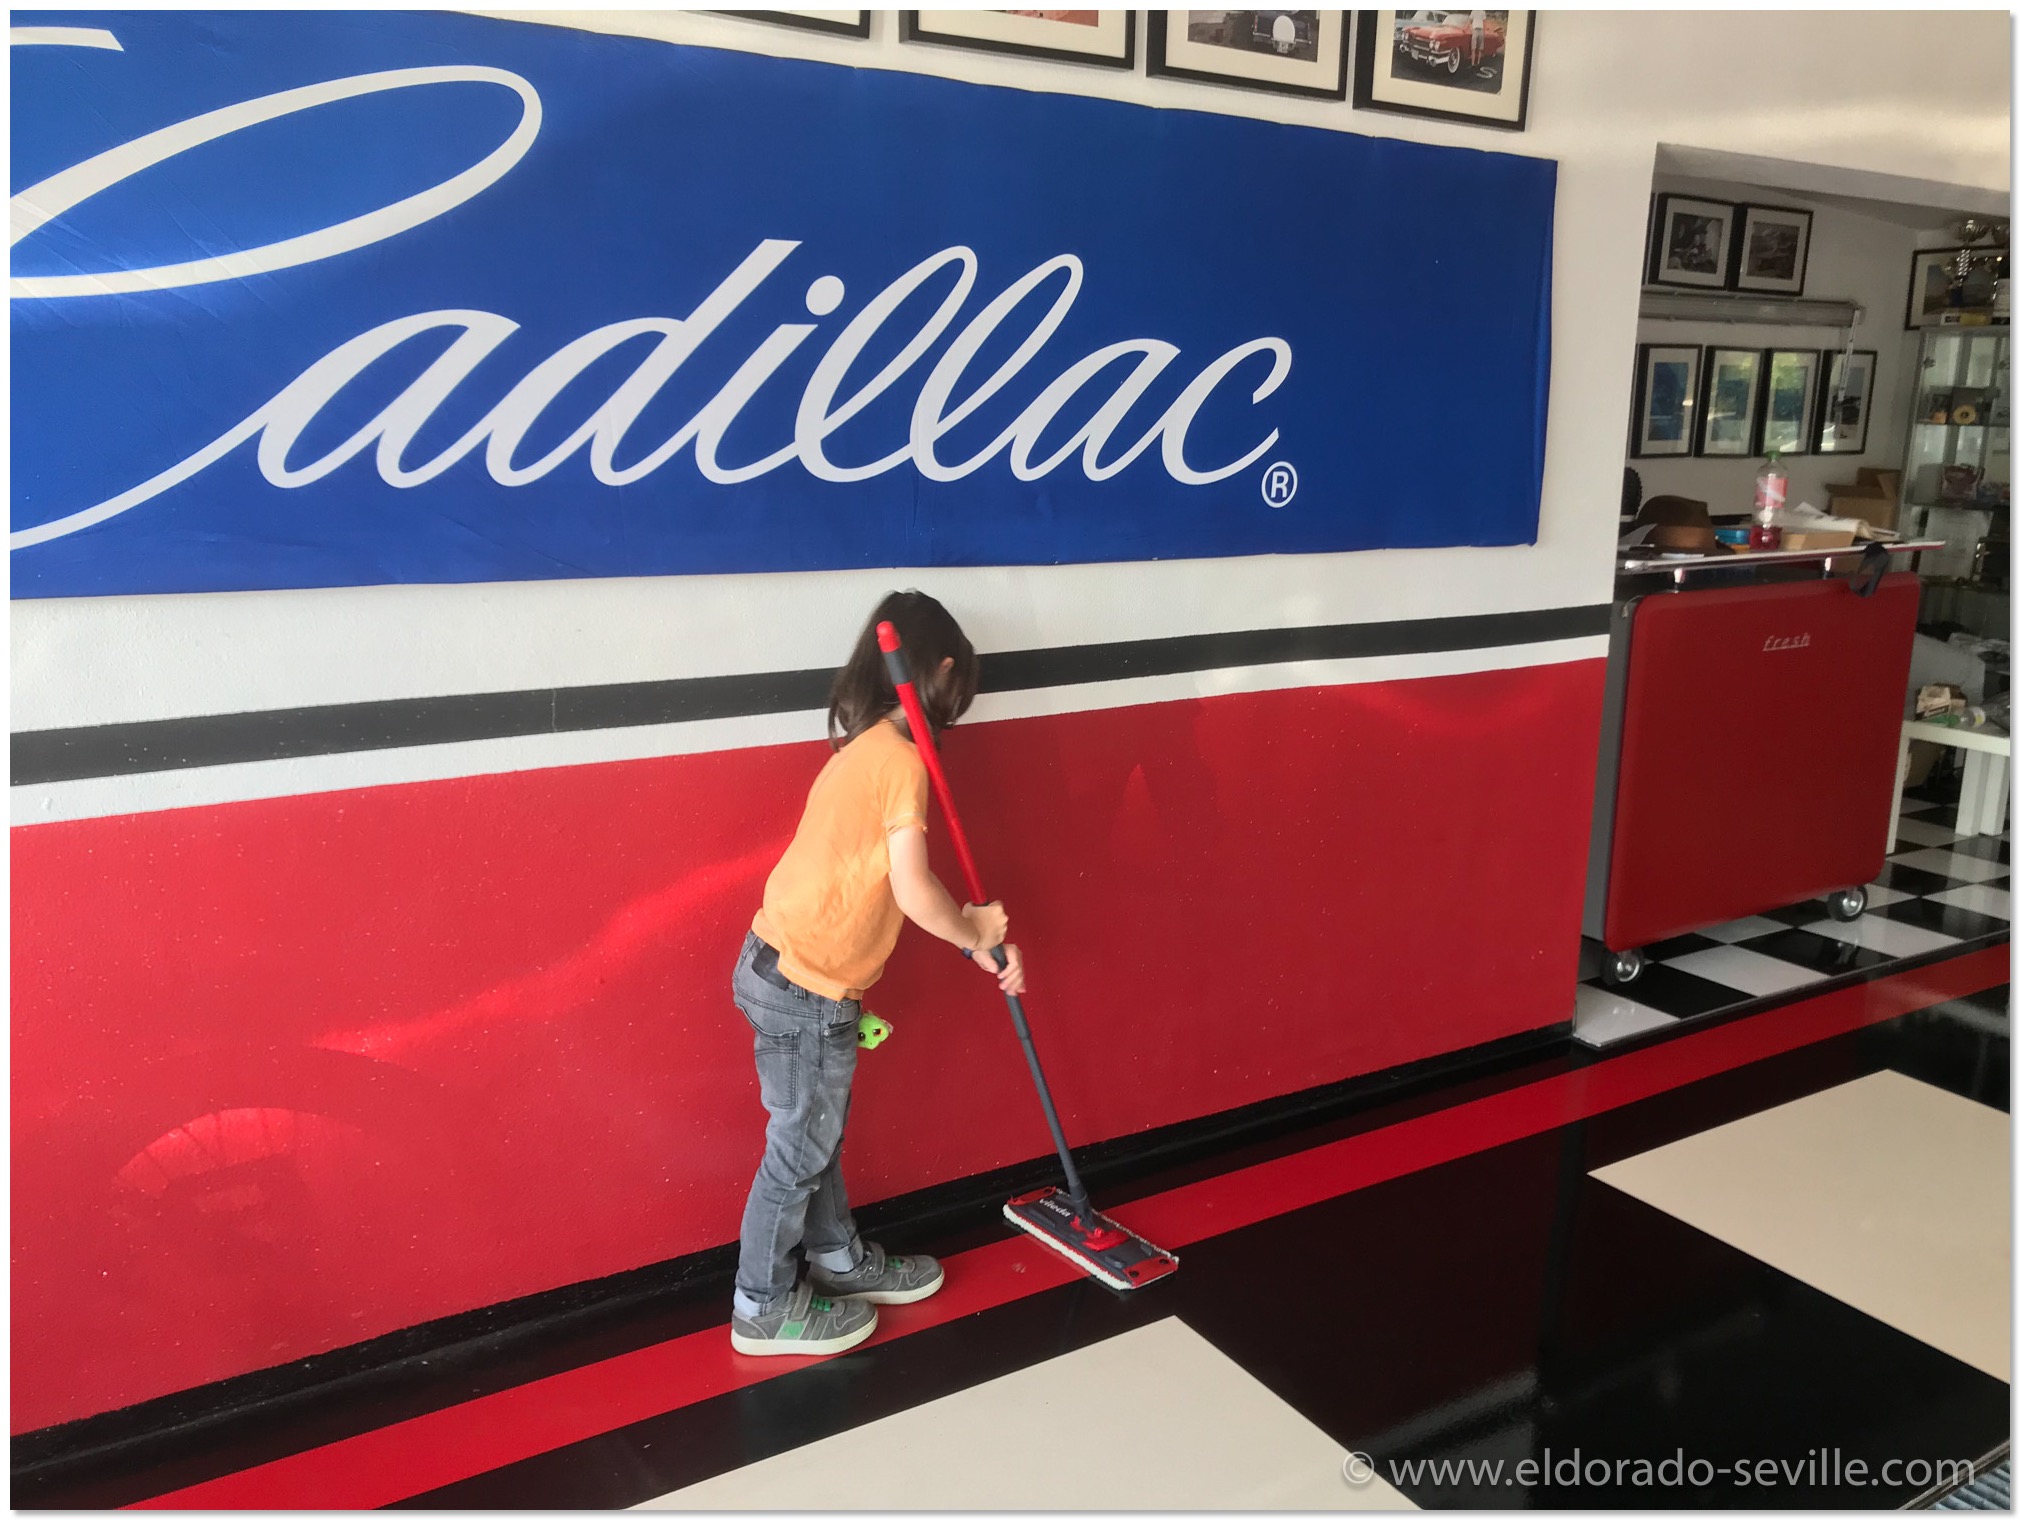
Next up was a thorough cleaning of the garage floor.
My 3 year old son Elliot also wanted to help his daddy and helped me swiping the floor ;-)
Bleeding and flushing the 58s brake lines
The cars are out for cleaning the garage floor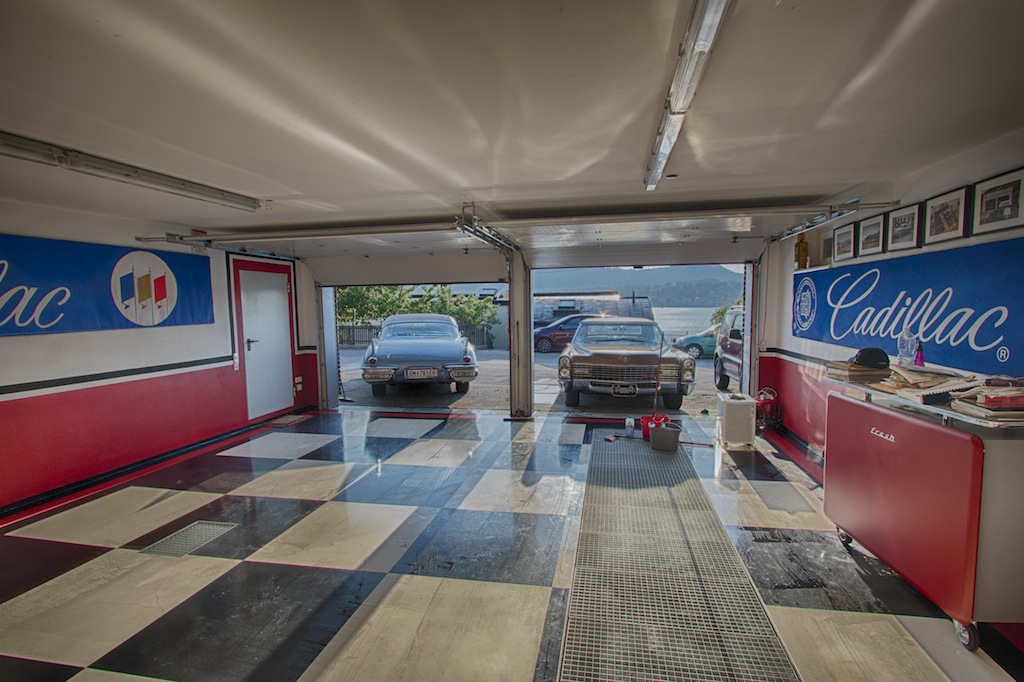
Floor cleaning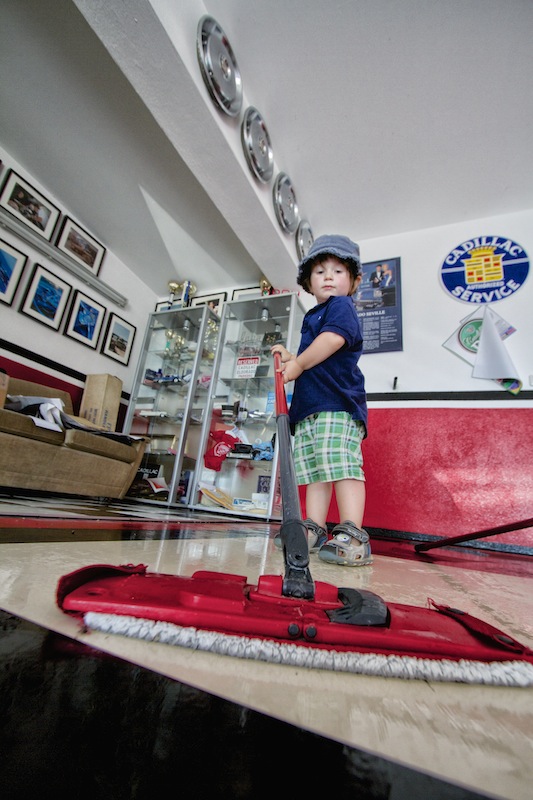
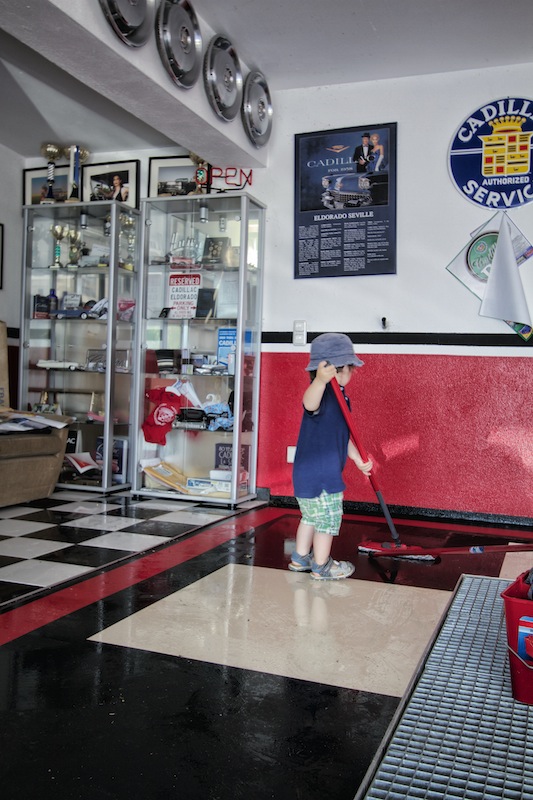
Little Elliot helping out - I´m glad he loves being in the garage.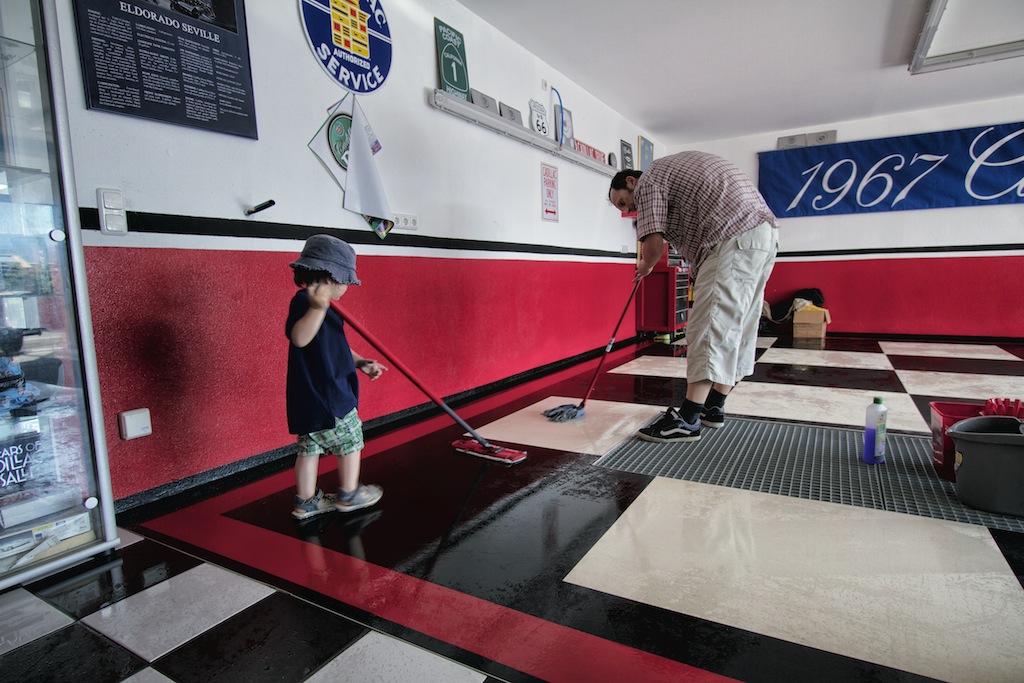
Men at work
Preparations for the Cadillac BIG Meet 2012

In the garage with the Brougham and the 1967´s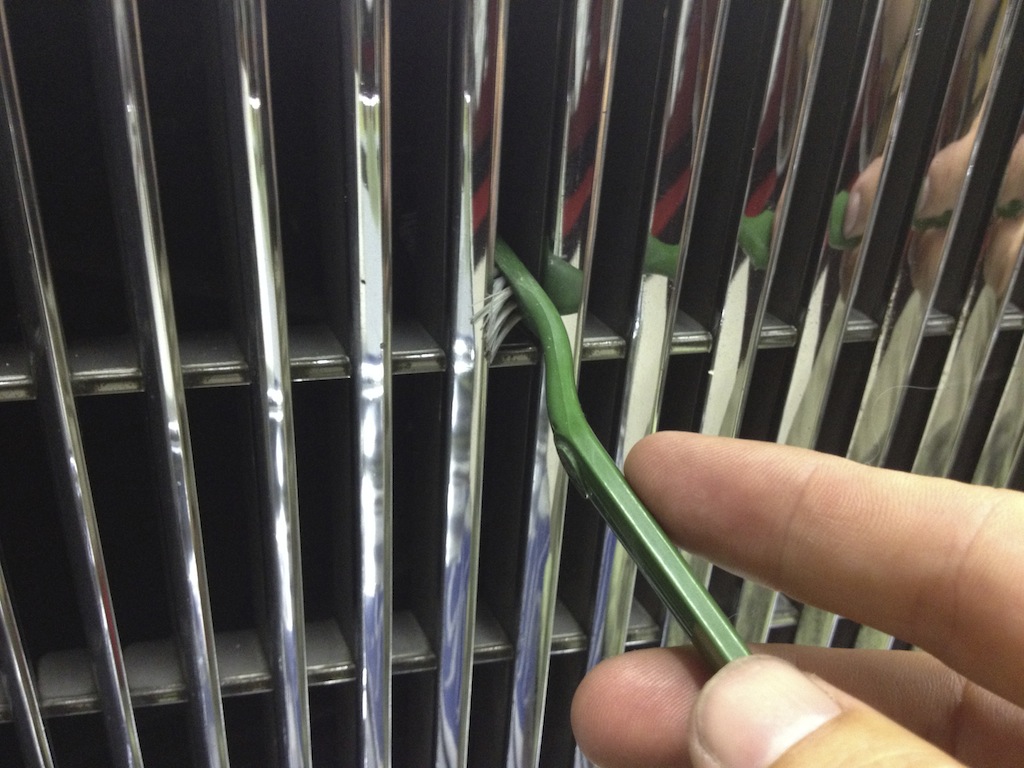
Detailing the grille of the Brougham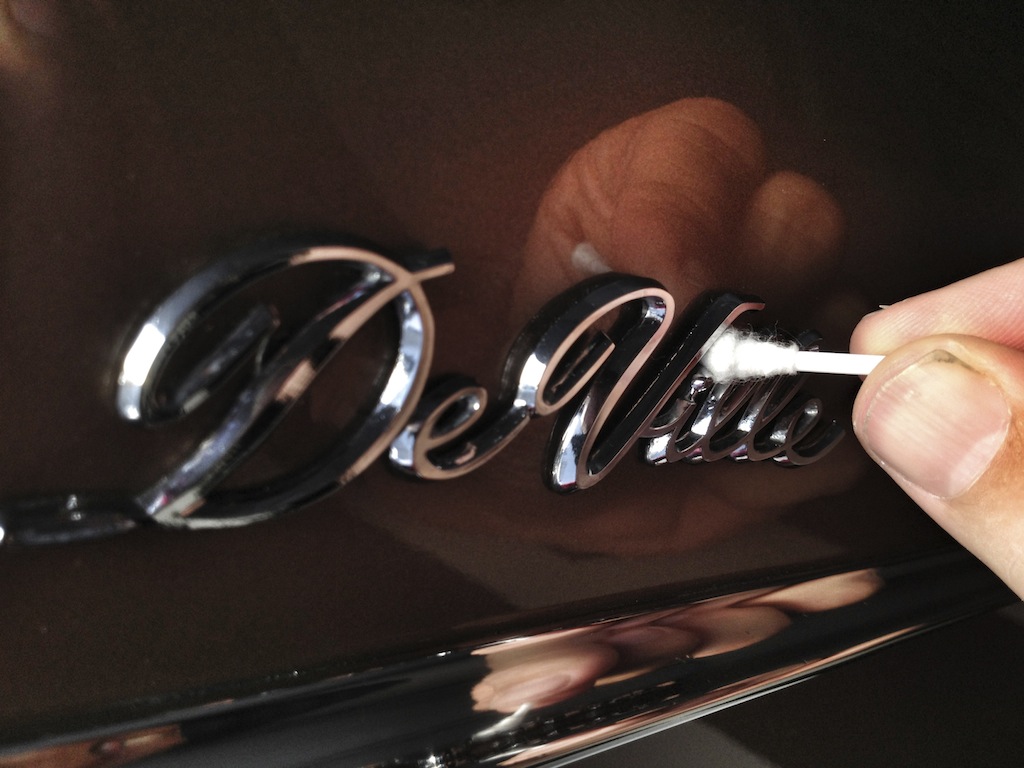
Detailing work
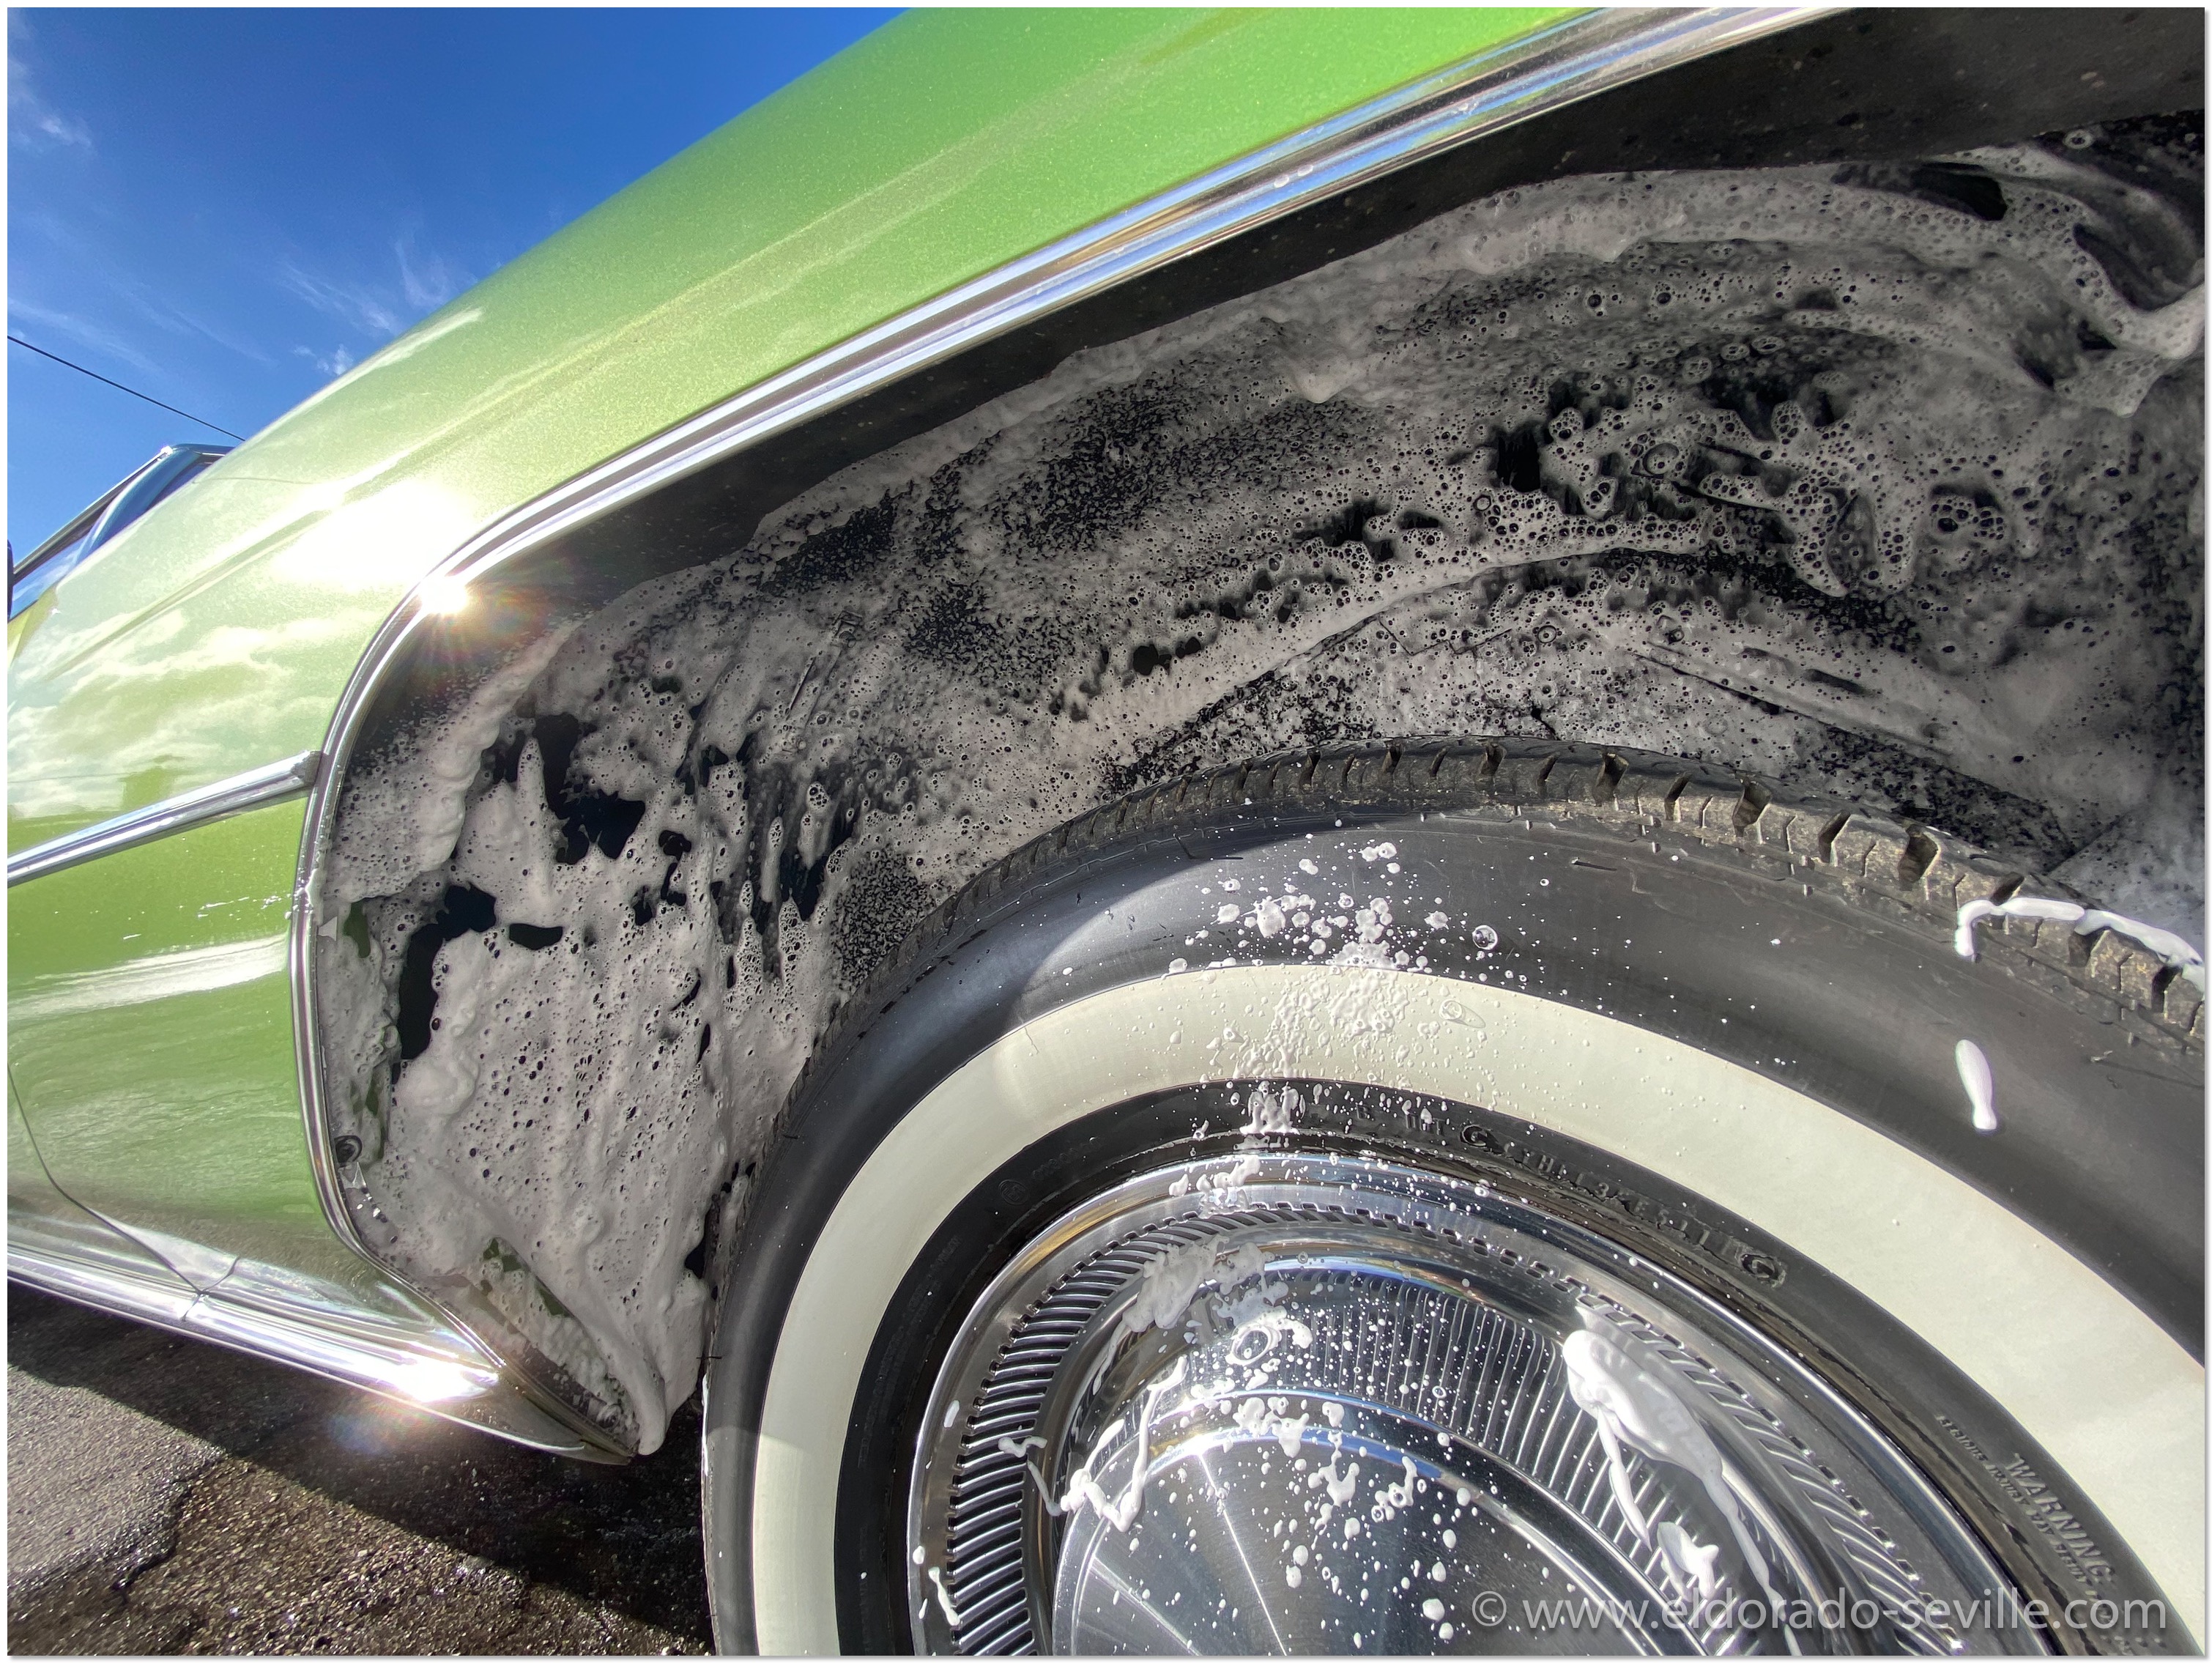
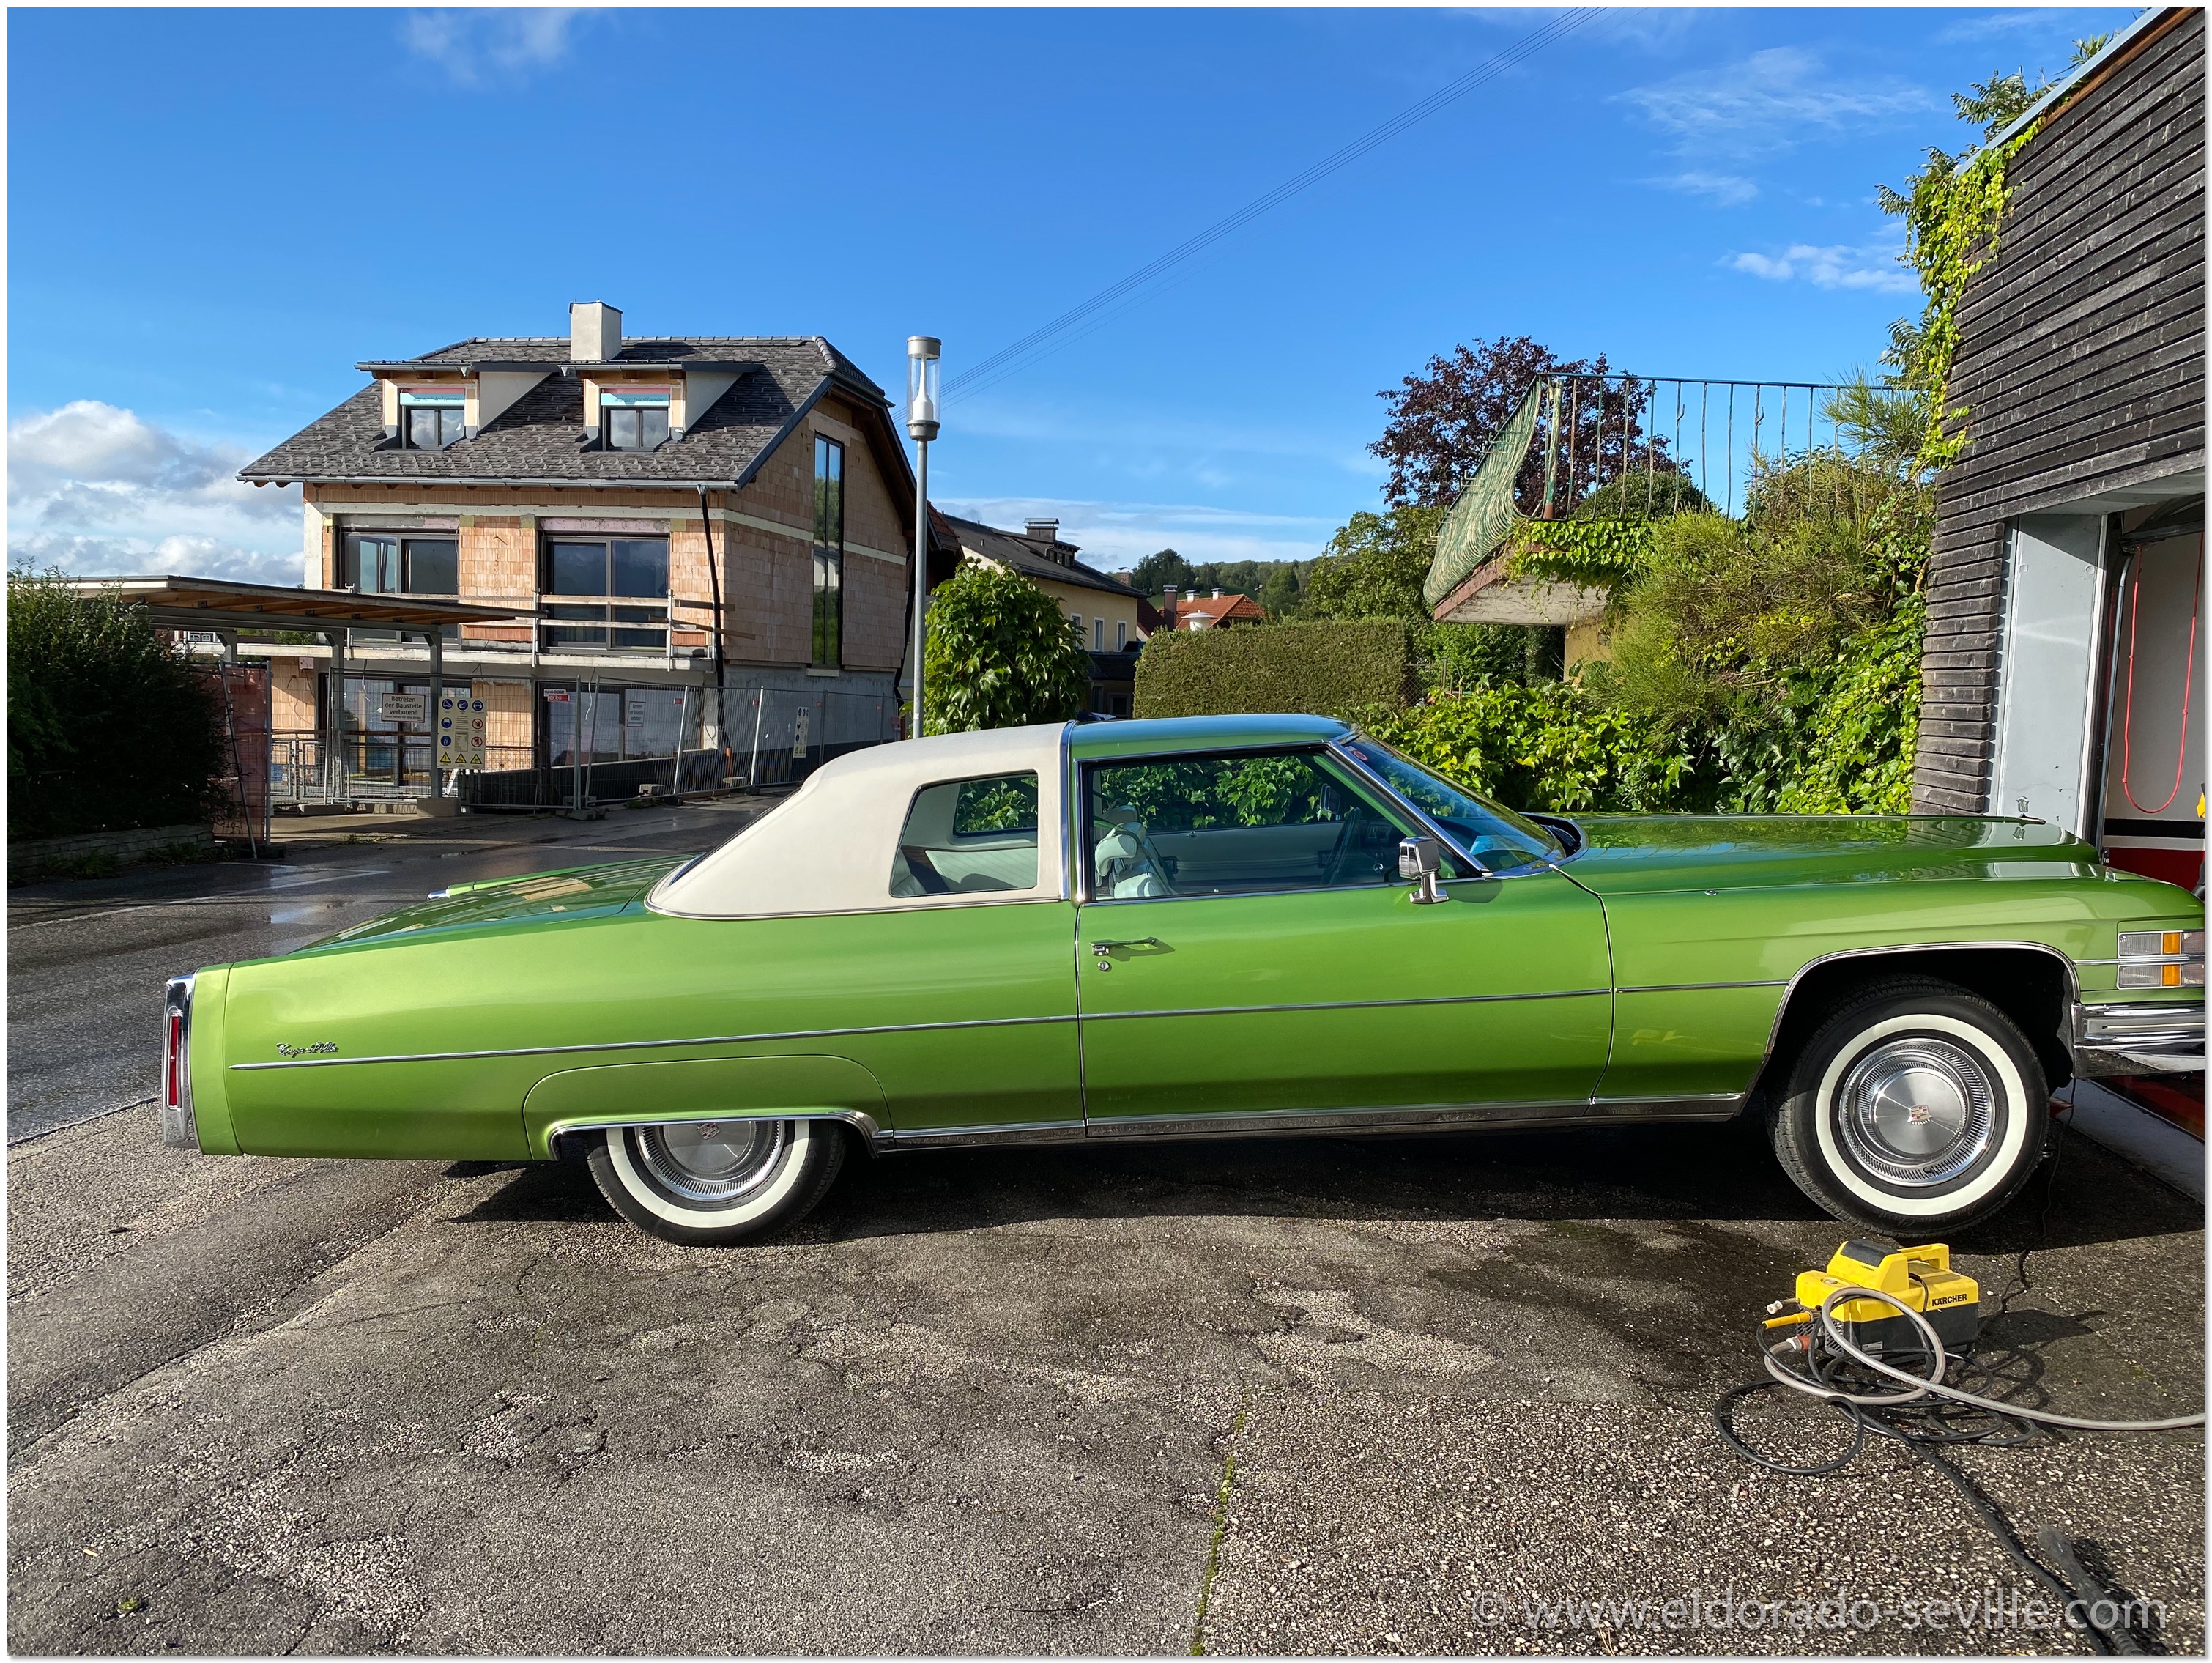
Spring cleaning the garage
I cleaned the entire epoxy floor - and now everything looks clean and tidy again. The Cadillacs like it clean... I will rent a floor polishing machine soon - for the extra shine ;-)
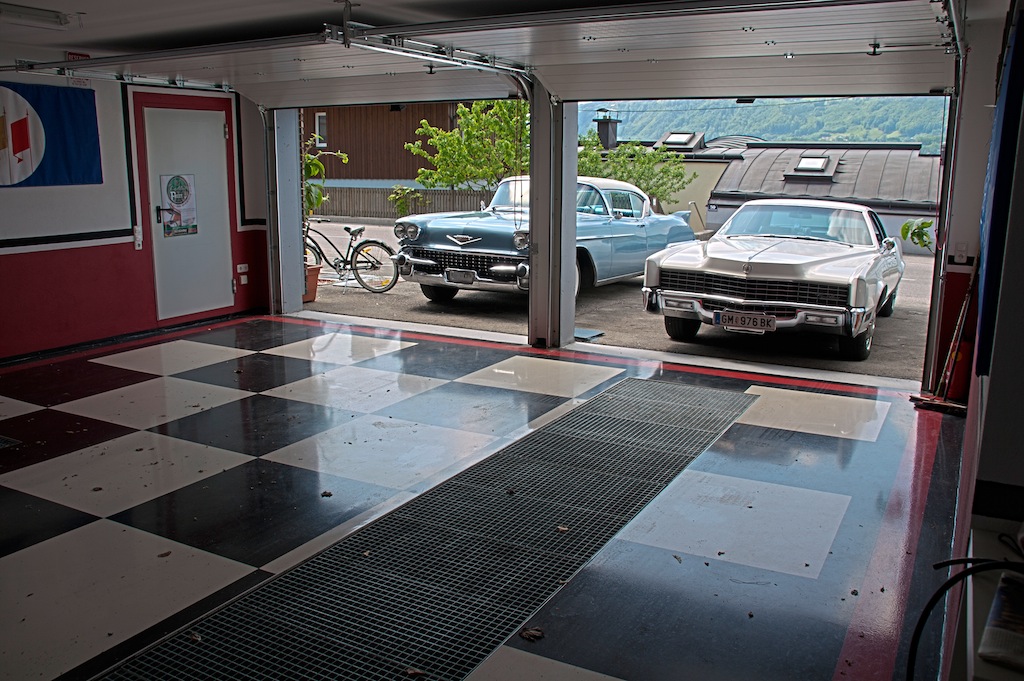
The garage floor before cleaning - the Eldorados had to wait outside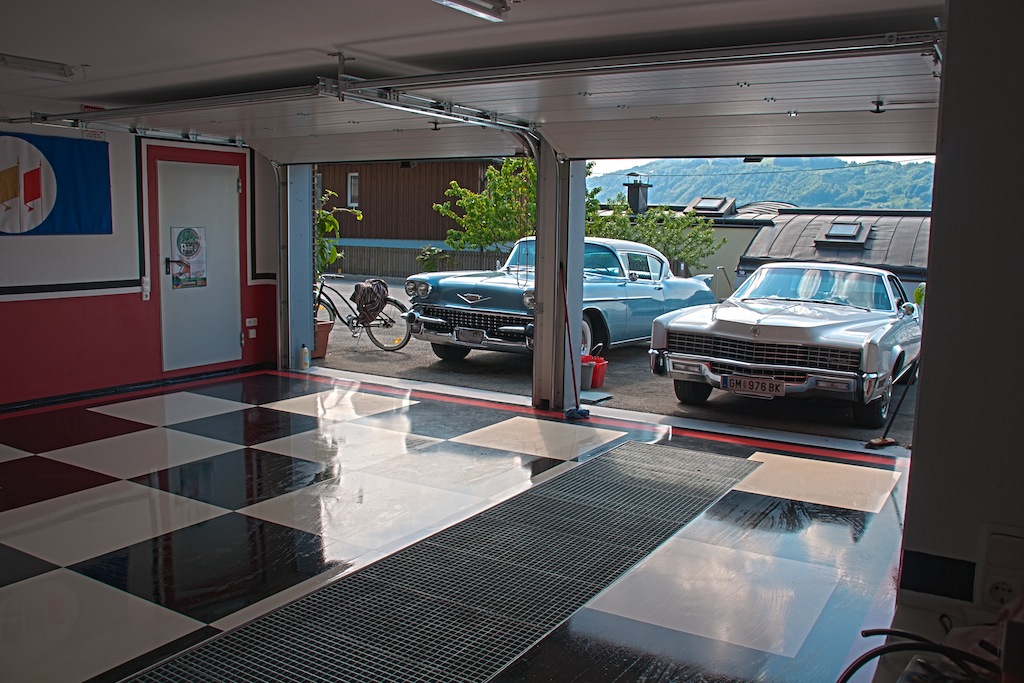
After cleaning-still wet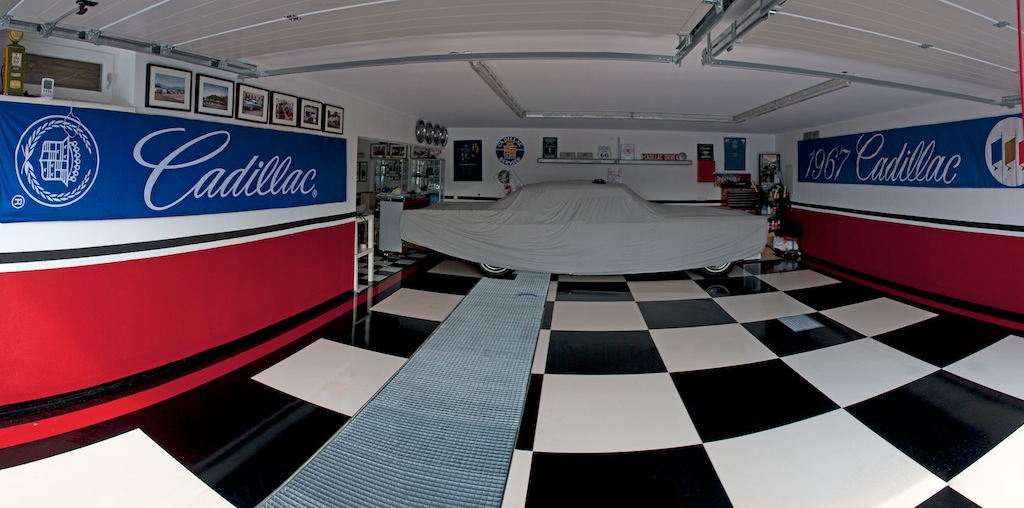
Clean and dry - the 67 Deville stayed in there...
Cleaning the 1967 Eldorado´s Engine Bay
Below you can find some pictures of the now clean engine bay.
As seen from the passenger side
From the front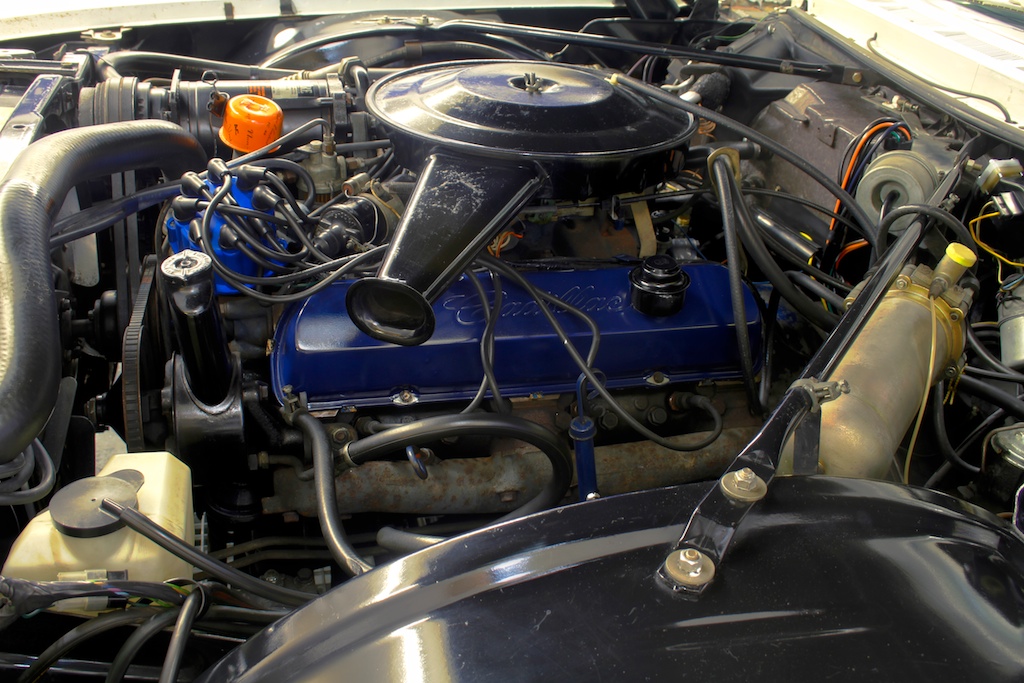
From the left
Cleaning the engine bay
I hope though, that I will ever be able to get my hands clean again as well... I guess I should wear a pair of gloves next time...
This is how the engine bay of my 1967 Eldorado looked before cleaning - I will also have to install the new evaporator later, reinstall the blower motor, connect all the AC hoses and recharge the AC... lots of work ahead
.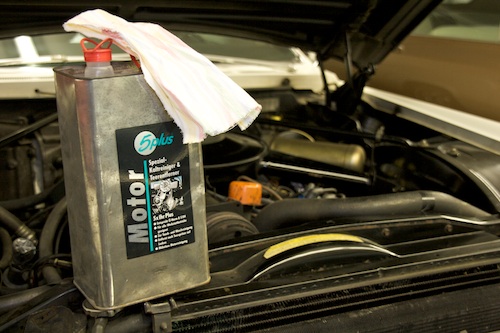
The engine degreaser is pretty aggressive on the oily gunk and dirt.
Preparing the 67 for the 2007 season
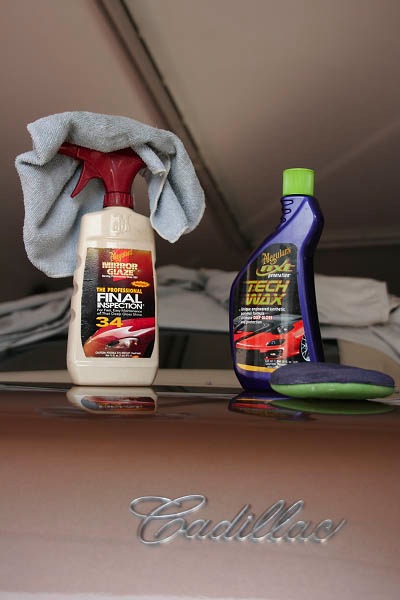
I started to clean the car and gave it a new coat of wax. In about 2 weeks I will bring it back to live and hopefully drive it a little bit more than last year when I only did about 300 miles.
1966 Cadillac Coupe deVille (16)
1967 Cadillac DeVille (54)
1967 Cadillac Eldorado (73)
1971 Lincoln Continental Mark III (24)
1974 Cadillac Coupe deVille (46)
1978 Cadillac Eldorado Biarritz (25)
1996 Buick Roadmaster (20)
Cadillac BIG Meet (2)
Car Shows (55)
Cruising (4)
CT6 (1)
For Sale (3)
Garage Stuff (32)
Pacer (1)
Restoration (140)
Various (55)
Video (21)
Website News (31)
- 6 way power seat
- 8-track
- 10 Ohm
- 429
- 1932
- 1957
- 1958
- 1958 Cadillac Eldorado Seville
- 1958 Cadillac Repair Tip
- 1959 Cadillac Eldorado Seville
- 1964
- 1965
- 1966
- 1966 Cadillac Coupe deVille
- 1966 Cadillac Repair Tips
- 1967
- 1967 Cadillac DeVille
- 1967 Cadillac Eldorado Repair Tip
- 1967 Cadillac Repair Tip
- 1967 Eldorado
- 1968
- 1970 Cadillac Eldorado
- 1971
- 1971 Lincoln Continental Mark III
- 1974
- 1974 Cadillac Coupe DeVille
- 1974 Cadillac Repair Tip
- 1976
- 1977
- 1978
- 1978 Cadillac Eldorado Biarritz
- 1978 Cadillac Repair Tip
- 1980 Cadillac Eldorado Biarritz
- 1996
- 2012
- 2014
- 2017
- 2018
- 2019
- 2022
- 2023
- 2025
- 3063206
- 7027235
- 7800483
- 7805675
- 7805676
- 12355706
- 17058531
- 17059968
- 17059969
- 22010515
- 22010661
- A.I.R
- A6
- AC
- AC Compressor
- AC Electrical Diagram
- ACC
- Accelerator Pump
- Accelorator pump
- Accident
- Actuators
- Adriatic Blue Metallic
- Ads
- Aftermovie
- Air Pump
- Aircondition
- AIRPUMP
- ALC
- Alternator
- AM
- AM-Transmitter
- Antenna
- Anti Rattle Clips
- Antique Gold
- Arizona Vintage Parts
- Arrival
- Article
- ASC
- Ash Tray removal
- ATC
- Atlantis Blue Firemist
- Austria
- Austro Classic
- Autolite SP-459
- Automatic Seat Back Release
- Award
- Banner
- Barn Find
- Battery
- Battery Tray
- Beach Race
- Bearing
- Bendix
- Biarritz
- Bigfoot
- Bill Hirsch Engine Enamel
- Bleeder Screws
- Bleeding
- Blower
- Bodywork
- Bolts
- Book
- Borg
- Brake Booster
- Brake Fluid
- Brake Gray
- Brakes
- Broken Bolt
- Brougham
- Bucket seats
- Buick
- Bumper End
- Bushings
- Cadillac
- Cadillac BIG Meet
- Cadillac BIG Meet
- Cadillac birthday cake
- Cadillac Blue
- Cadillac Color Selections Dealer Book
- Cadillac Coupe deVille
- Cadillac Dealer
- CADILLAC GRAND EUROPEAN
- Cadillac Meeting
- Cadillac Mini Meeting
- Camaro RS
- Caorle
- Car Show
- Carburetor
- Card
- Carpet
- Carter AFB
- Cavalry Twill Vinyl
- CB
- CBM
- CCCD
- Choke
- Christmas
- Citizens Band
- Classic Cadillac Club Deutschland
- Clay Towel
- Cleaning
- Clock
- Clockwork
- Clutch
- Clutch Coil
- Collector
- Colonial Yellow
- Color Coded Springs
- Commercial
- Compound
- Compressor
- Condenser
- Continental Mark III
- Control Head
- Conversion
- Convertible top
- Coolant
- Corona
- Cowl
- Cruise Control
- Cruising
- CT6
- CV Boots
- CV JOINTS
- D6230
- Dash Trim
- Decal Removal
- Decals
- Decoration
- Dehumidifier
- Delco Moraine
- Der Standard
- detailing
- Deville
- Diagnosis Chart
- Diagram
- Dial
- Digital Rotary Drum Clock
- Diner
- Disc Brakes
- Distributor
- Diverter Valve
- Door Jamb Switch
- Door Rubber Conduit
- Dornbirn
- Dot3
- Drive Shaft
- Driving tour
- Drum brakes
- Dry Ice Blasting
- Dry Ice Cleaning
- DVD
- Eastwood
- Eldorado
- Electric Choke Thermostat
- Electrical schematic
- Elvis
- Engine Bay
- Ep
- Epoxy floor
- Europe
- Evaporator
- Exide
- Factory Markings
- Fender Skirt
- Floor
- Flushing
- Flyer
- Foam
- For Sale
- Front AXLE
- Front brakes
- Front bumper filler
- Front Floor
- Front wheel bearing
- Fuel Filter
- Fuel Pump
- Fuel Sending Unit
- Fusible Link
- Garage
- Garage Cabinets
- Gasket
- GE
- Gear indicator
- General Time
- Glove box light
- Grand European
- H4
- Haus of Hot Rod
- Headlight Actuator
- Headlight doors
- Headlights
- Heater Core
- Heater Hose
- Heater Valve
- High Idle
- History
- Holley
- Honest John
- Hood
- Hood Emblem
- Hood Ornament
- Hose Clamp
- Hot Choke
- Hot Water Valve
- HotRod
- How to
- Hödlmayr
- Ignition Diagram
- Illuminated Entry
- John D‘Agostino
- John Foust
- Klassikwelt Bodensee
- Kremsmünster
- LaSalle
- Leather seats
- Light Switch
- Limited
- Lincoln
- Lincoln Mark III Repair Tip
- Low Mileage
- Magazine
- Marilyn Monroe
- Mark III
- Master Cylinder
- Master Switch
- Master Vacuum Switch
- Media Blasting
- Meeting
- Meguiras
- MK II
- Mobile
- Model
- Moldings
- Mom
- Mopar Nationals
- Mostkost Kustom
- Movie
- Munich
- Neon
- NOS
- Oberösterreicher des Tages
- oilchange
- ORF
- Overspray
- Pacer
- Paint
- Paint correction
- Paintjob
- Part Number
- Parts
- Patch Panel
- Perfect Circle
- Permabag
- Persian Lime
- Photo shooting
- Photoshooting
- Pictures
- PinUp
- POA Valve
- Power Antenna
- Power Servo
- Power Vent Windows
- Power Window
- Printed Circuit Board
- Programmer
- Pulley
- Quadrajet
- Quarter Panel
- Quartz Conversion
- R134
- Radiator
- Radio
- Rattle
- Rear brakes
- Rebuild
- Recalibrate
- RediRad
- Reed Switch
- Relais
- Relaunch
- Removing Overspray
- Repaint
- Repair
- Restoration
- RIP
- Roadhouse
- Roadmaster
- Rochester
- Rocker Arm Cover
- Rocker Panel Extension Clips
- Rostio
- Rotary Valve
- Rotterdam
- Rupes
- Rust removal
- Rust removal gel
- Sabre Wheels
- Sand Blasting
- Sandblasting
- Screed
- Season Greetings
- Seasons Greetings
- Seat Back Locks
- Seat Padding
- Seat Transmission
- See through ornament
- Self adjusters
- Self Starter
- Sepp's Garage
- Seville
- Sheetmetal
- Shocks
- shop manual
- short
- Sign
- Solenoid
- Spark Plug Wire Routing
- Speakers
- Special Award
- Speed Bleeder Screws
- Splash Guard
- Starter Diagram
- Starter Motor
- Steering Column
- Storage
- suction throttling valve
- sunroof
- suspension
- Swirl Mark removal
- Switzerland
- T3
- Taillight Cover
- Texan´s Choice Award
- Thermostat
- Tilt and Telescope
- Time capsule
- Tomsclub
- Torque Specifications
- Tower Hose Clamp
- Towtruck
- Trailer
- Transducer
- Transmission
- transmission control selector
- transmission control selector indicator light
- transmission shift indicator
- Treadle Vac
- Treffen
- Tri-Band
- Troubleshooting
- Trunk Cardboard Kit
- Trunk lid
- Trunk lining
- Trunk to bumper cover
- Turn Signal Switch
- TV
- Typisierung
- Ultimate Garage
- Underbody
- Undercarriage
- Undercoating
- Undercoating Removal
- Vacuum Booster
- Vacuum diagram
- Vacuum hoses
- Vacuum Master Switch
- Vacuum Schematic
- Vacuum Valve
- Valve Cover
- Various
- Vent Window Switch
- Vibration
- Vibrator
- Vicodec roof
- Video
- Vinegar
- Vinyl Roof
- Visitor
- Washer Fluid Float
- Washer Fluid Low Level Indicator
- Water Pump
- Wax
- Weatherstripping
- Website News
- Westclox
- Wheel Bearings
- Wheel Housing
- Wiesbaden
- Windlace
- Winter
- Wiring
- Wiring Diagram
- Wonderbar
- Workbench
- Zurzach