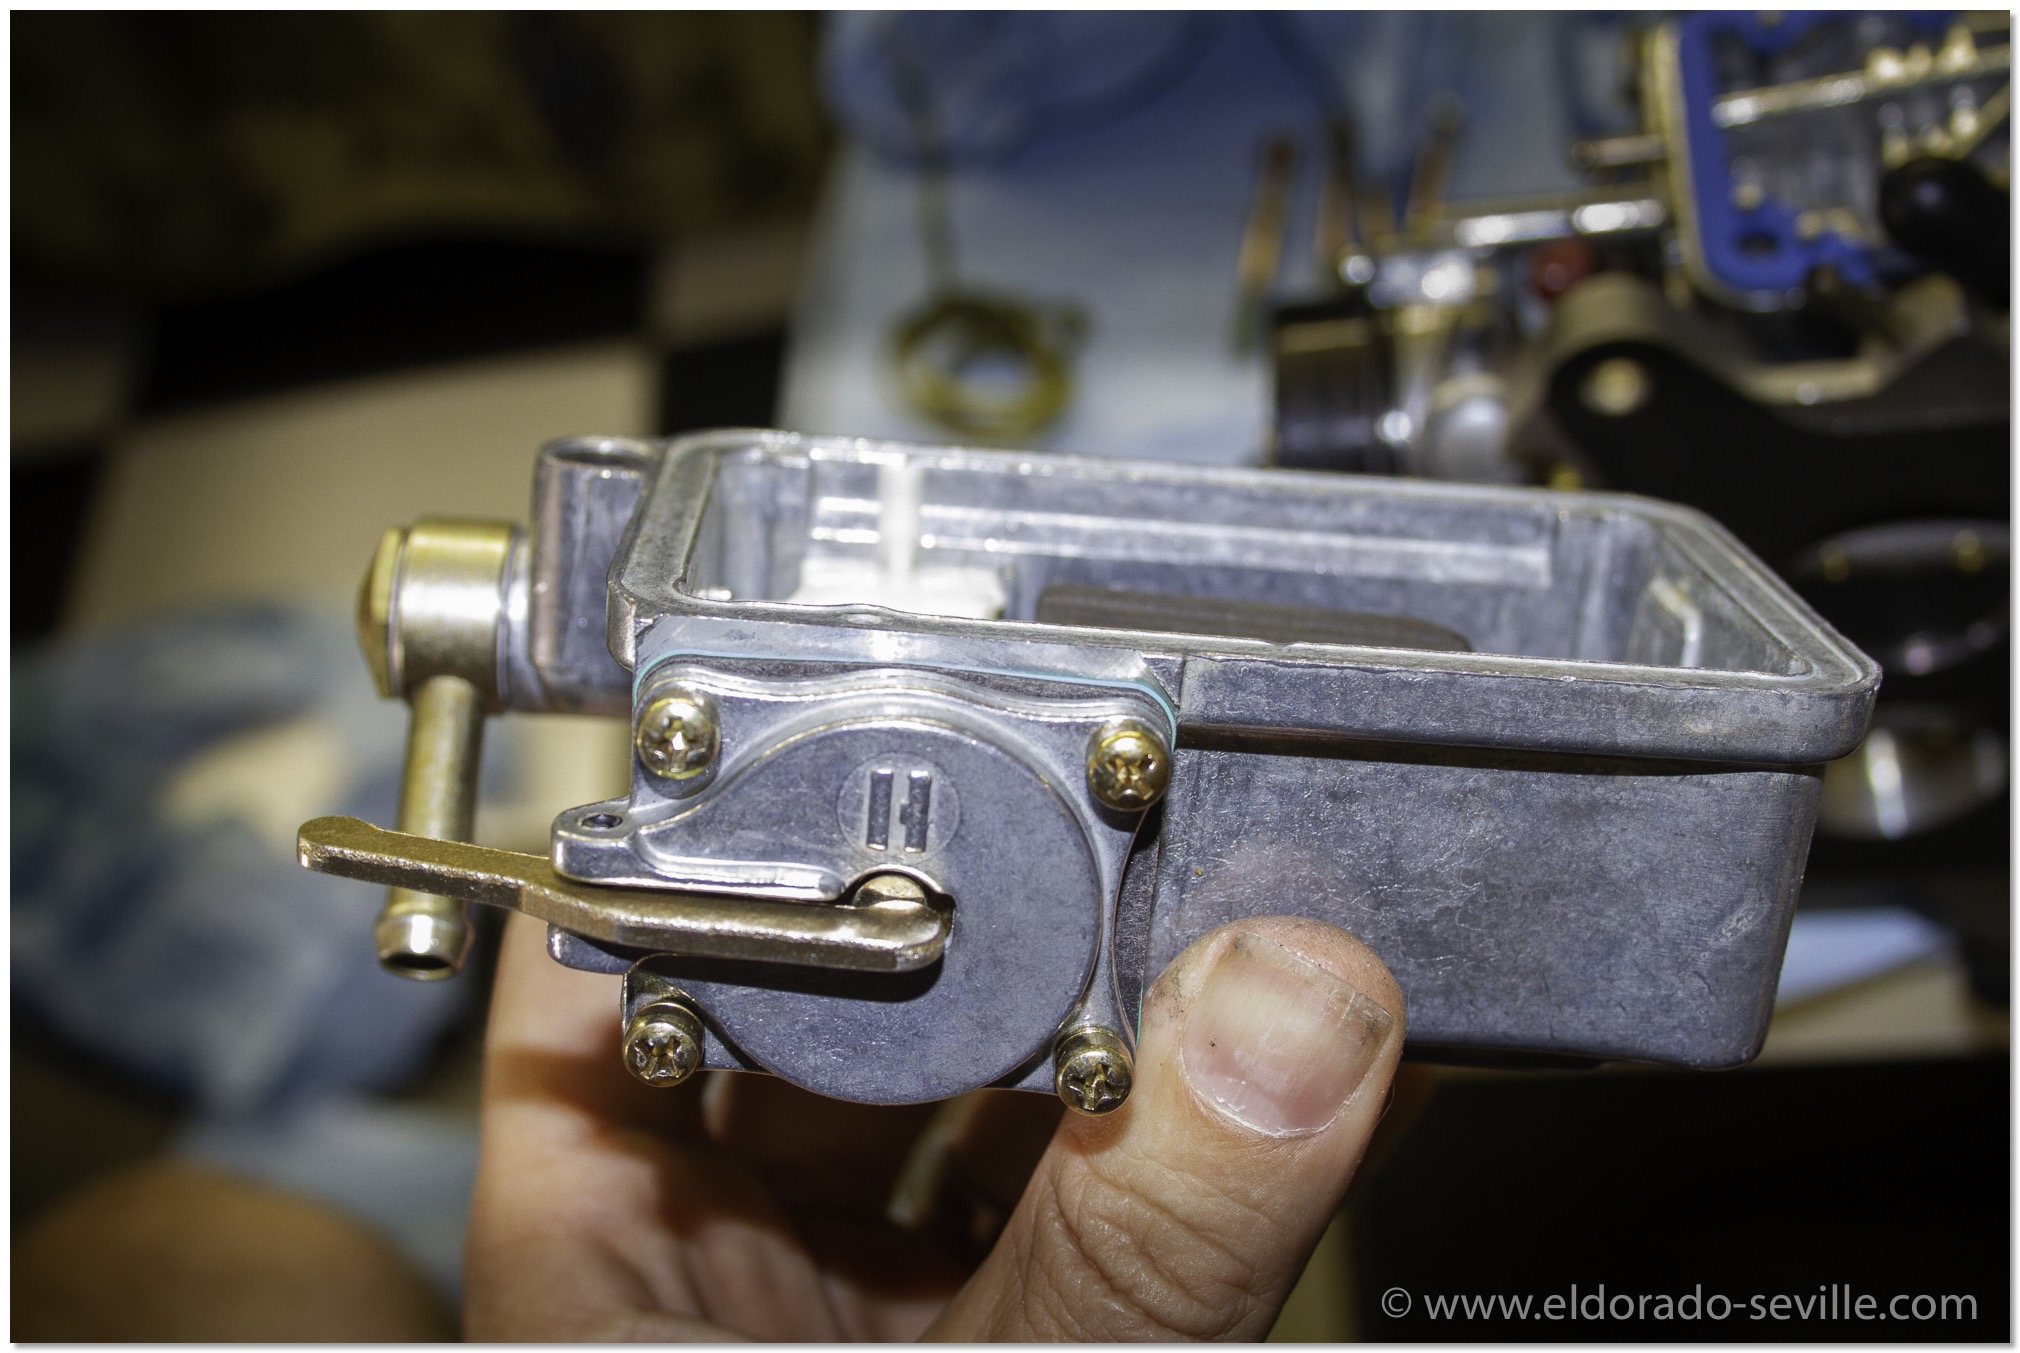
1978 ACCELERATOR PUMP REPAIR
The car would have a slight hesitation for one or two seconds when driving away from standing still and idling. The hesitation was not present at any higher speeds - only when starting from standing still, no matter how hard I hit the pedal.
Once the car was rolling, it ran perfectly. 2 or 3 times the engine even stalled in the past.
That's why I suspected the accelerator pump.
Replacing it is not too difficult. You basically only need a rebuild kit and remove the carburetor from the car. Then you have to remove 8 screws to take the top off and remove 2 linkages. I'm not a carburetor expert at all, but luckily my friends ,who did the job before, helped me, but it really is not difficult at all. I found some great how-to video on YouTube on how the Quadrajets are taken apart and back together - They have some very informative videos on their youtube channel - here is one of them:
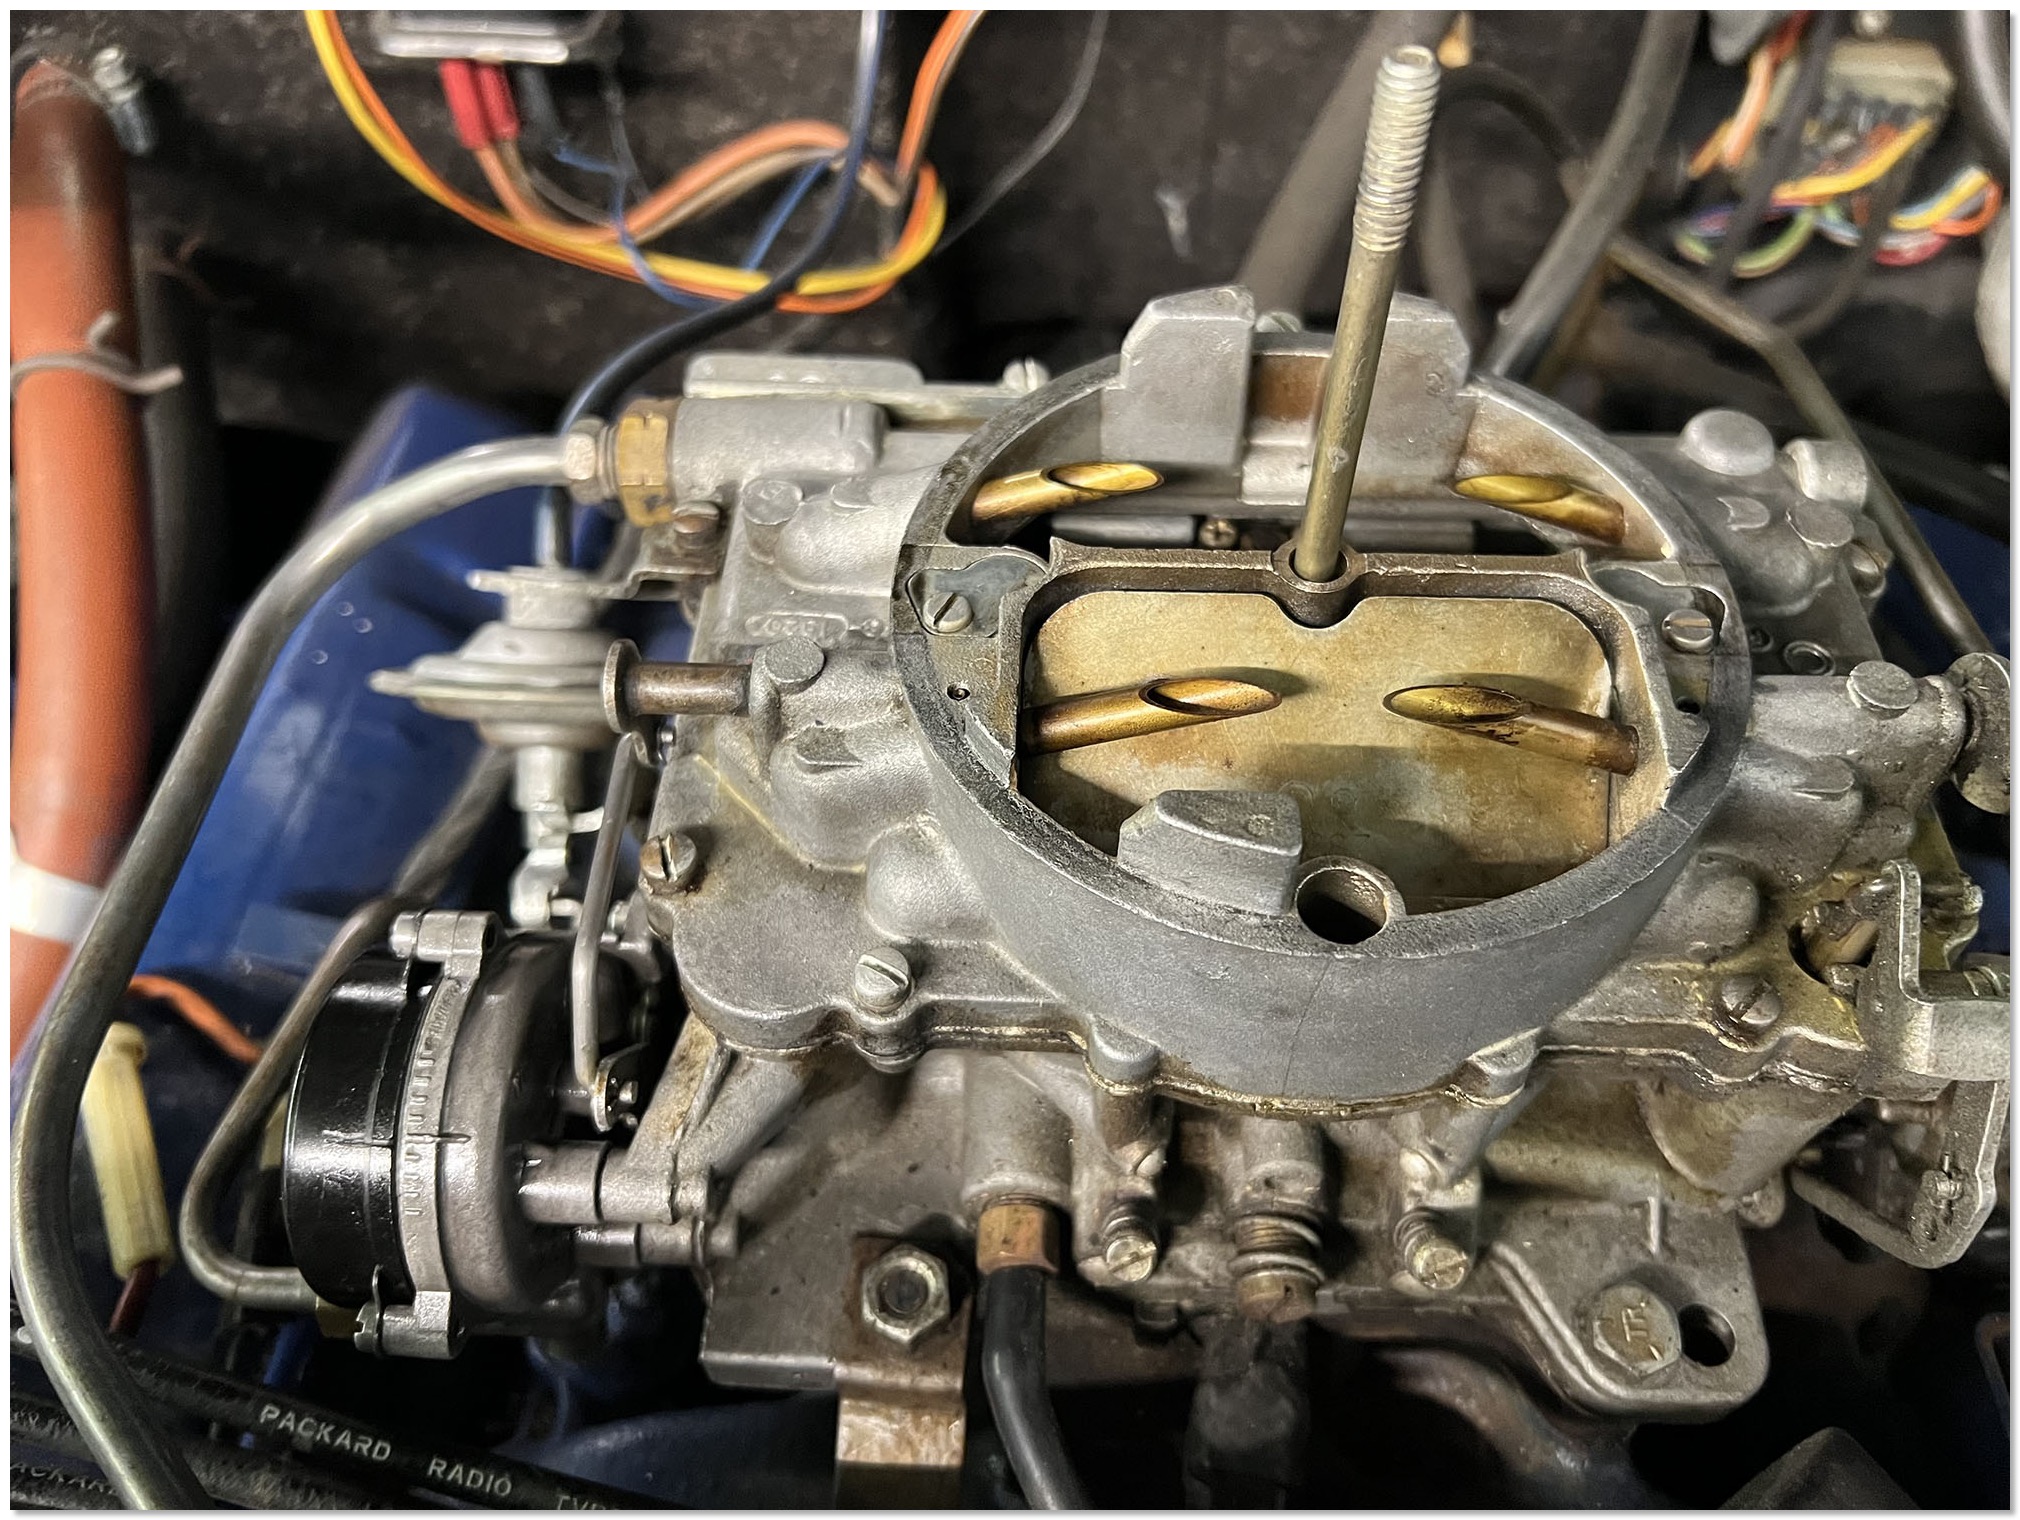
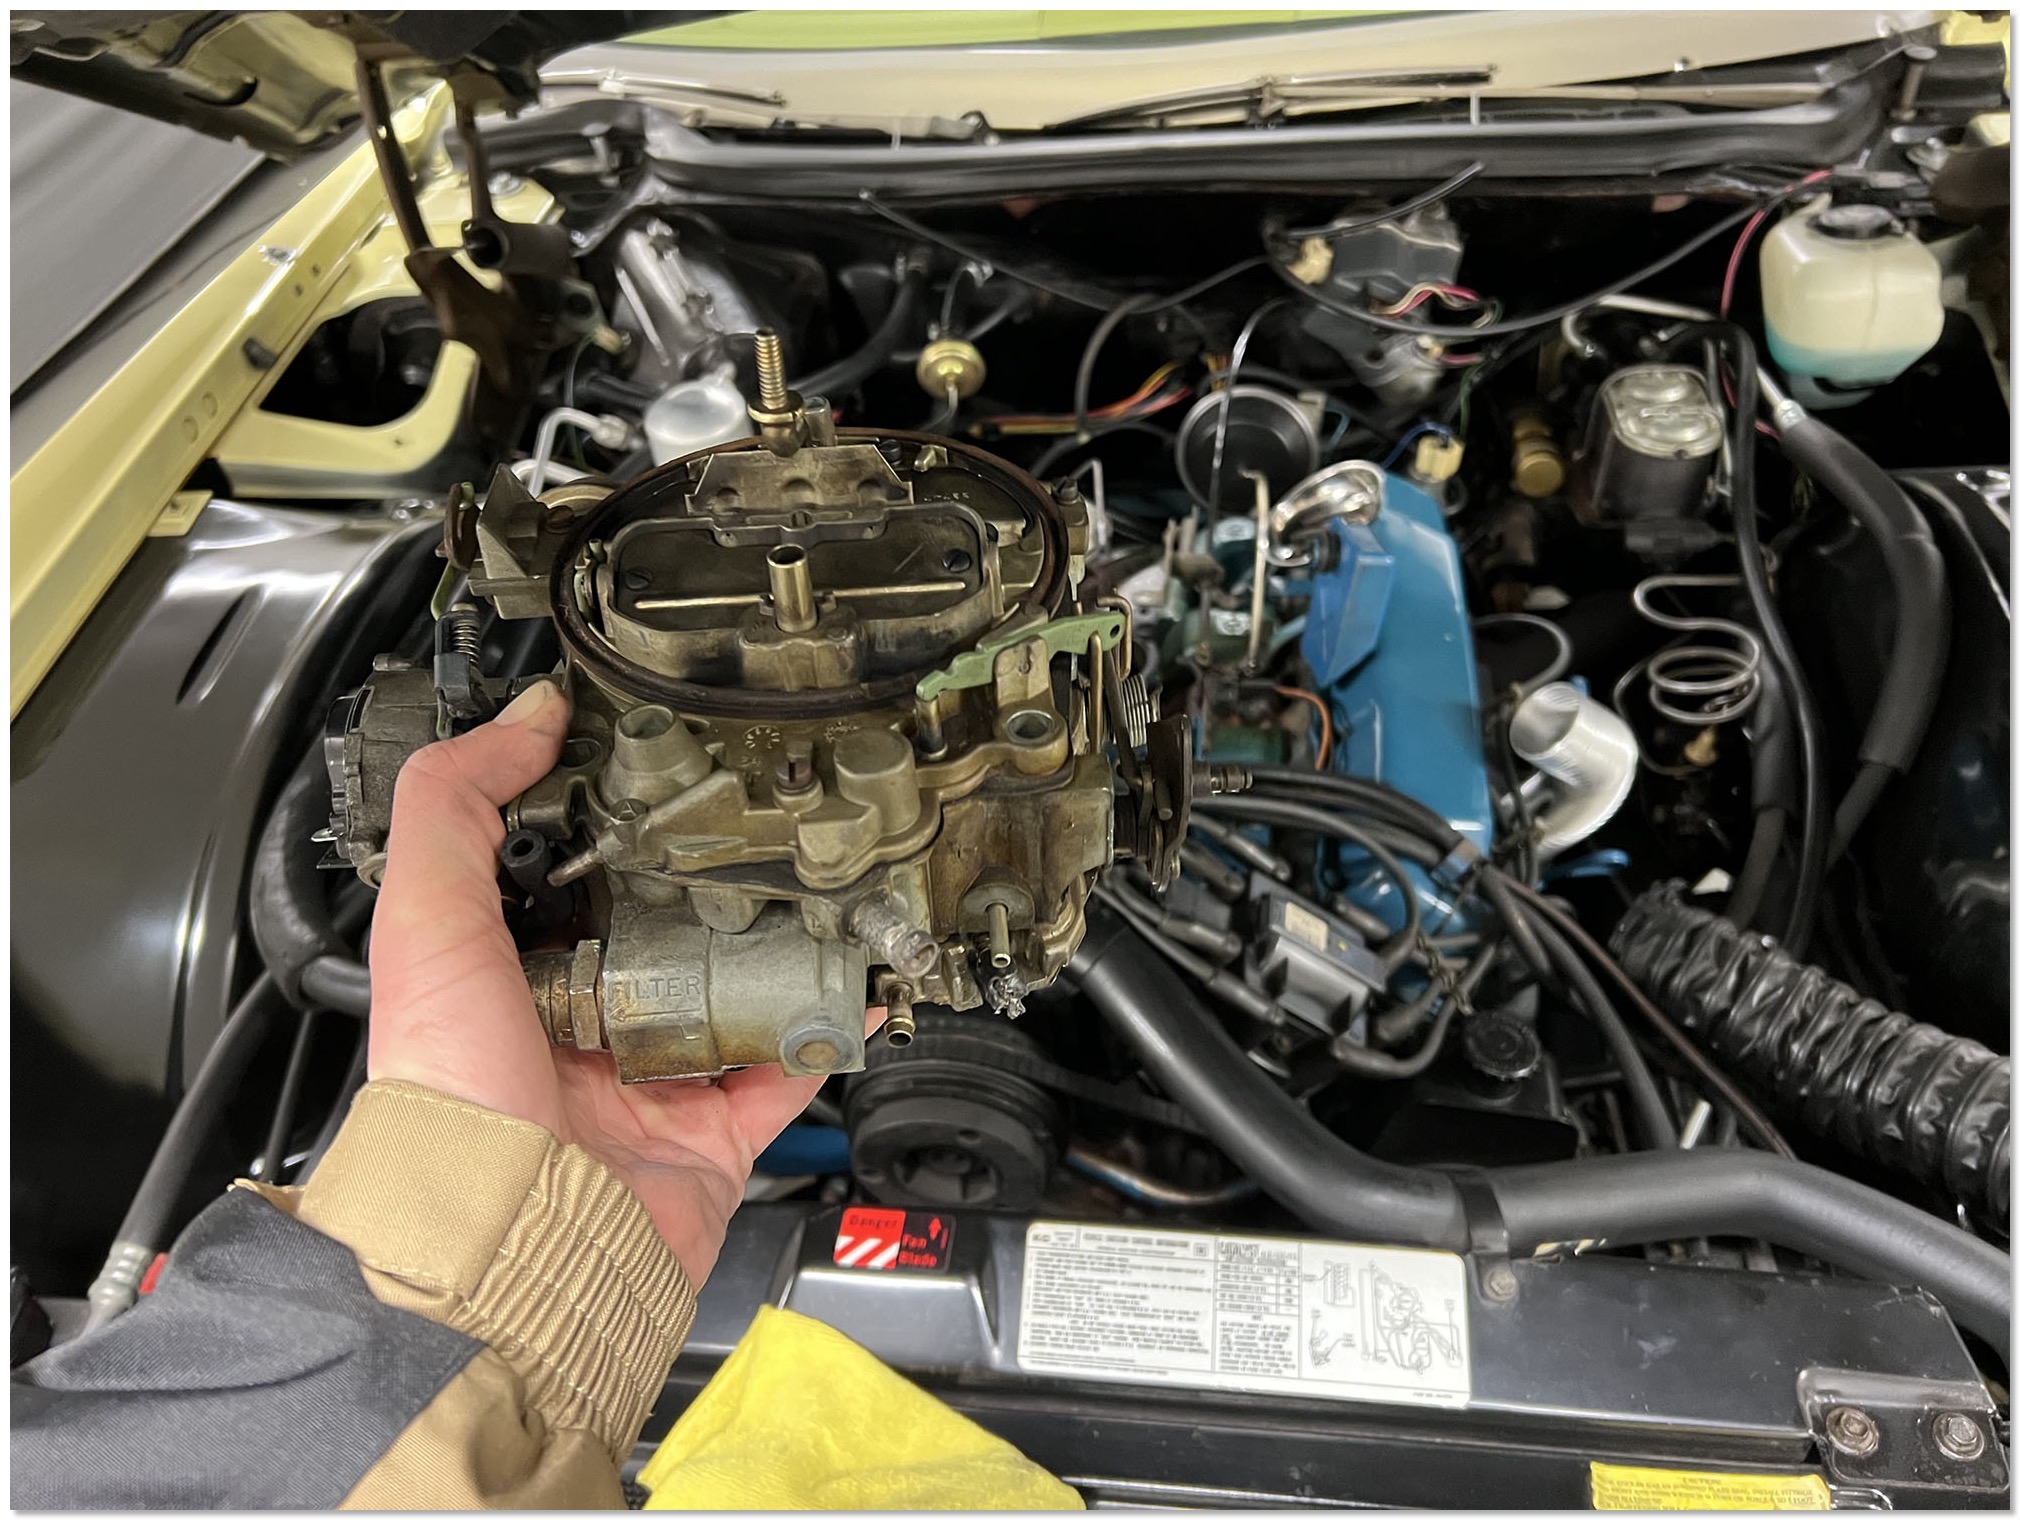 The Quadrajet after removal.
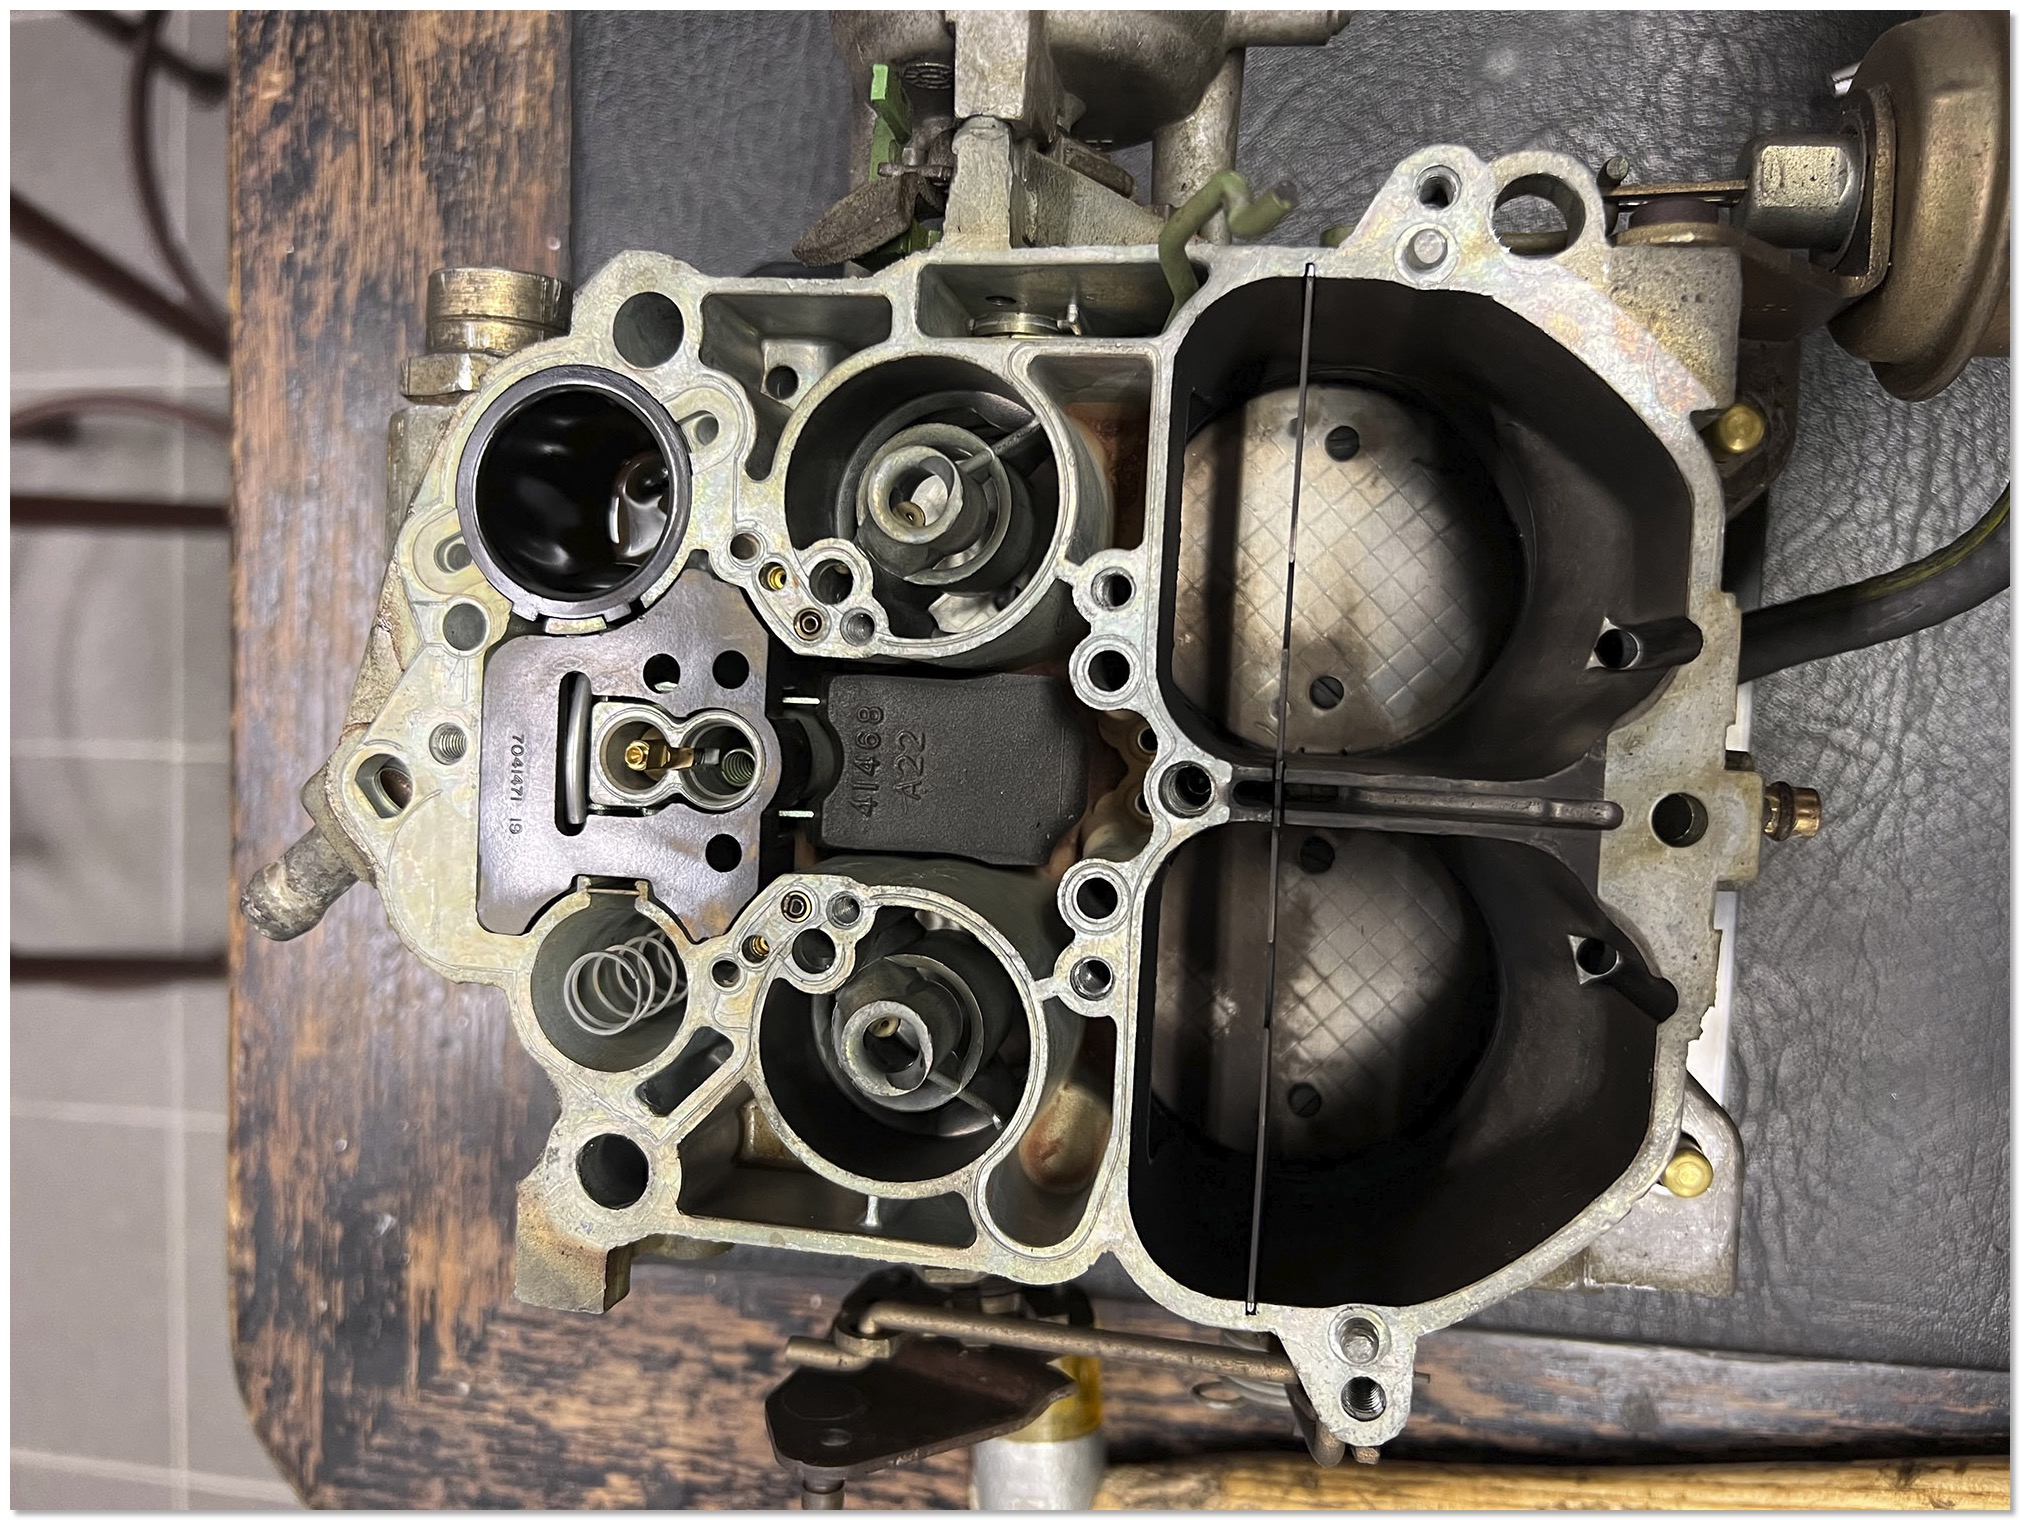
The Quadrajet with the top removed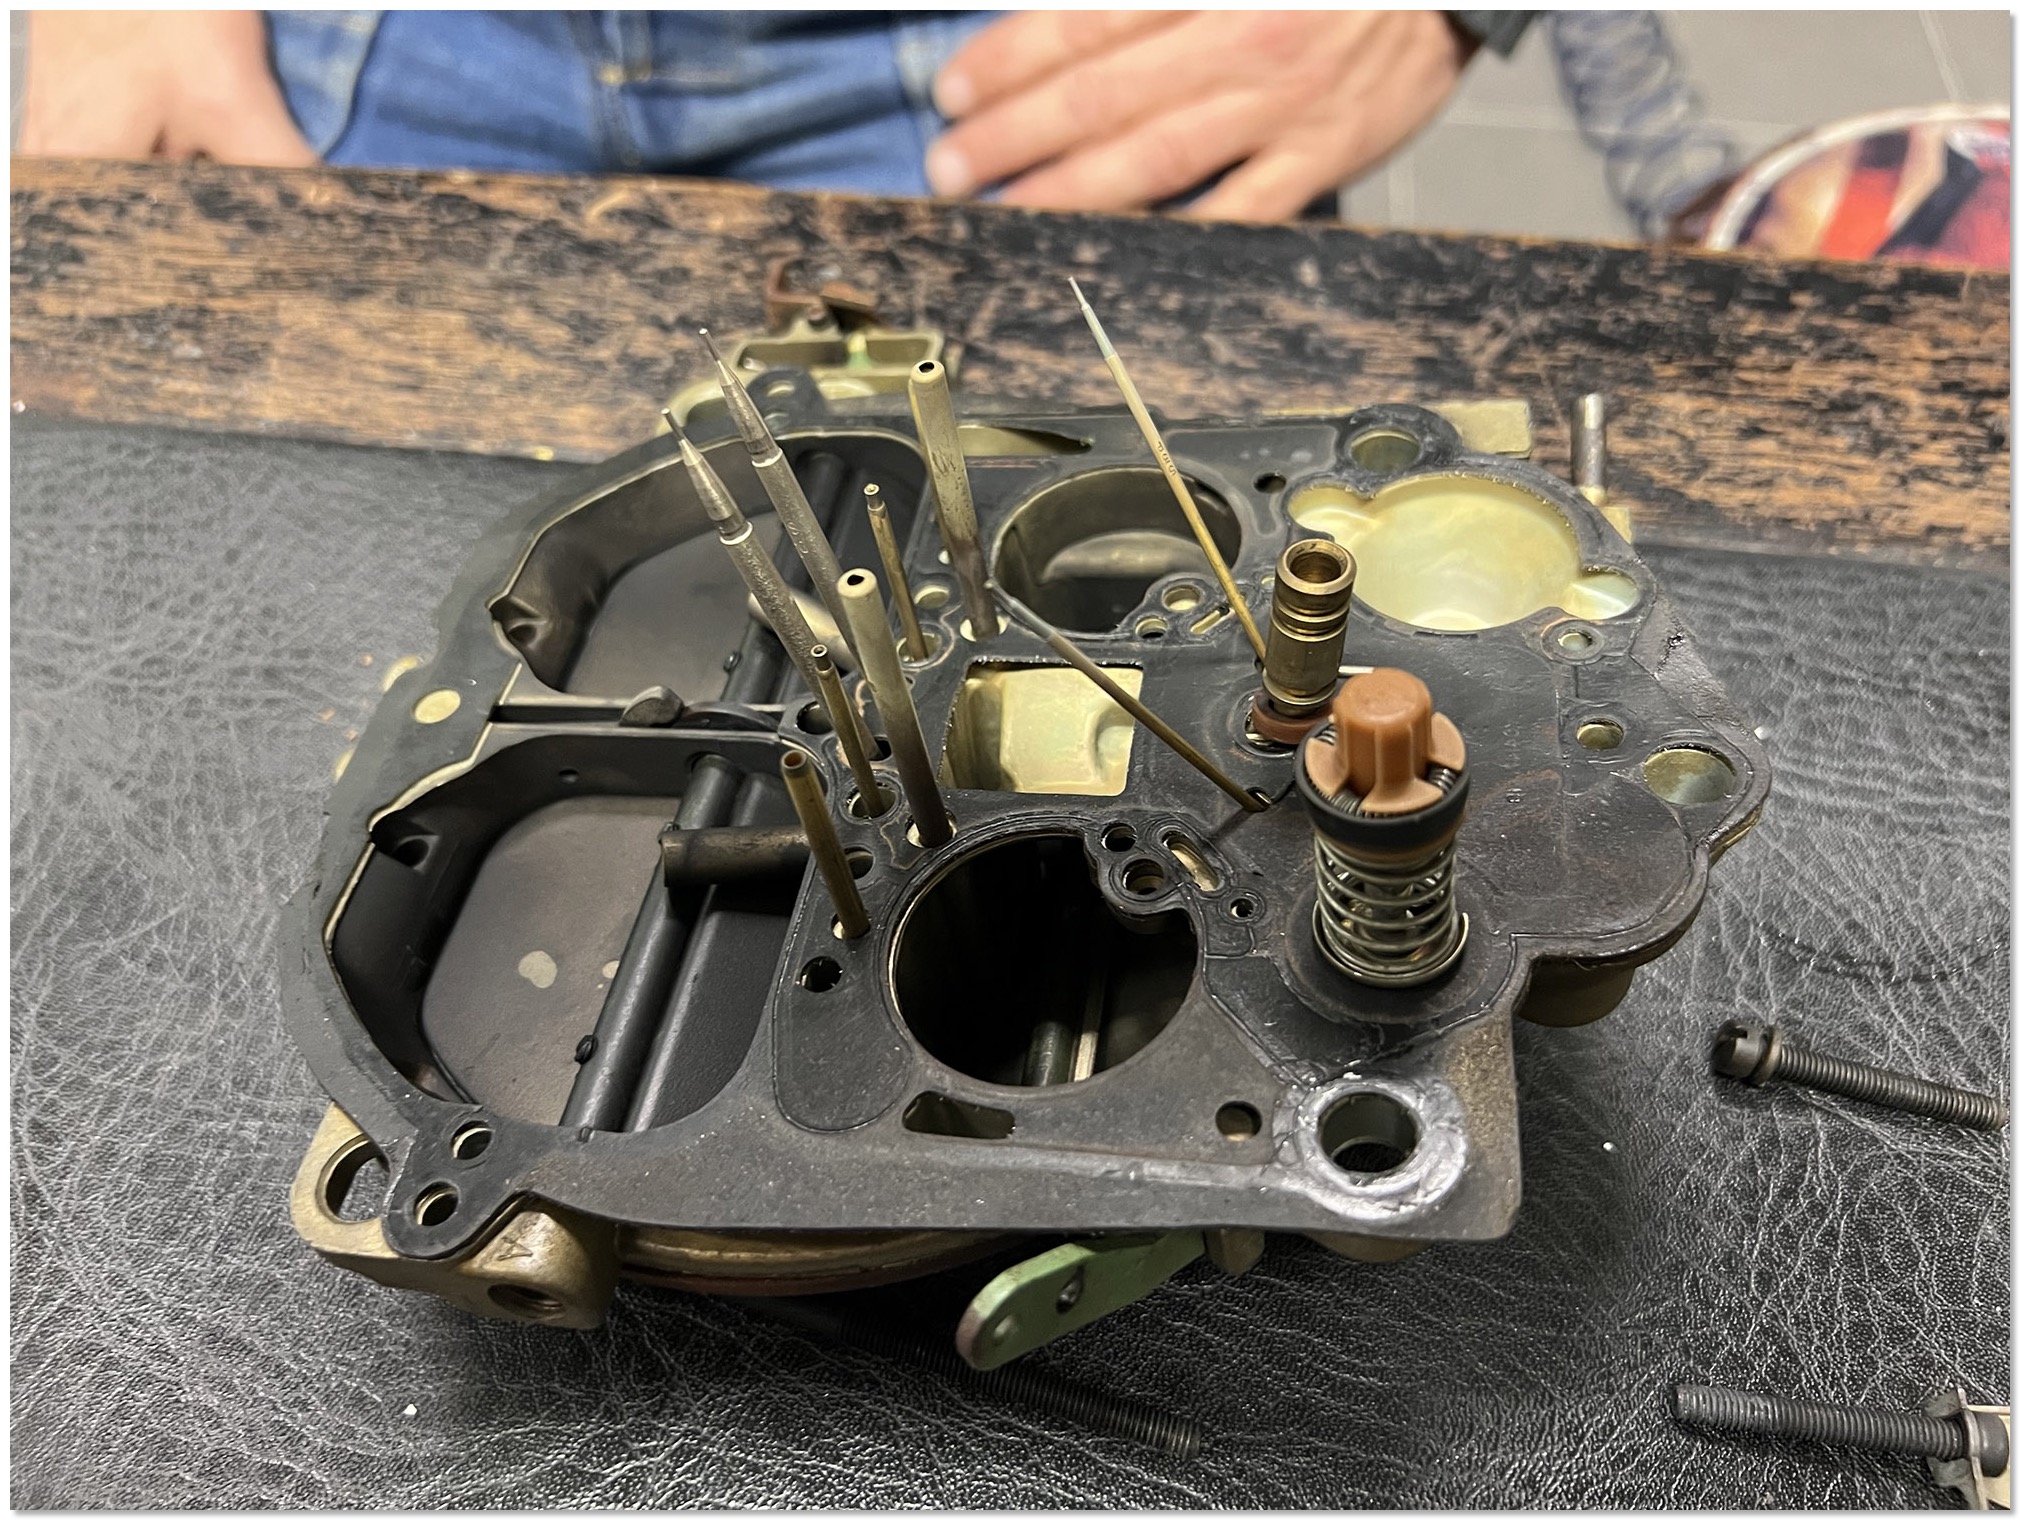 The accelerator pump on the right side
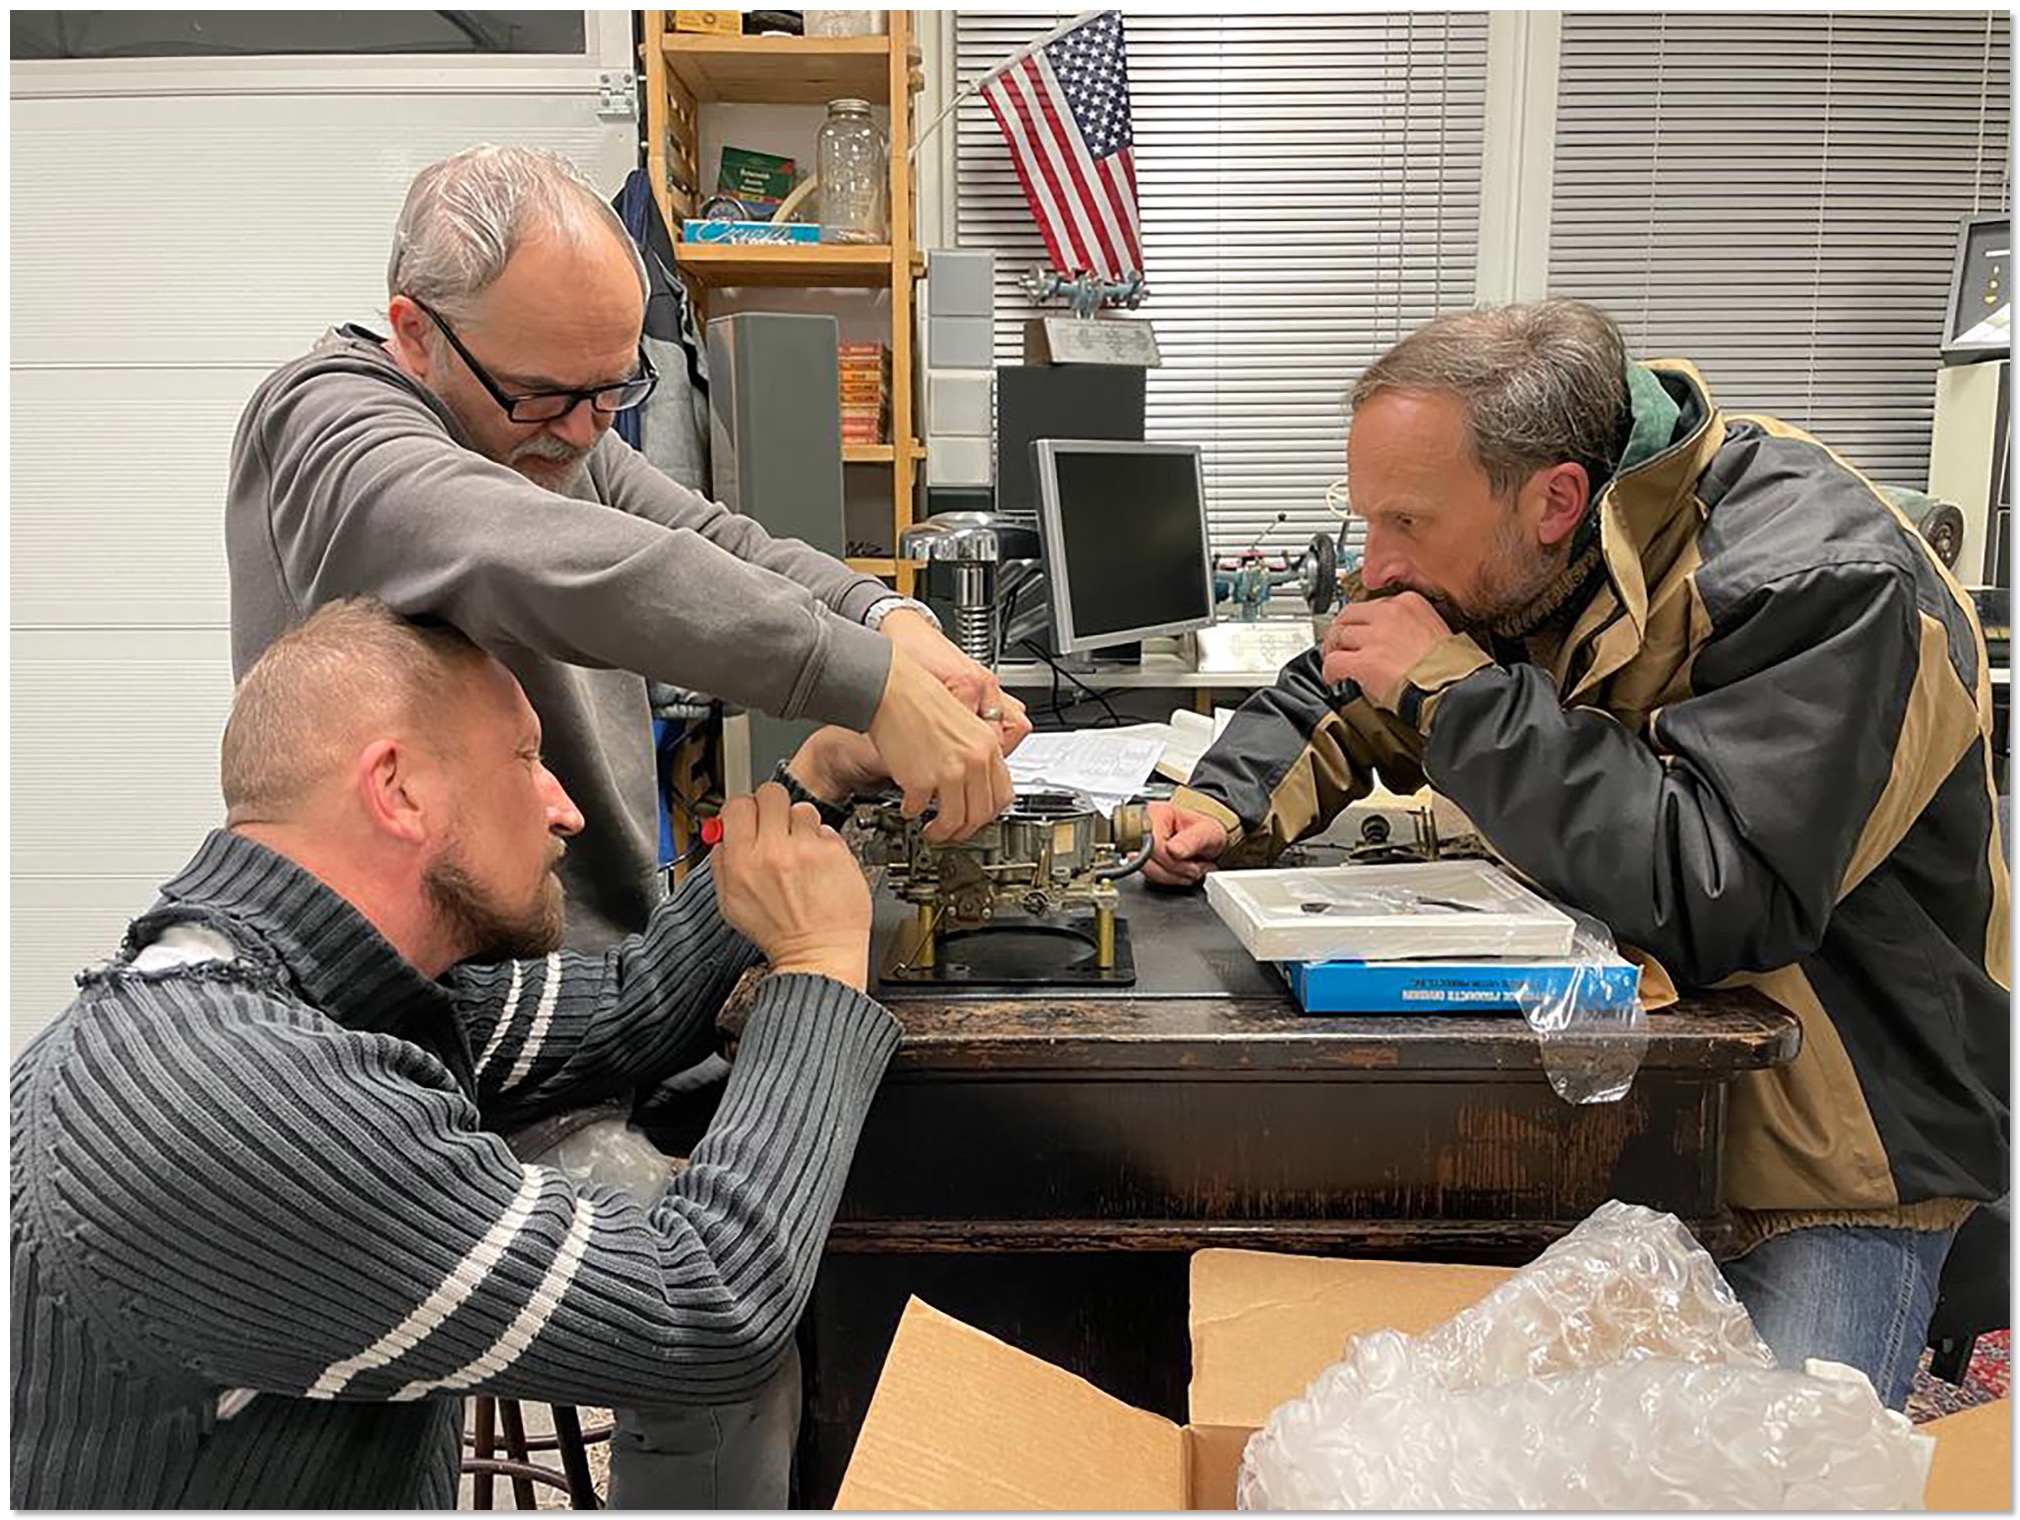
My friends Steve and Lucky helped a lot. Thanks my friends! We did all the work in Luckys fantastic garage and shop.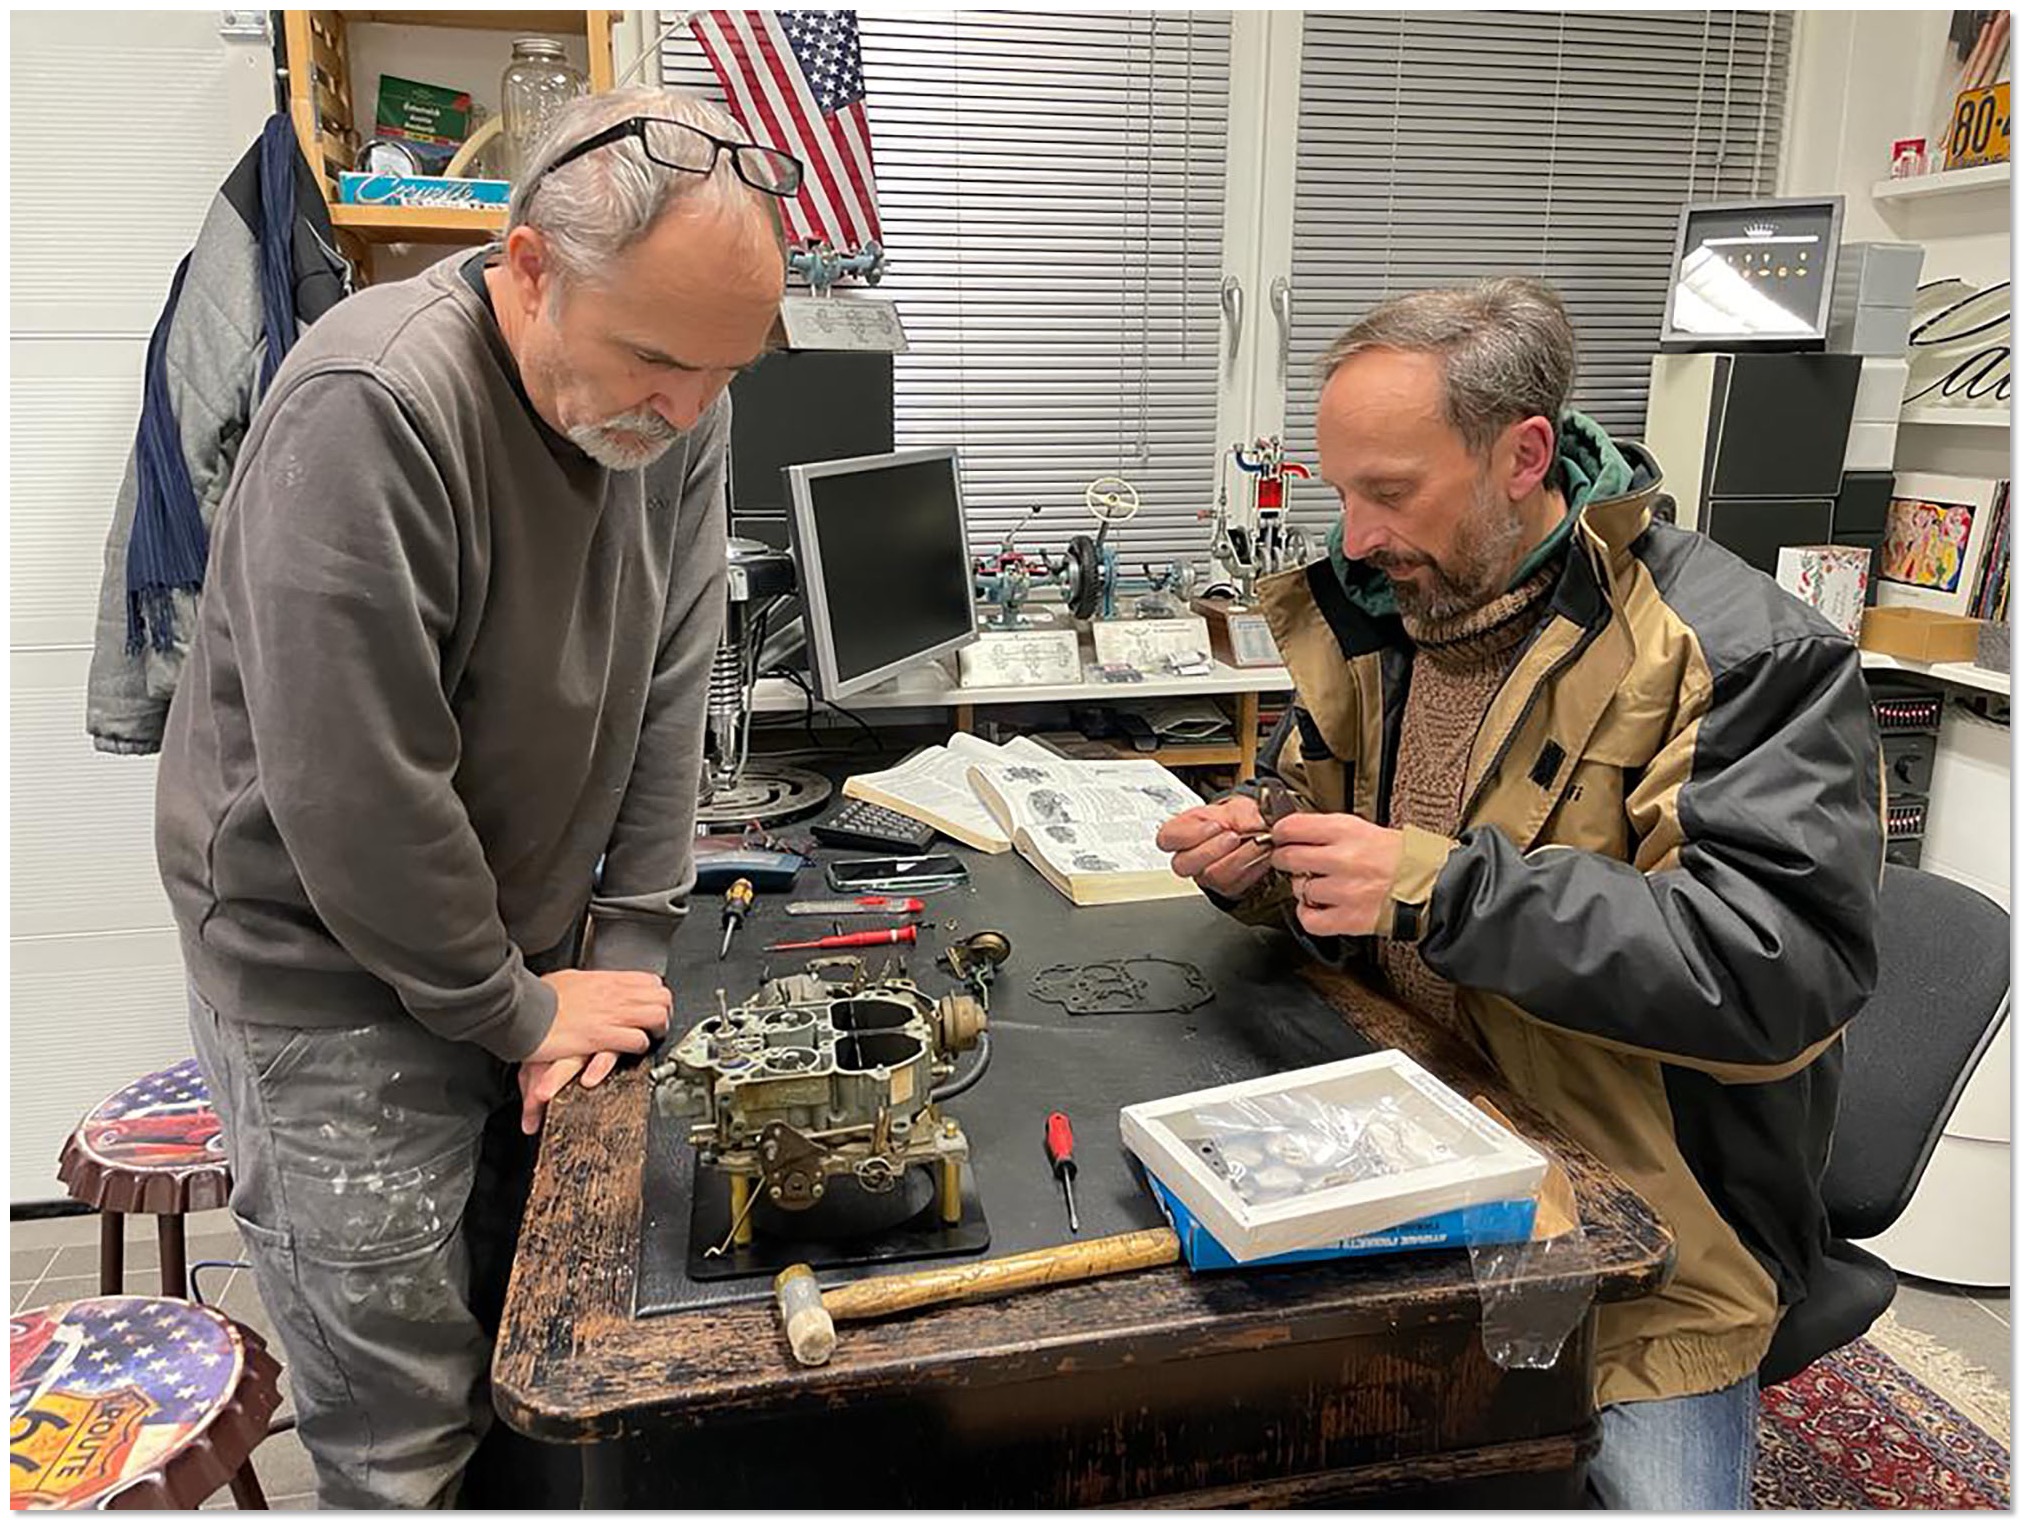
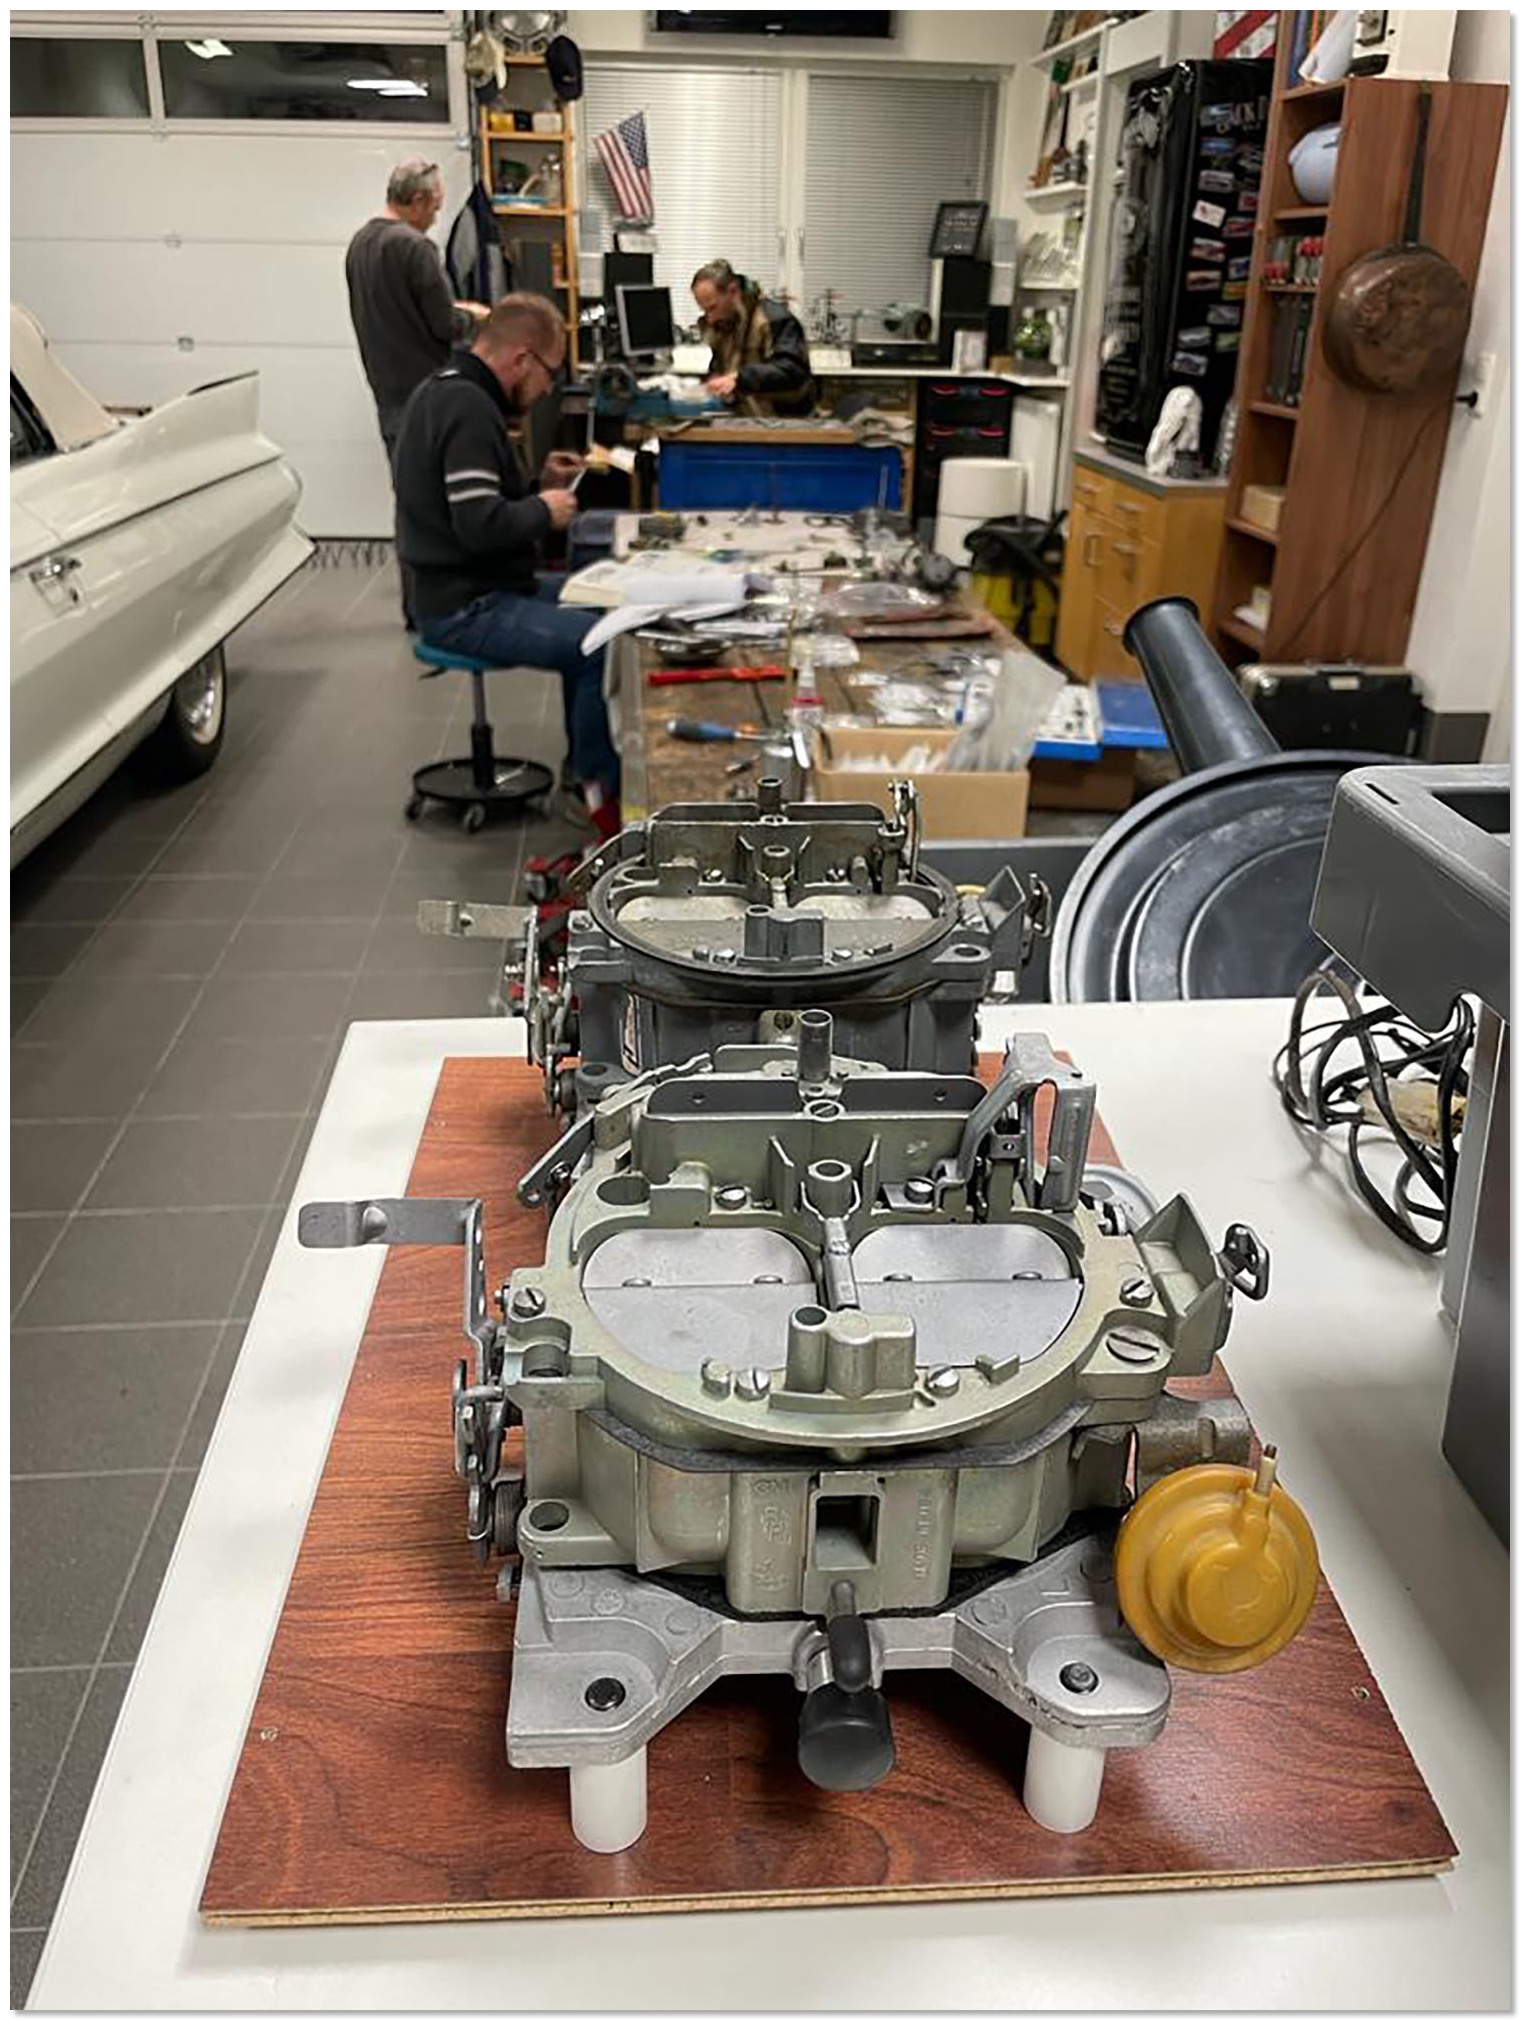 We had "Carburetor Monday" as everybody was working on their carburetors.
We replaced the pump rubber and put everything back together. The carburetor looked very clean inside with only minor deposits, so we left everything else as it was.
I can't wait to install it back into the car and hope the problem is fixed - did not do a full rebuild as it is still very clean and nice inside. Only installed new rubber on the pump and new top gaskets. Hopefully the problem is fixed now. I will update the page once the carb is back in the car.
1966 HOT CHOKE CARBURETOR REPAIR
I removed the choke housing from the car and it was completely stuck and did not move at all. Both the lever and the counter weight were completely frozen up although everything inside the housing looked pretty clean.
First I tried anti seize oil which did not change anything. Then I soaked the unit in a parts cleaner solution over night which did not free it up either. The next day I soaked it in a rust removing solution which did not help either. I then put it in a can of transmission fluid for a while.
In-between I always gently tried to move it and suddenly it freed up and now works perfectly smooth again. I put the carburetor back together and now the car is very easy to start again - even on a very cold day.
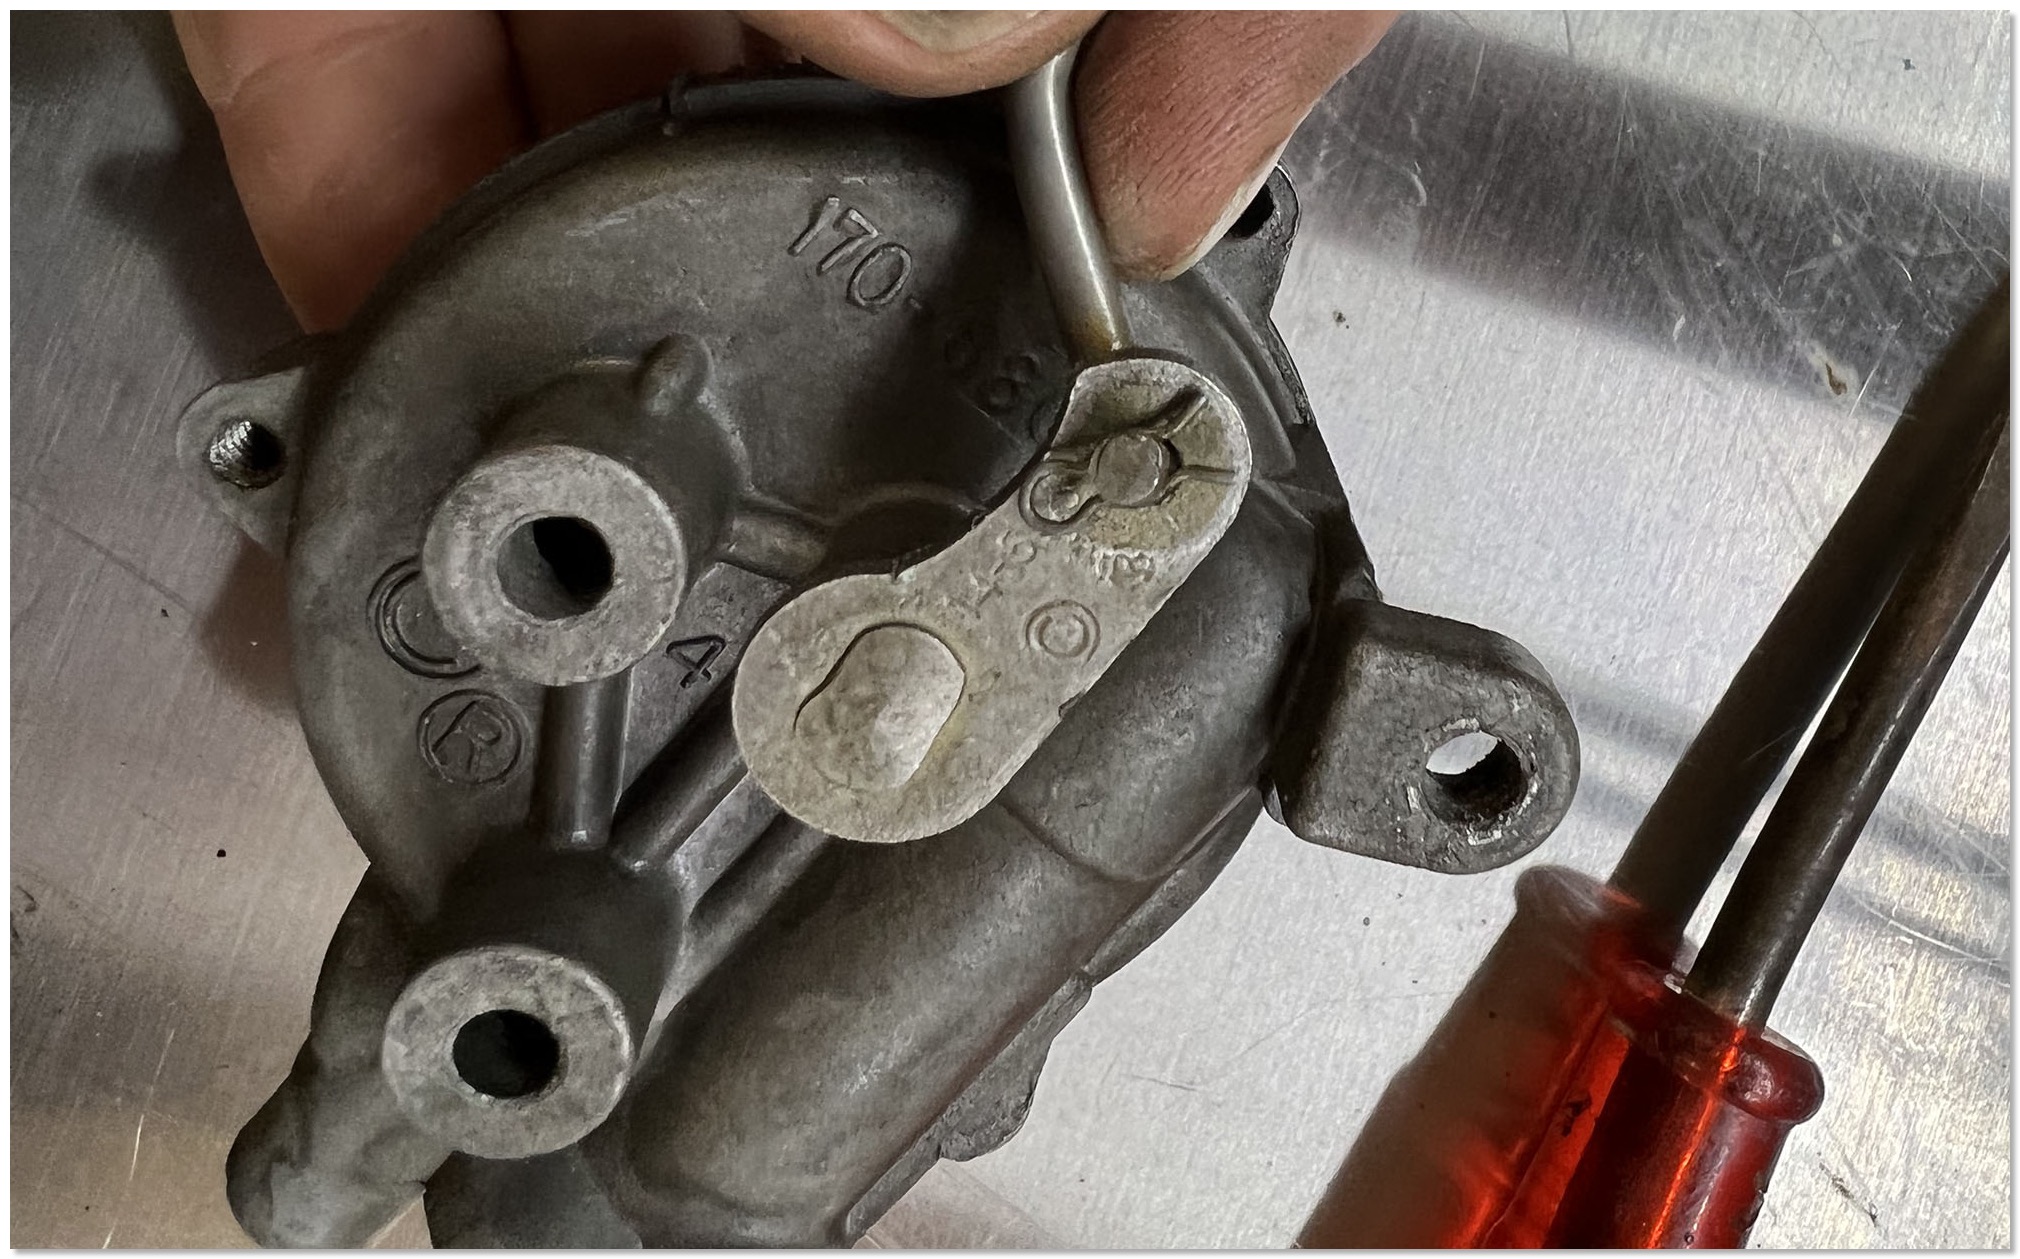
The choke after repair.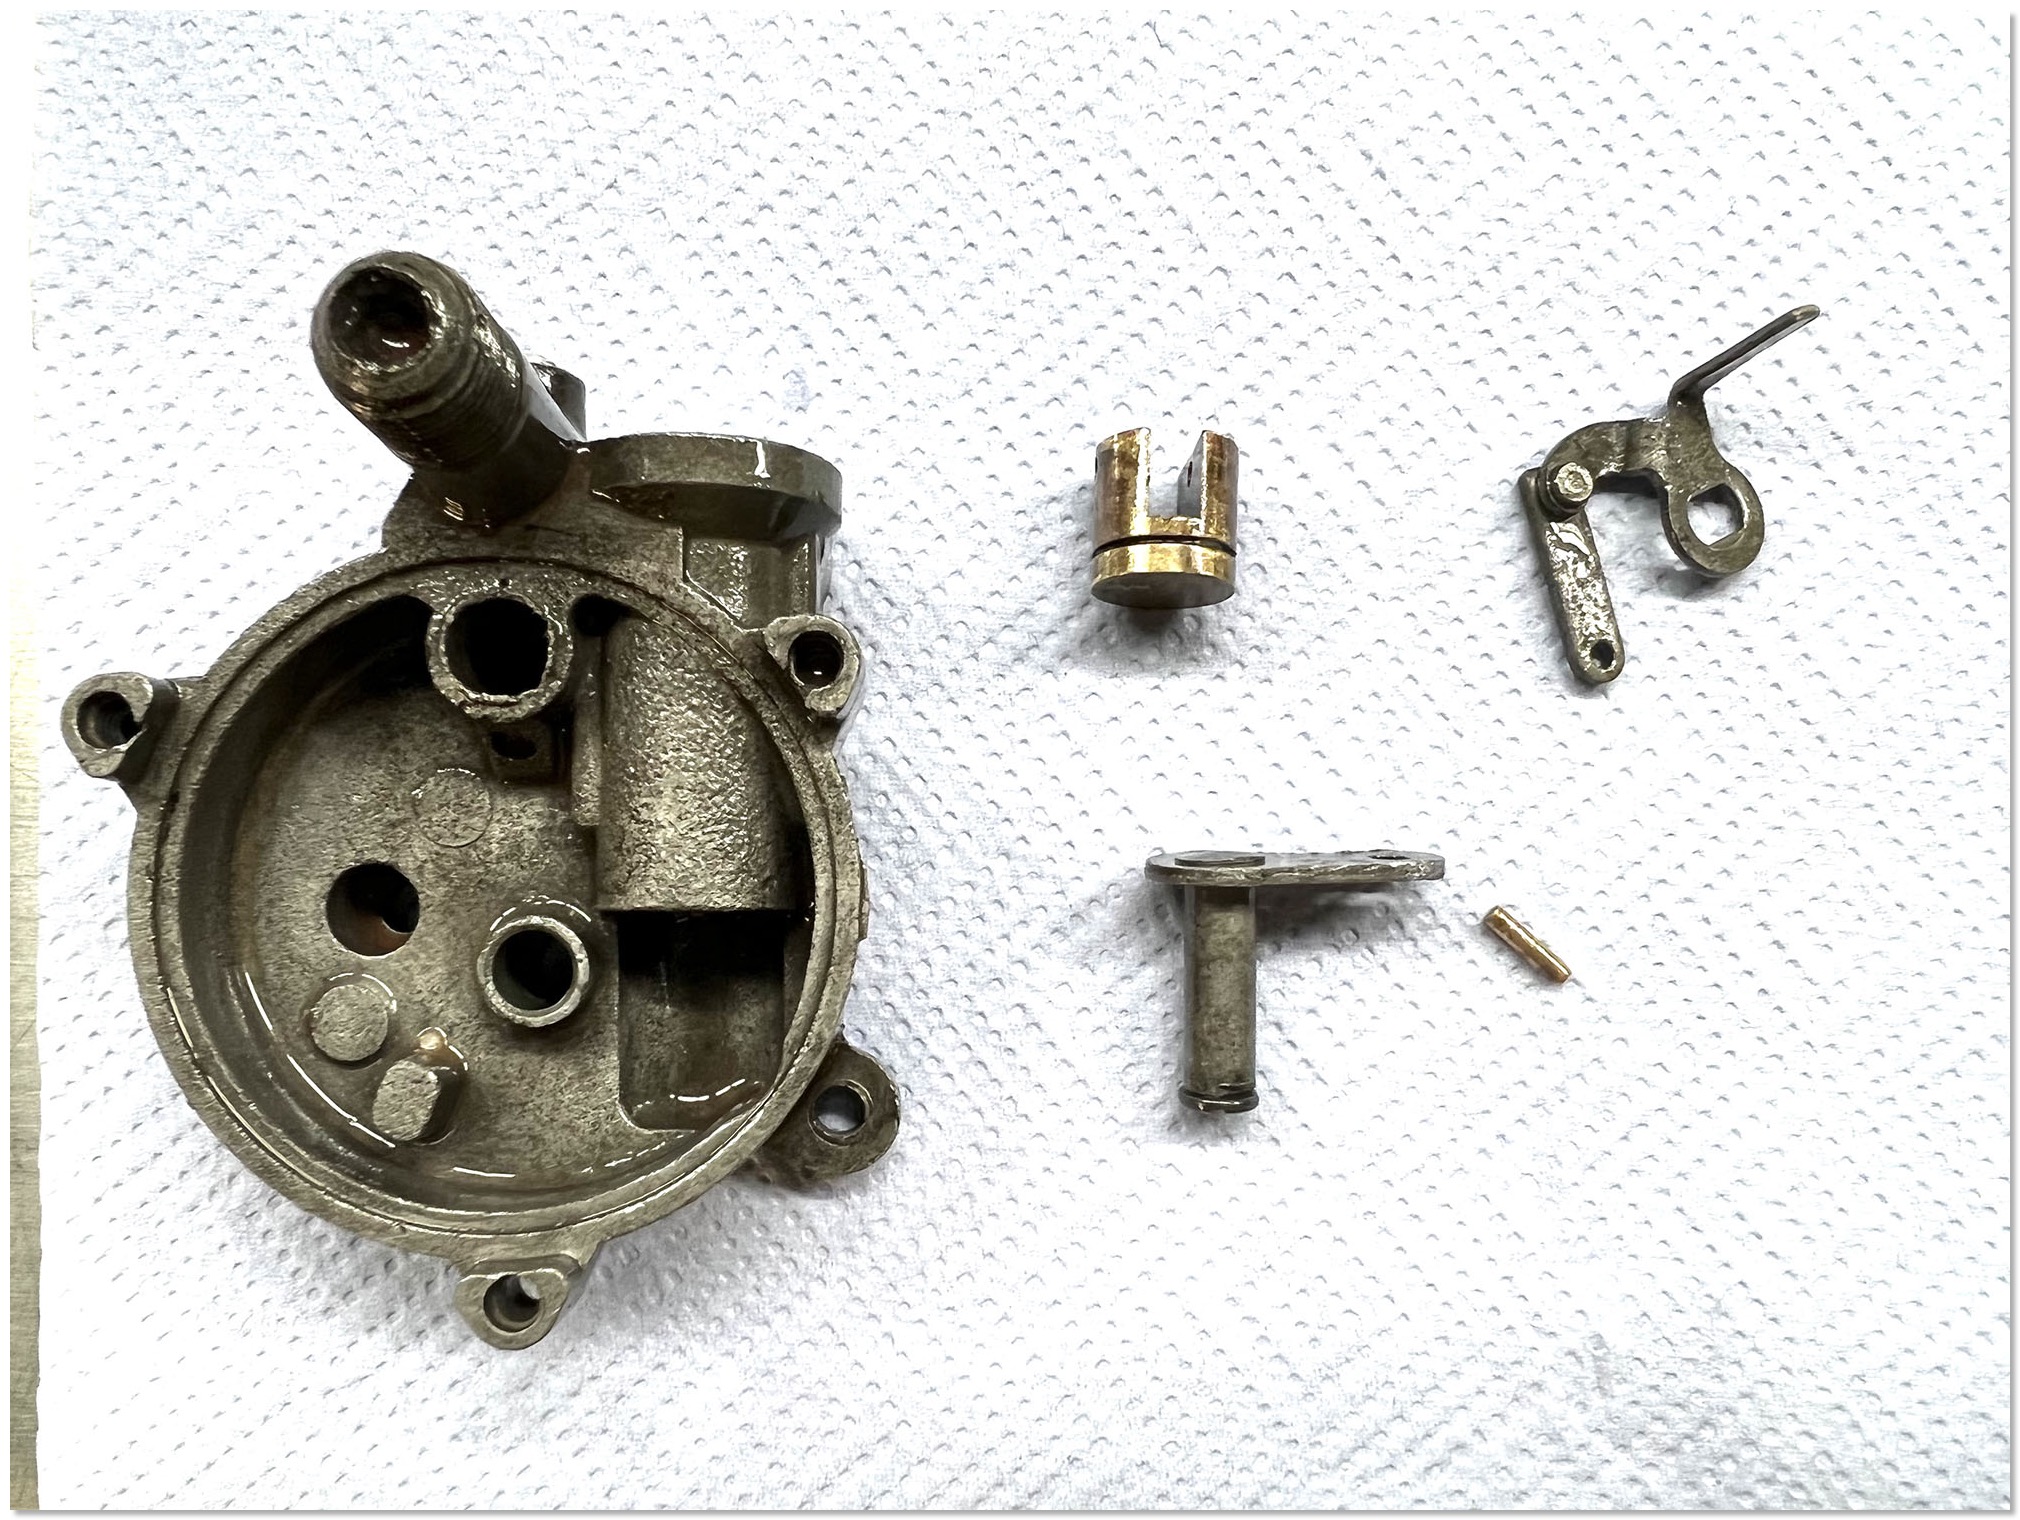 The choke mechanism disassembled for repair after I managed to free it up.
1967 ELDORADO CARBURETOR REPLACEMENT
The Eldorado now purrs like a kitten again with its new Quadrajet. I now have two more carburetors to do - the 1966 has a stuck choke and the 1978 needs a new accelerator pump.... The video is also available on YouTube in 4K HDR quality...
I took a short video of the installation process.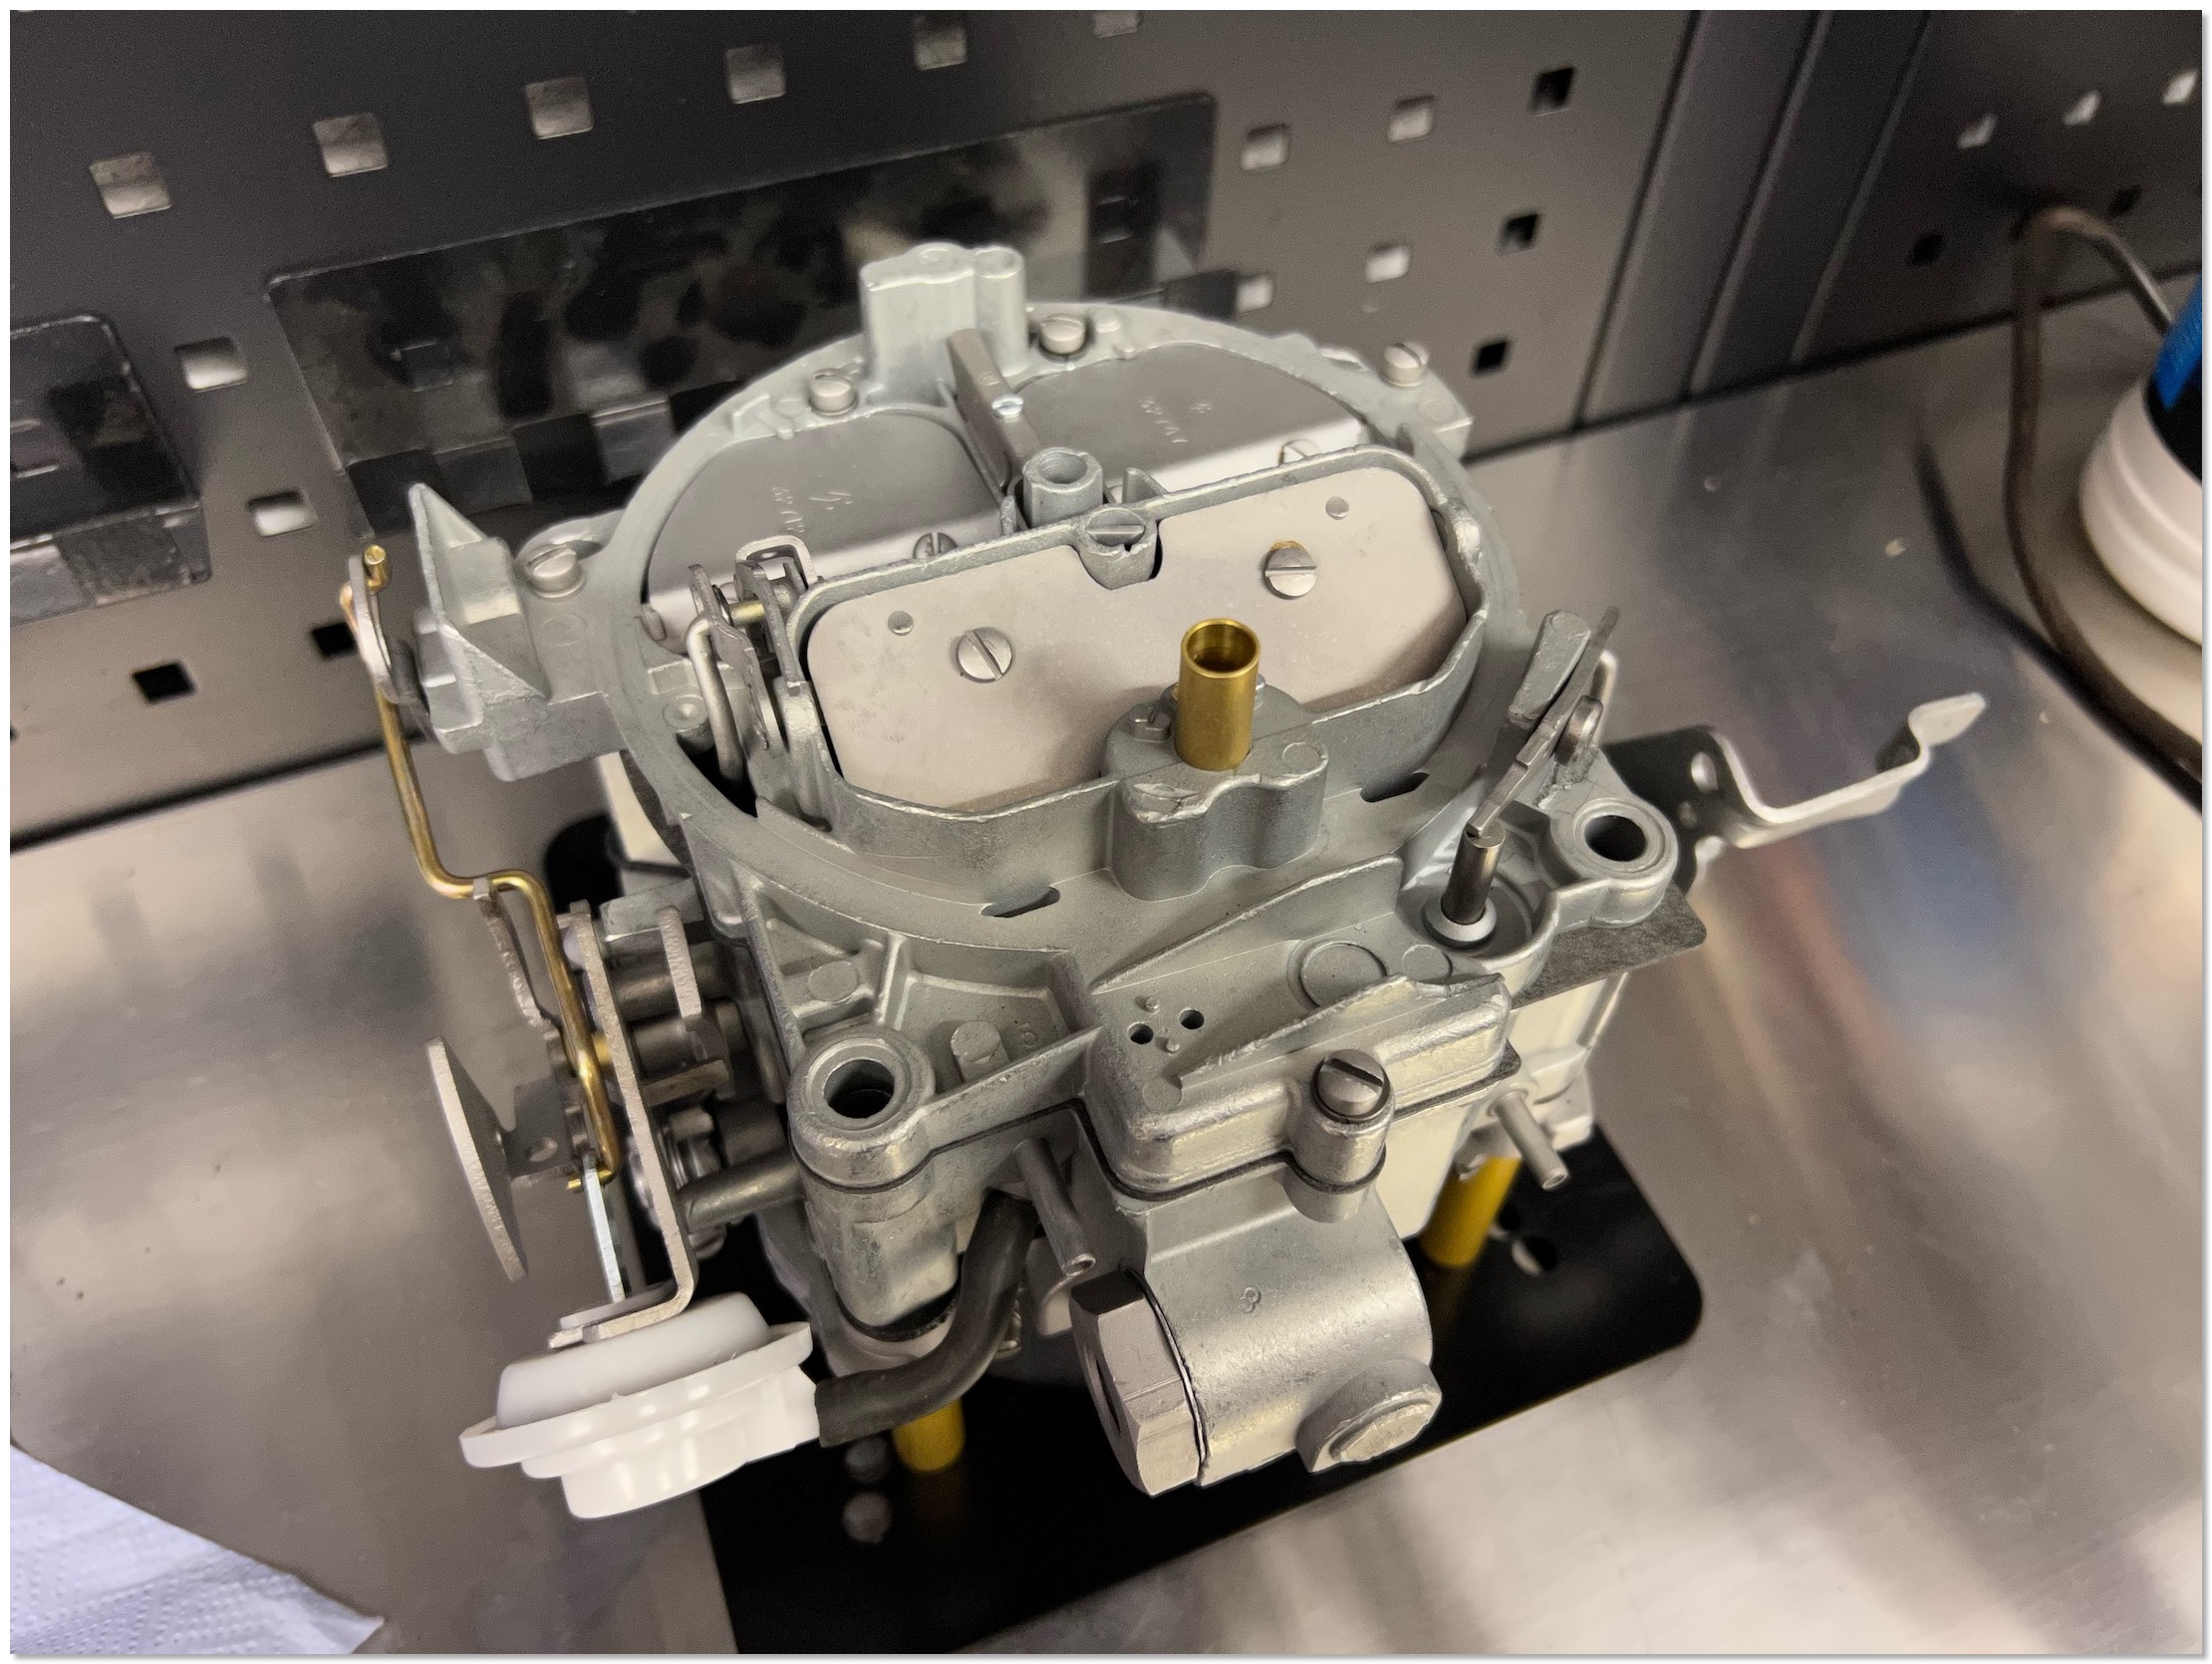
The rebuilt Quadrajet on the bench.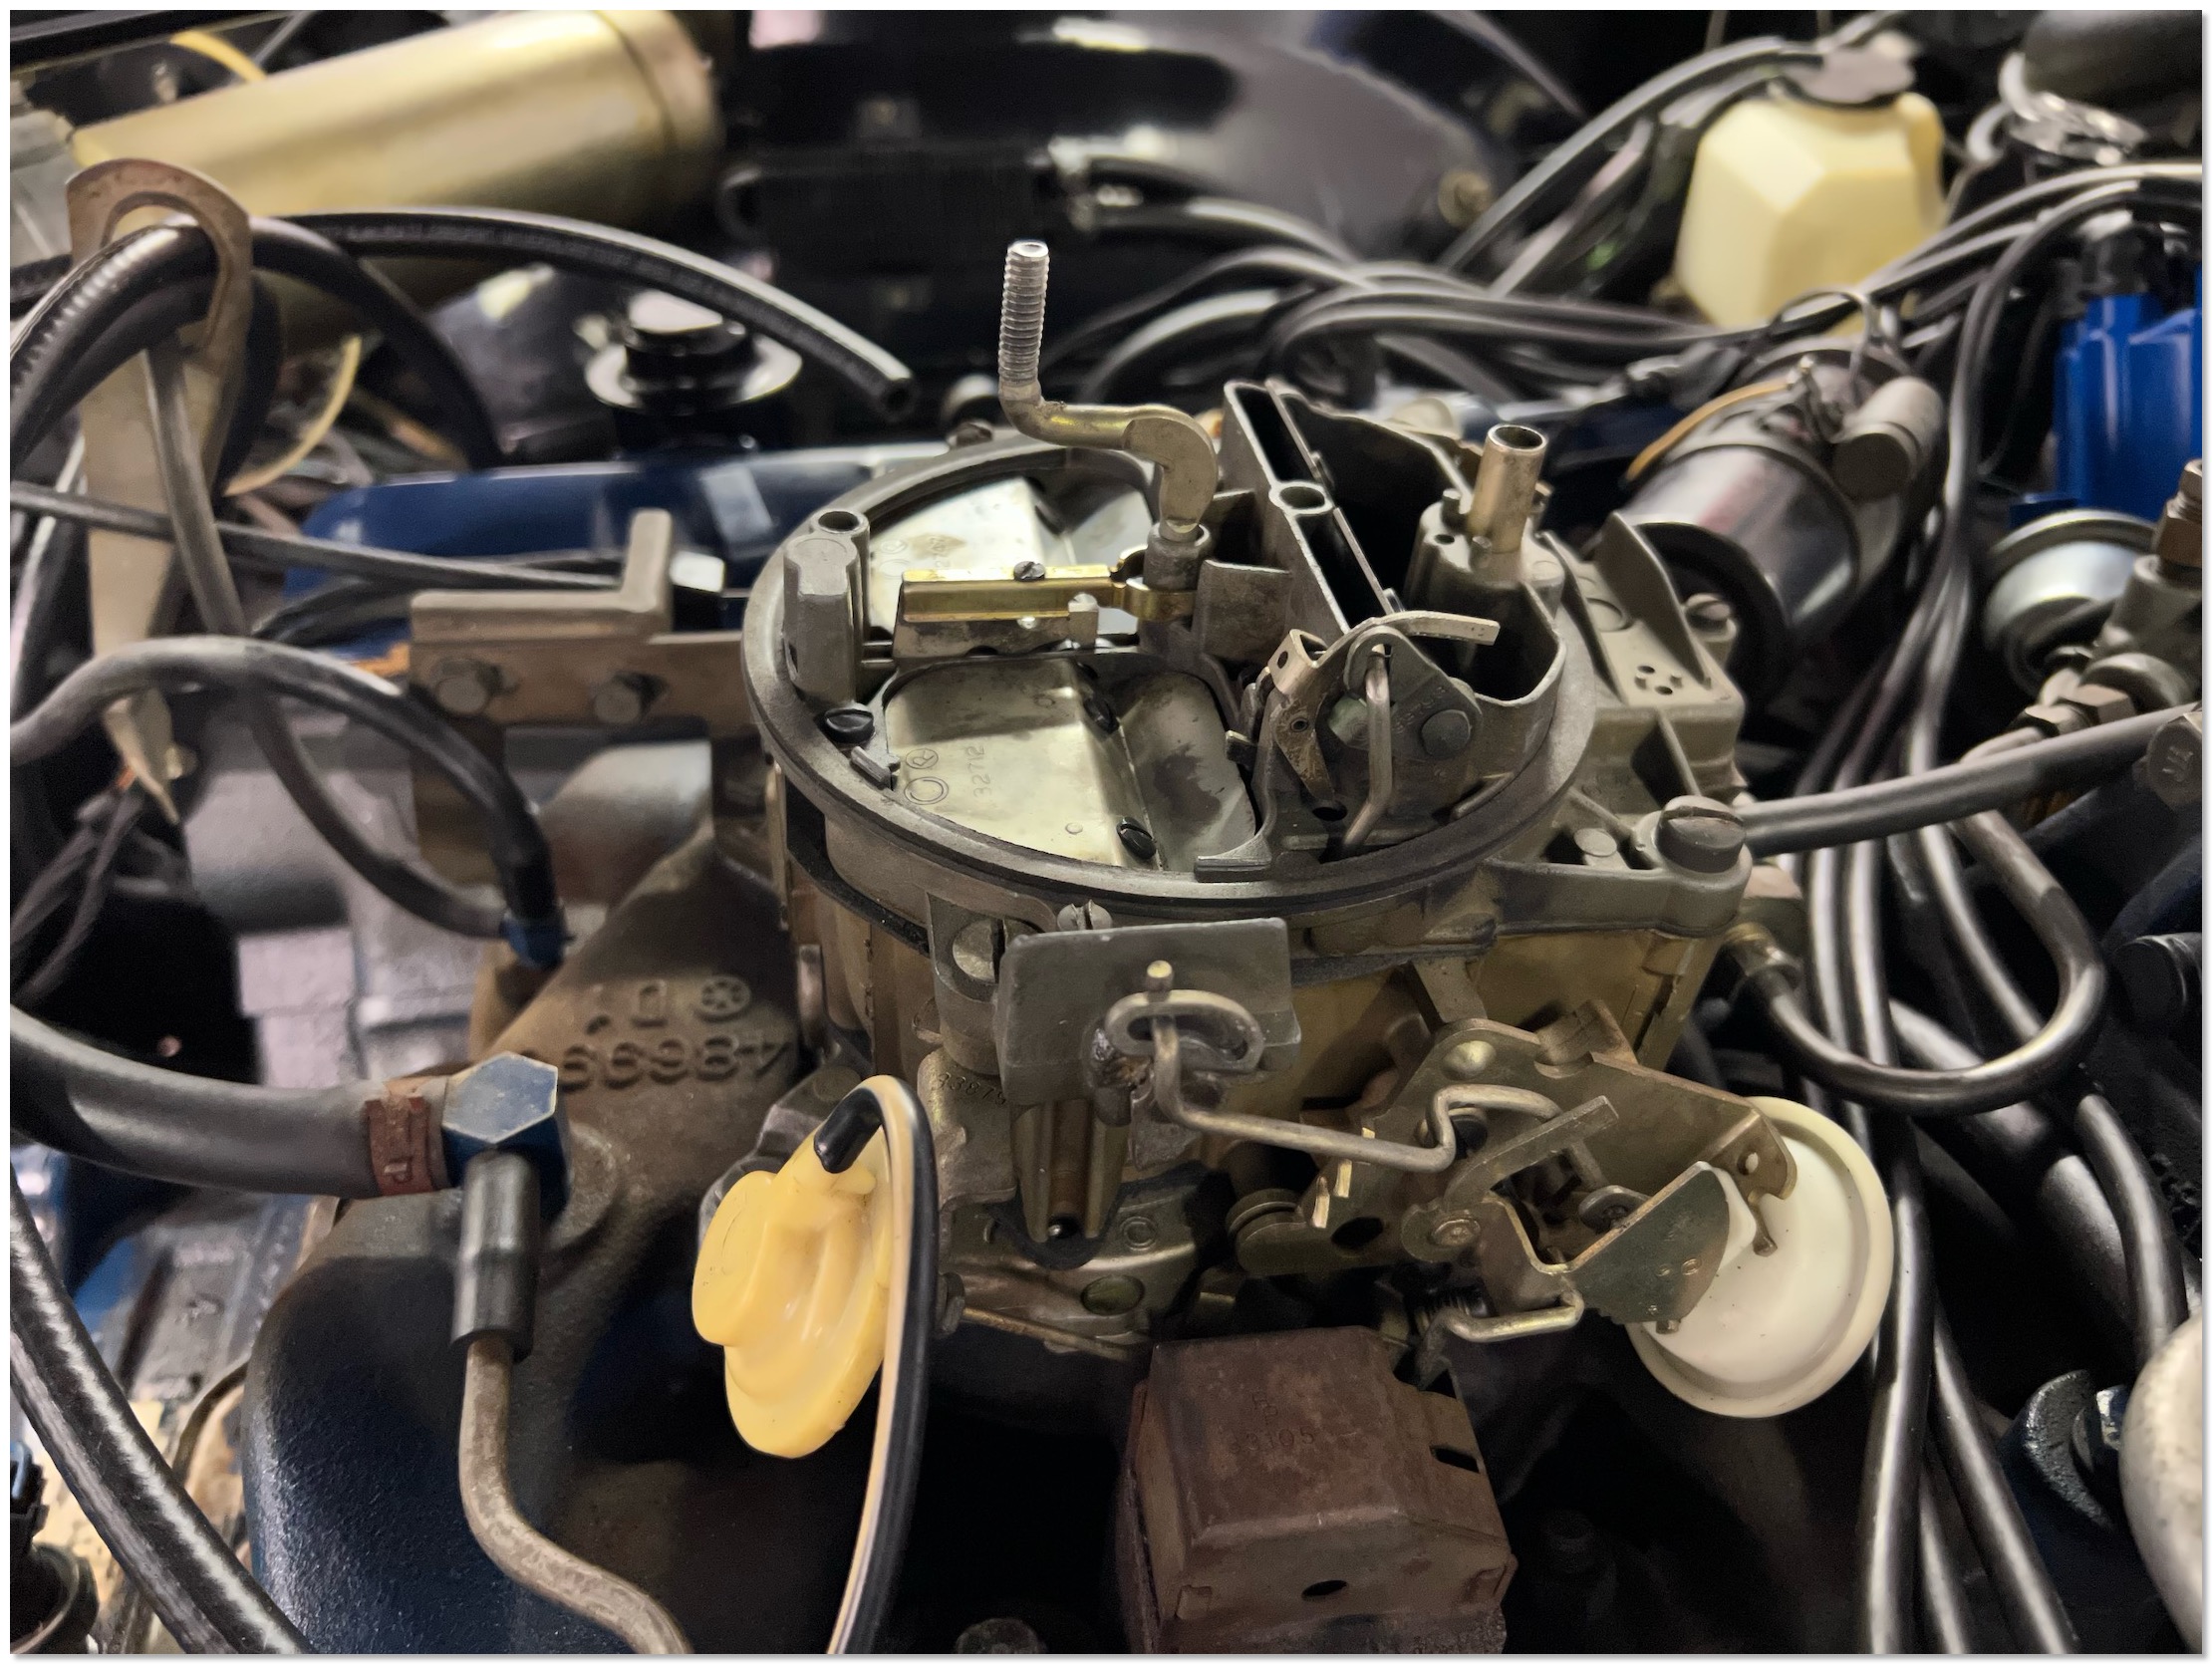
The old original 1967 Eldorado Quadrajet - this is the non California version.
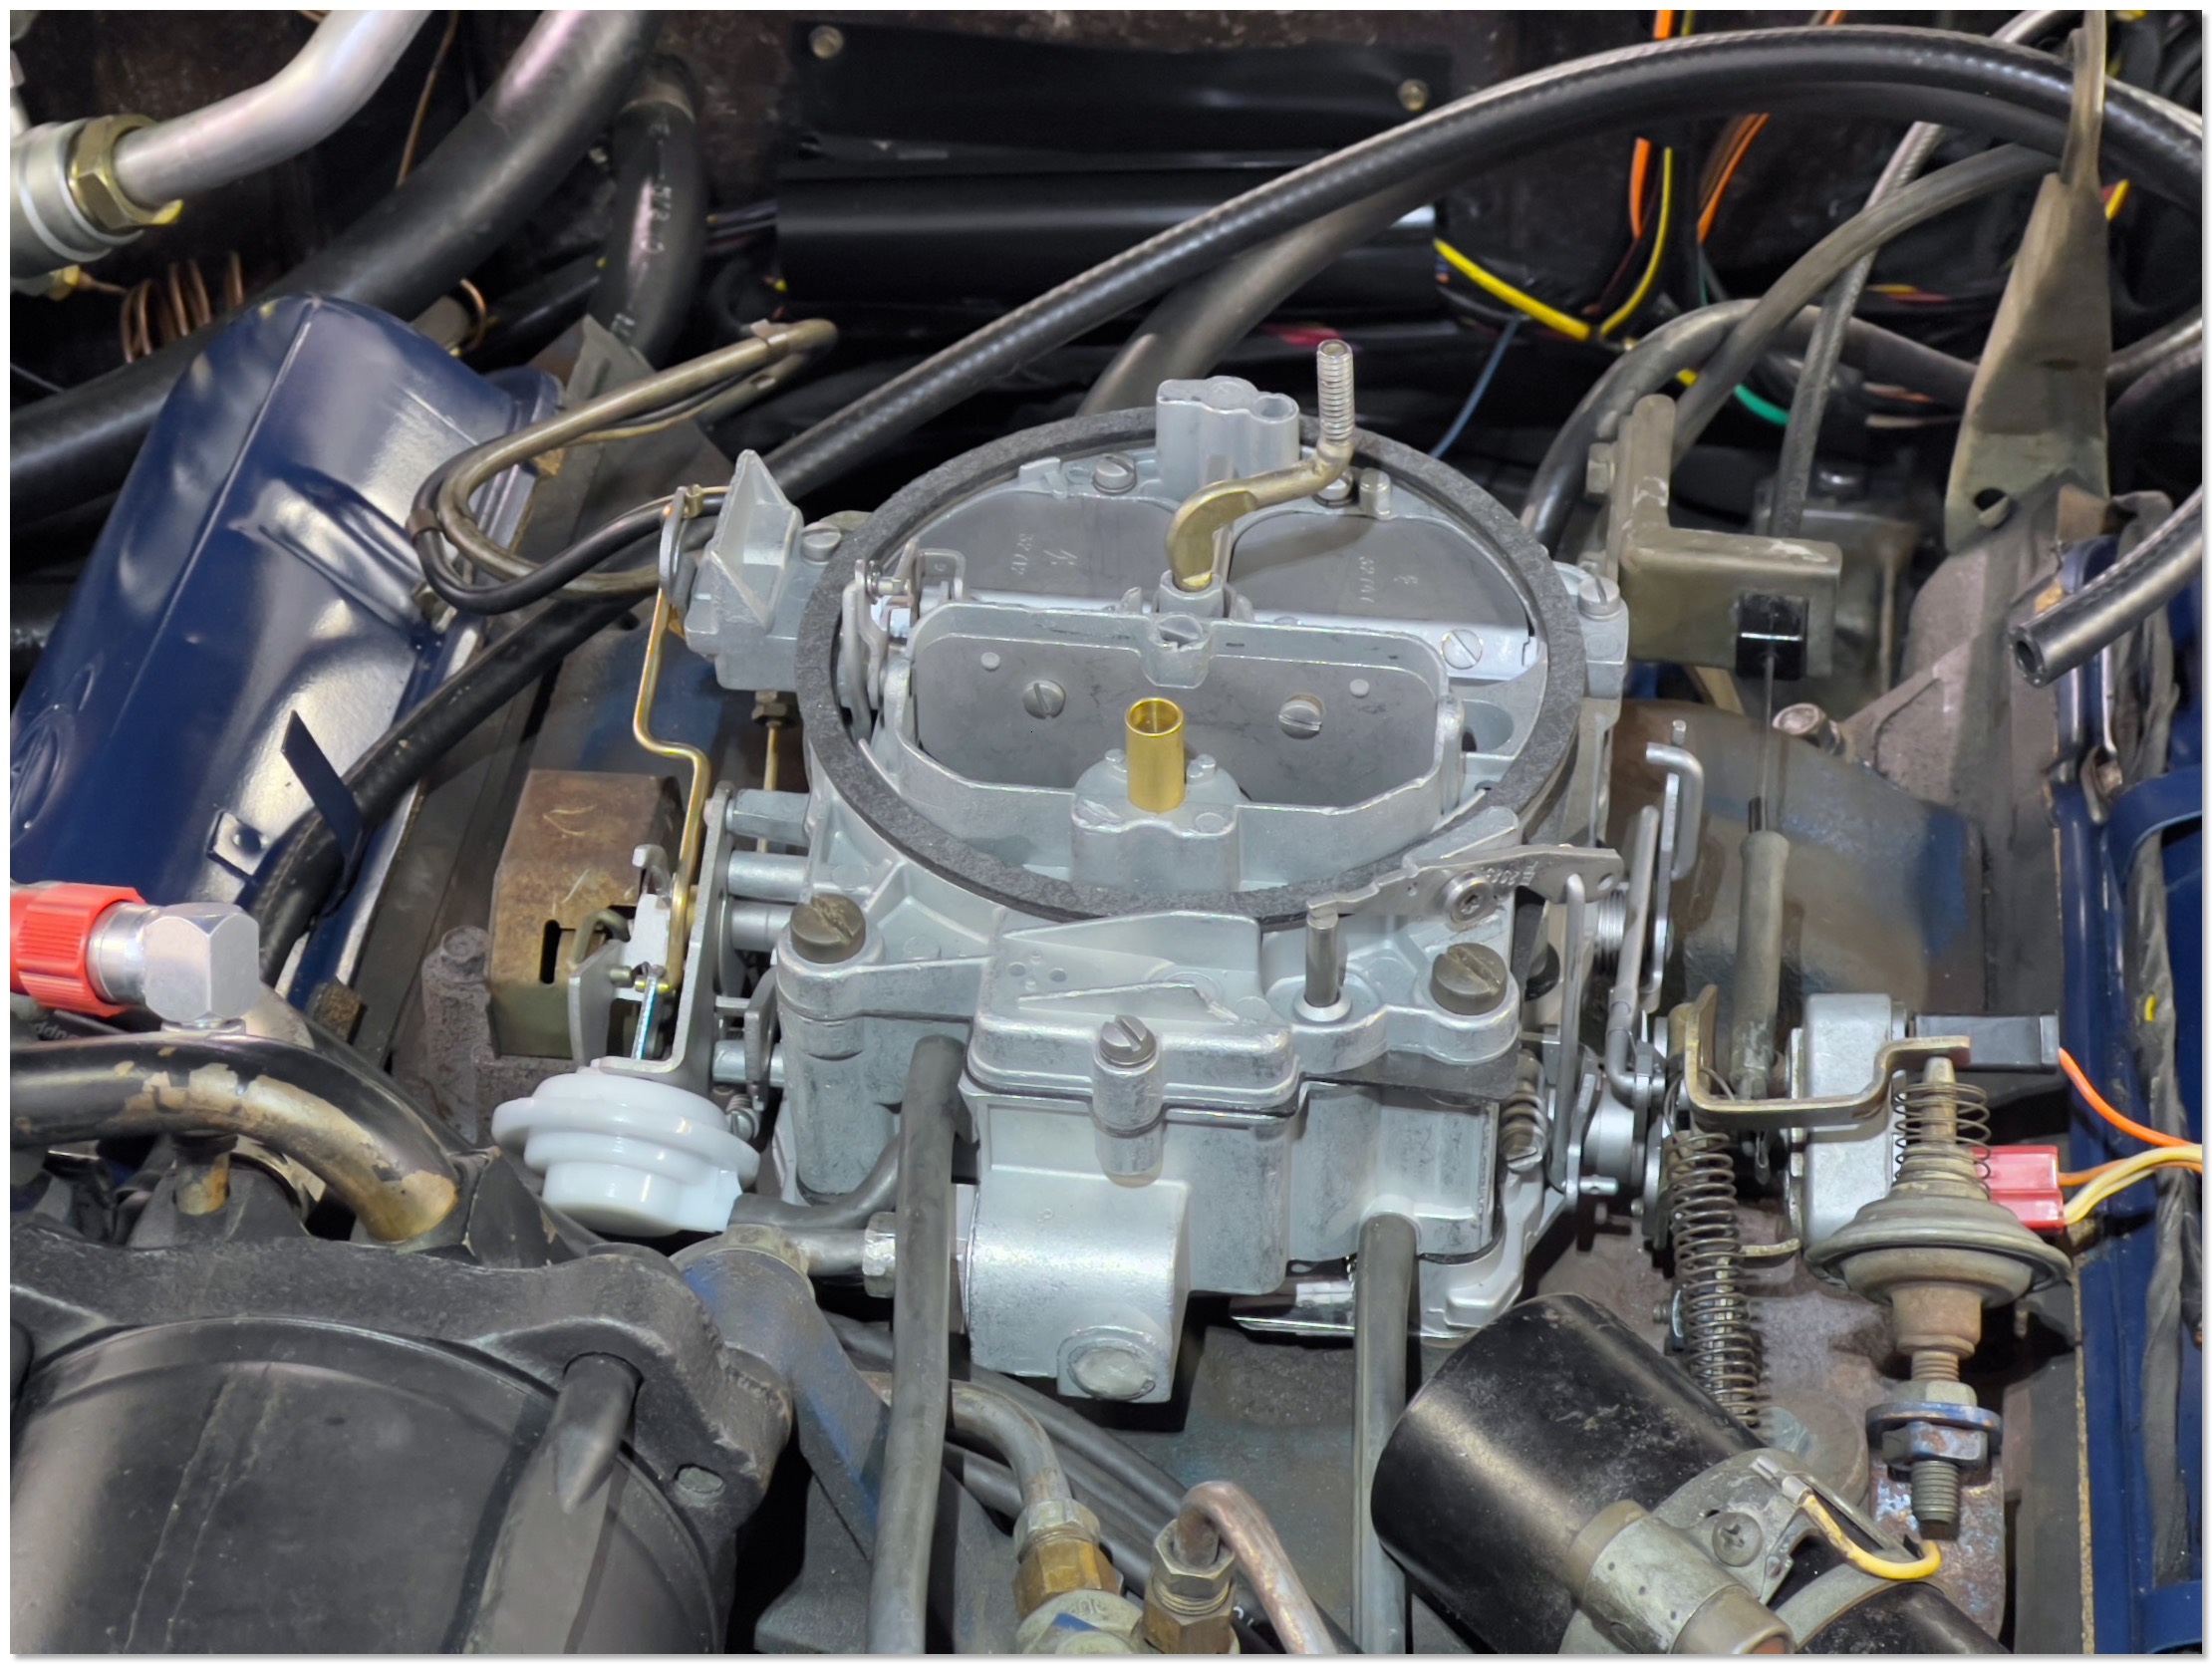
The rebuilt Quadrajet installed.
LINCOLN MARK III CARBURETOR REBUILD
CLICK BELOW TO READ MORE
READ MORE...
1978 Eldorado - Choke problems.
The only way I could get it to normal idle speed was to manually release the fast idle cam on the carburetor. For some for me unknown reason it did not release itself - even when the car was fully warmed up...
As I´m not exactly an expert when it comes to carburetors, it took me a while to figure out what was going on and what the problem could be.
I got myself the Rochester M4MC / M4ME Carburetor Manual online and started reading. The trouble shooting section did not mention my problem and symptoms though, at least I learned a lot by reading through the manual...
The carburetor in my 1978 Eldorado is a Rochester M4ME # 17058531 (late Federal).
After a lot of reading I suspected that the electric choke thermostat must be the problem.
I removed it to test it like it is described in the manual.
Electric Choke Diagnosis and Checking
In order to have good engine performance during warm up and be able to pass Federal exhaust emission standards, the electric choke must function properly .
Possible reasons for the choke not operating properly are listed below.
1. No engine oil pressure.
2. Malfunctioning oil pressure switch.
3. No current to oil pressure switch due to:
a. Burned out 15 amp "radio -idle stop" fuse.
b. Broken wire to switch (18 brown/double white).
4. No current between choke coil and oil pressure switch due to:
a. Broken 18 light blue lead wire.
b. Wire terminal not locked on coil terminal.
c. Ground circuit incomplete between grounding plate of choke assembly and housing.
5. Failed choke coil assembly.
A voltmeter or continuity light may be used to check the circuits for continuity to the oil pressure switch and the choke coil.
If it is suspected that the choke coil assembly has failed, the following check may be made.
1. Remove coil from carburetor and cool to room temperature (above 60°F).
2. Attach a jumper wire between positive battery terminal and terminal of coil assembly. Attach a second jumper wire between negative battery terminal and grounding plate of choke coil assembly.
3. The tang of the coil should rotate 45°in 54 to 90 seconds.
4. If coil fails to rotate or exceeds the above timing specification, replace coil assembly.
5. If coil is within above timing specification then coil is good and problem is elsewhere.
6. Reinstall coil and set to proper index (Fig. 52).
If coil is cooled off sufficiently the choke valve will close when throttle is opened slightly. Attach a jumper wire between the positive battery terminal and choke coil terminal. Choke coil should warm up and the choke blade can be observed opening, indicating a good and properly grounded choke coil assembly. At room temperature the choke blade should be wide open in approximately 90 seconds.
If the choke does not operate properly after the coil has been proven satisfactory , check out the other possibilities that prevent current from getting to the choke coil.
After I performed the test procedure above it was clear that the choke coil was the problem.
I ordered a new one from www.rockauto.com and it arrived within 3 days. The manual mentions the original part #17059968 (the original one on my car showed #17059969 though - but every parts list I checked does not list this number...?).
I got a replacement from Airtex # 2C1045 and it seems to fit.
I installed it today and the choke works as it should again.
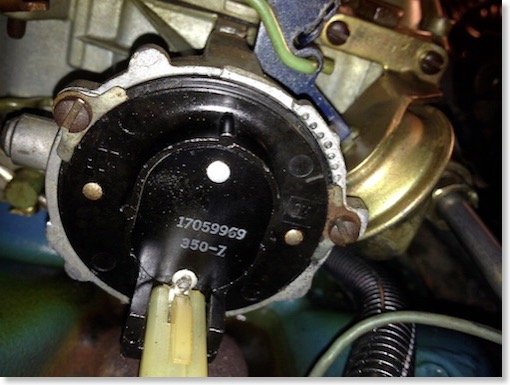
This was the original choke thermostat on the car . #17059969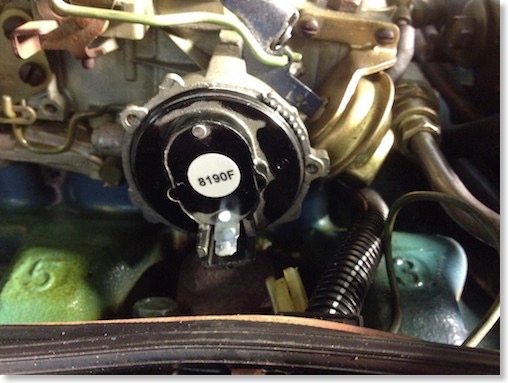
The Airtex replacement part in the car.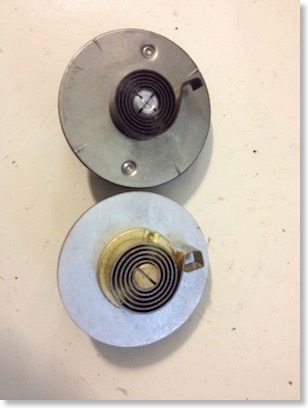
The original part and the new part - slightly different at the tang of the spring - but it works and fits perfectly...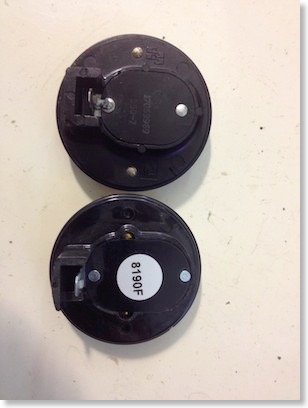
original and new part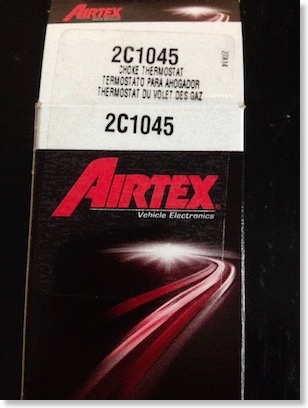
The Airtex replacement choke thermostat
The 67 Eldorado is at the shop again
Also the ignition and the rebuilt carburetor were not quite up to my standards yet, and so I decided to ask for some professional help for the last finishing touches. So I delivered the car to the shop, and the experts did some more tweaking. The result is that I finally have a perfectly working AC on my car. It took a while, but finally it's working as it should. When I got the car, a lot of AC parts were defective or torn out, and now everything is back to factory specs.
Also the carburetor is finally working as it should.
From a technical standpoint the car is now in perfect condition - you wont find anything that´s not working as it should.
Great! - next up is a repaint...
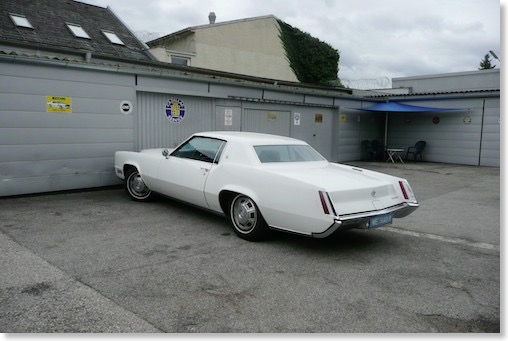
The Eldo at the shop.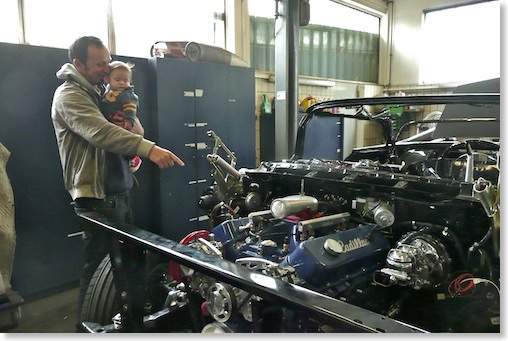
I took my little son with me to show him whats going on in the restoration shop.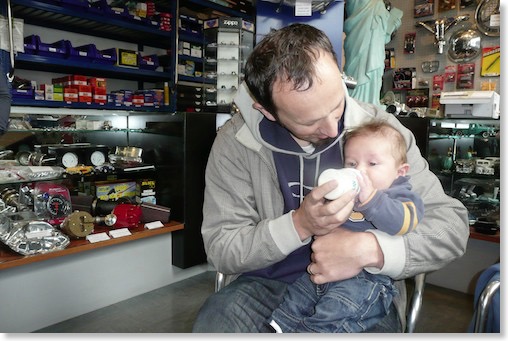
Looking at so many cool cars made little Elliot very thirsty. Here he is having his milk in the shop.
A problem with the 67 Eldorados carburetor
The right headlight door actuator also suddenly no longer works correctly. All hoses are new and it worked perfectly until recently. I can now only make it close if I jiggle on the actuator. Is there any way to rebuild them? A source for new or rebuilt ones? I have heard that the ones from the 1969 Camaro is very similar and only needs some minor modifications to work on the Eldorado as well. So I went ahead and ordered one. But the worst thing was that the freshly rebuilt carburetor made strange ticking noises and sounded like a tractor while accelerating. It worked well though, but the sound was unbearable. Could it be a defective gasket? It was also idling quite badly. Acceleration was superb though, its much more powerful than before, but still something was wrong... The ignition also was completely rebuilt. So I played around with the ignition first, but the ticking sound did not go away, no matter in which direction I changed the timing... Almost sounded like an exhaust leak, but there seemed to be none... It was LOUD! Before I had the carb and ignition rebuilt, it was extremely quiet and idling smoothly but had misses while accelerating.
I got some very valuable tips from fellow Cadillac aficionados and the previous owner of this Eldorado even called me from the USA to give me some tips to solve this issue, and he was spot on with his diagnosis...
With a hose held to my ear and the other end to the carburetor, I was able to locate the source of the noise. It came from the carburetor below the choke assembly. So I took the freshly rebuilt Rochester Quadrajet out again, only to find out that the gasket and the metal shim were installed the wrong way around. This burned a hole into the brand new gasket where the exhaust gases from the heat crossover passage could escape and make this noise.
Of course I did not have a new gasket at hand, so I carefully removed the old one from my spare engine, which was in pretty good shape and installed it.
No more ticking - no more noises, no more bad idling.
The car now drives amazingly good and is silky smooth. It could not be any better.
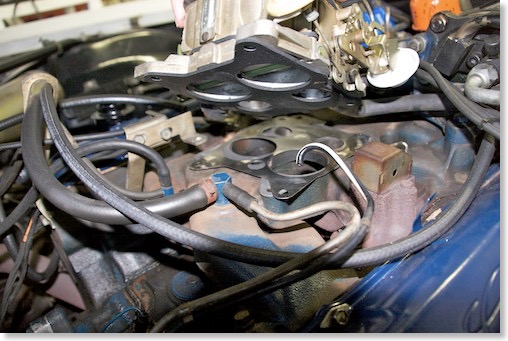
The shim was installed first and then the carb - thats wrong! The gasket has to go on the intake manifold first - then comes the metal shim.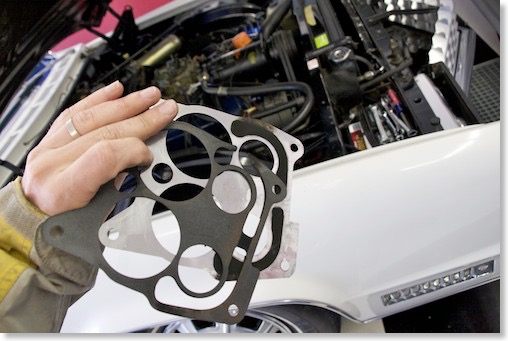
Here you can see the burnt gasket and the metal shim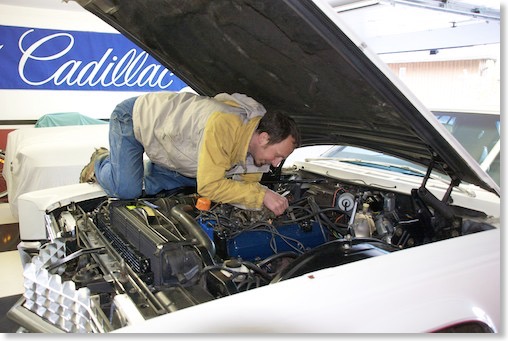
Putting everything back together again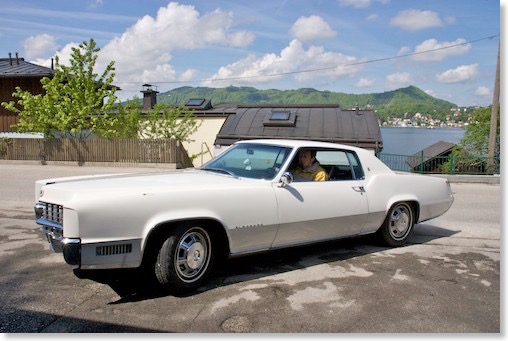
Test drive after the repair - perfect!
58 Carburetor Rebuilding Project finished
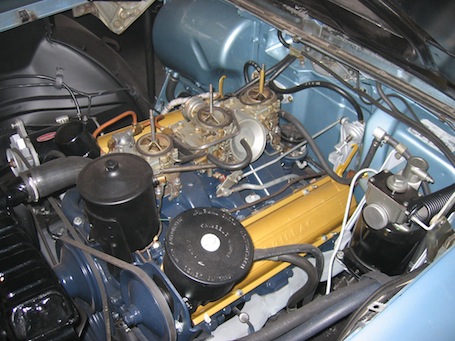
The 3 dual carburetors were rebuilt completely. The carbs were blasted, cleaned and rebuilt and work perfectly now. I did not think that it would make a difference that big. It´s a real pleasure to drive the car now.
And the best surprise was, that the rebuild cost much less than the initial cost estimate I got.
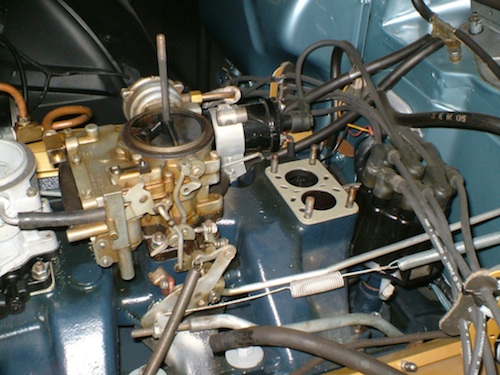
during the rebuilding - click on any picture for larger view!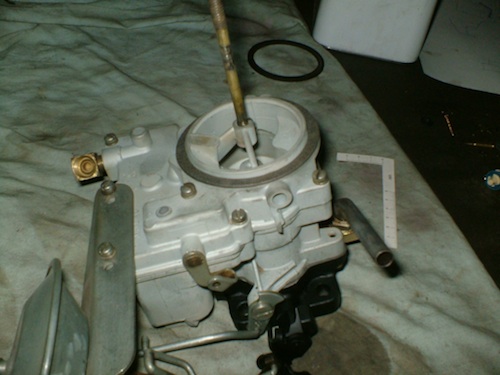
all carbs were blasted and cleaned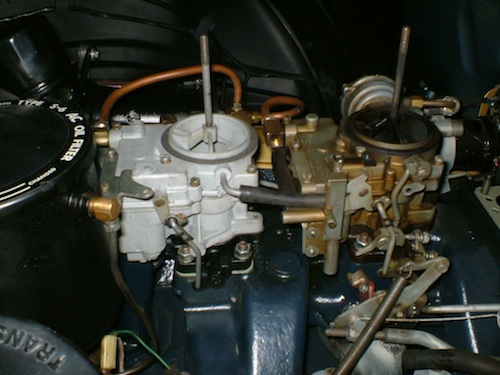
the rebuilt front carb
Finally: A date for the tri-carb rebuild
I will deliver the car to them on April 23rd. Looking forward to it.
The 58 is at the restoration shop.
It made the drive there without catching fire again ;-)
The restoration shop will take care of the carbs now.
One of the carbs caught fire last year at my own wedding and since then I could not drive the car.
Also the air cleaner will have to be repainted due to the burnt cover.
Hope everything will be fixed soon and I can finally drive my 58 Seville.
1966 Cadillac Coupe deVille (16)
1967 Cadillac DeVille (54)
1967 Cadillac Eldorado (73)
1971 Lincoln Continental Mark III (24)
1974 Cadillac Coupe deVille (46)
1978 Cadillac Eldorado Biarritz (25)
1996 Buick Roadmaster (20)
Cadillac BIG Meet (2)
Car Shows (55)
Cruising (4)
CT6 (1)
For Sale (3)
Garage Stuff (32)
Pacer (1)
Restoration (140)
Various (55)
Video (20)
Website News (31)
- 6 way power seat
- 8-track
- 10 Ohm
- 429
- 1932
- 1957
- 1958
- 1958 Cadillac Eldorado Seville
- 1958 Cadillac Repair Tip
- 1959 Cadillac Eldorado Seville
- 1964
- 1965
- 1966
- 1966 Cadillac Coupe deVille
- 1966 Cadillac Repair Tips
- 1967
- 1967 Cadillac DeVille
- 1967 Cadillac Eldorado Repair Tip
- 1967 Cadillac Repair Tip
- 1967 Eldorado
- 1968
- 1970 Cadillac Eldorado
- 1971
- 1971 Lincoln Continental Mark III
- 1974
- 1974 Cadillac Coupe DeVille
- 1974 Cadillac Repair Tip
- 1976
- 1977
- 1978
- 1978 Cadillac Eldorado Biarritz
- 1978 Cadillac Repair Tip
- 1980 Cadillac Eldorado Biarritz
- 1996
- 2012
- 2014
- 2017
- 2018
- 2019
- 2022
- 2023
- 2025
- 3063206
- 7027235
- 7800483
- 7805675
- 7805676
- 12355706
- 17058531
- 17059968
- 17059969
- 22010515
- 22010661
- A.I.R
- A6
- AC
- AC Compressor
- AC Electrical Diagram
- ACC
- Accelerator Pump
- Accelorator pump
- Accident
- Actuators
- Adriatic Blue Metallic
- Ads
- Aftermovie
- Air Pump
- Aircondition
- AIRPUMP
- ALC
- Alternator
- AM
- AM-Transmitter
- Antenna
- Anti Rattle Clips
- Antique Gold
- Arizona Vintage Parts
- Arrival
- Article
- ASC
- Ash Tray removal
- ATC
- Atlantis Blue Firemist
- Austria
- Austro Classic
- Autolite SP-459
- Automatic Seat Back Release
- Award
- Banner
- Barn Find
- Battery
- Battery Tray
- Beach Race
- Bearing
- Bendix
- Biarritz
- Bigfoot
- Bill Hirsch Engine Enamel
- Bleeder Screws
- Bleeding
- Blower
- Bodywork
- Bolts
- Book
- Borg
- Brake Booster
- Brake Fluid
- Brake Gray
- Brakes
- Broken Bolt
- Brougham
- Bucket seats
- Buick
- Bumper End
- Bushings
- Cadillac
- Cadillac BIG Meet
- Cadillac BIG Meet
- Cadillac birthday cake
- Cadillac Blue
- Cadillac Color Selections Dealer Book
- Cadillac Coupe deVille
- Cadillac Dealer
- CADILLAC GRAND EUROPEAN
- Cadillac Meeting
- Cadillac Mini Meeting
- Camaro RS
- Caorle
- Car Show
- Carburetor
- Card
- Carpet
- Carter AFB
- Cavalry Twill Vinyl
- CB
- CBM
- CCCD
- Choke
- Christmas
- Citizens Band
- Classic Cadillac Club Deutschland
- Clay Towel
- Cleaning
- Clock
- Clockwork
- Clutch
- Clutch Coil
- Collector
- Colonial Yellow
- Color Coded Springs
- Commercial
- Compound
- Compressor
- Condenser
- Continental Mark III
- Control Head
- Conversion
- Convertible top
- Coolant
- Corona
- Cowl
- Cruise Control
- Cruising
- CT6
- CV Boots
- CV JOINTS
- D6230
- Dash Trim
- Decal Removal
- Decals
- Decoration
- Dehumidifier
- Delco Moraine
- Der Standard
- detailing
- Deville
- Diagnosis Chart
- Diagram
- Dial
- Digital Rotary Drum Clock
- Diner
- Disc Brakes
- Distributor
- Diverter Valve
- Door Jamb Switch
- Door Rubber Conduit
- Dornbirn
- Dot3
- Drive Shaft
- Driving tour
- Drum brakes
- Dry Ice Blasting
- Dry Ice Cleaning
- DVD
- Eastwood
- Eldorado
- Electric Choke Thermostat
- Electrical schematic
- Elvis
- Engine Bay
- Ep
- Epoxy floor
- Europe
- Evaporator
- Exide
- Factory Markings
- Fender Skirt
- Floor
- Flushing
- Flyer
- Foam
- For Sale
- Front AXLE
- Front brakes
- Front bumper filler
- Front Floor
- Front wheel bearing
- Fuel Filter
- Fuel Pump
- Fuel Sending Unit
- Fusible Link
- Garage
- Garage Cabinets
- Gasket
- GE
- Gear indicator
- General Time
- Glove box light
- Grand European
- H4
- Haus of Hot Rod
- Headlight Actuator
- Headlight doors
- Headlights
- Heater Core
- Heater Hose
- Heater Valve
- High Idle
- History
- Holley
- Honest John
- Hood
- Hood Emblem
- Hood Ornament
- Hose Clamp
- Hot Choke
- Hot Water Valve
- HotRod
- How to
- Hödlmayr
- Ignition Diagram
- Illuminated Entry
- John D‘Agostino
- John Foust
- Klassikwelt Bodensee
- Kremsmünster
- LaSalle
- Leather seats
- Light Switch
- Limited
- Lincoln
- Lincoln Mark III Repair Tip
- Low Mileage
- Magazine
- Marilyn Monroe
- Mark III
- Master Cylinder
- Master Switch
- Master Vacuum Switch
- Media Blasting
- Meeting
- Meguiras
- MK II
- Mobile
- Model
- Moldings
- Mom
- Mopar Nationals
- Mostkost Kustom
- Movie
- Munich
- Neon
- NOS
- Oberösterreicher des Tages
- oilchange
- ORF
- Overspray
- Pacer
- Paint
- Paint correction
- Paintjob
- Part Number
- Parts
- Patch Panel
- Perfect Circle
- Permabag
- Persian Lime
- Photo shooting
- Photoshooting
- Pictures
- PinUp
- POA Valve
- Power Antenna
- Power Servo
- Power Vent Windows
- Power Window
- Printed Circuit Board
- Programmer
- Pulley
- Quadrajet
- Quarter Panel
- Quartz Conversion
- R134
- Radiator
- Radio
- Rattle
- Rear brakes
- Rebuild
- Recalibrate
- RediRad
- Reed Switch
- Relais
- Relaunch
- Removing Overspray
- Repaint
- Repair
- Restoration
- RIP
- Roadhouse
- Roadmaster
- Rochester
- Rocker Arm Cover
- Rocker Panel Extension Clips
- Rostio
- Rotary Valve
- Rotterdam
- Rupes
- Rust removal
- Rust removal gel
- Sabre Wheels
- Sand Blasting
- Sandblasting
- Screed
- Season Greetings
- Seasons Greetings
- Seat Back Locks
- Seat Padding
- Seat Transmission
- See through ornament
- Self adjusters
- Self Starter
- Sepp's Garage
- Seville
- Sheetmetal
- Shocks
- shop manual
- short
- Sign
- Solenoid
- Spark Plug Wire Routing
- Speakers
- Special Award
- Speed Bleeder Screws
- Splash Guard
- Starter Diagram
- Starter Motor
- Steering Column
- Storage
- suction throttling valve
- sunroof
- suspension
- Swirl Mark removal
- Switzerland
- T3
- Taillight Cover
- Texan´s Choice Award
- Thermostat
- Tilt and Telescope
- Time capsule
- Tomsclub
- Torque Specifications
- Tower Hose Clamp
- Towtruck
- Trailer
- Transducer
- Transmission
- transmission control selector
- transmission control selector indicator light
- transmission shift indicator
- Treadle Vac
- Treffen
- Tri-Band
- Troubleshooting
- Trunk Cardboard Kit
- Trunk lid
- Trunk lining
- Trunk to bumper cover
- Turn Signal Switch
- TV
- Typisierung
- Ultimate Garage
- Underbody
- Undercarriage
- Undercoating
- Undercoating Removal
- Vacuum Booster
- Vacuum diagram
- Vacuum hoses
- Vacuum Master Switch
- Vacuum Schematic
- Vacuum Valve
- Valve Cover
- Various
- Vent Window Switch
- Vibration
- Vibrator
- Vicodec roof
- Video
- Vinegar
- Vinyl Roof
- Visitor
- Washer Fluid Float
- Washer Fluid Low Level Indicator
- Water Pump
- Wax
- Weatherstripping
- Website News
- Westclox
- Wheel Bearings
- Wheel Housing
- Wiesbaden
- Windlace
- Winter
- Wiring
- Wiring Diagram
- Wonderbar
- Workbench
- Zurzach
 GERALD´S CADILLACS - NEWS