 GERALD´S CADILLACS - NEWS
THE 1974 UNDERCARRIAGE RESTORATION PROJECT - I HAVE TO START ALL OVER AGAIN
As I had put so much effort in totally de-rusting the underbody of this low mileage car, I decided to let a professional body shop re-paint the bare metal frame, suspension parts and floor pans this time. My goal was to have the ultimate quality paint job in the factory correct colors underneath the car. I´m not very good in painting and my attempts often result in runnings, which I have to sand out and other imperfections I wanted to avoid.
So I handed the de-rusted car over to the paint shop.
BACK FROM THE PAINT SHOP
When I got the car back, everything looked o.k. as you can see on the pictures below. I was not too impressed by the work they did, as there were quite a few imperfections and some sloppy paint work visible, if you looked very closely. At this point I was already worried that they maybe did some shortcuts before painting, when they should have properly cleaned the bare metal, before they sprayed the primer.
They used some high quality epoxy primer and 2k paint for the job though.
THE MESSED UP ENGINE BAY - OVERSPRAY HELL
There was a terrible mishap at the shop, as they did not mask off the engine bay properly, so all the paint dust and overspray collected inside of the engine bay, and the entire engine bay looked like somebody emptied a spray can into the engine compartment from about 5 feet away. Everything was covered with paint overspray.
I was so shocked when I opened the hood that I almost passed out. The once perfectly clean, all original engine bay was a total mess. It looked so terrible that I could not even snap a picture. Last year I had spent weeks to clean it to my standards…
I had no idea how I could remove the overspray without damaging the original finish of the engine, rubber hoses, cables, wires, accessories and engine parts. This was a terrible situation for me.
REMOVING OVERSPRAY WITH CLAY
I then remembered that detailing clay can be used to remove overspray from paint, but I was not sure if it would work with this heavy amount of overspray. The paint shop gave me a special clay towel to clean up the engine bay, which works like detailing clay, but can be cleaned more often and is easier to use and more aggressive. This thing really works well, but I had to do so much scrubbing on some parts, that some painted areas, like the wheel wells or the air filter housing, turned a little dull after this tiring work. To get them shiny again, I had to hand polish each and every part after claying it. It took me about 25 hours to remove all the accessible overspray from inside the engine bay. I had to thoroughly scrub each and every part, wires and hoses with the clay towel and all purpose cleaner as a lubricant. The areas which I could not clean good enough by hand will be cleaned with dry ice soon. I´m 100% confident that it will look as good again as it did before this happened - I have already achieved 90%, the rest will get perfect again with some dry ice cleaning…
TIME FOR UNDERCOATING
My plan is to protect the undercarriage with a transparent undercoating, which is as good as invisible if properly applied. It will provide a perfect protective shield against road debris, stones and is rust prohibitive. This high-tech material is far superior than the original tar based undercoating which is normally used, and as an additional bonus you can always see what is going on underneath the undercoating. I decided to use a product from a german company called "Timemax USB Clear". Timemax is one of the leading specialists for rust protection, and their products have won some independent tests, done by classic car magazines.
THE PAINT DOES NOT STICK!
Before spraying on the undercoating, I had to mask off the areas like the frame, drive shaft, axle, suspension parts, fuel tank, brake lines, hoses and brakes. After a day of masking off all the areas, I discovered a small paint chip on the frame. When I inspected it with my fingernail, a bigger chunk of paint flaked off the frame. I then used a scraper to scrape the paint, to see if it was just a small area where the paint would not stick properly. The area where the paint came off got bigger and bigger, and soon it became clear that the paint does not stick properly anywhere…
Of course this was another big shock for me, as this meant that 3 months of work were completely destroyed… When I inspected the areas underneath the removed paint, it quickly became clear that the paint shop did not treat and clean the bare metal before painting, as they should have done. They just did a quick wipe with silicone remover.
Of course the bare metal underneath a 41 year old car is full of oil and grease and needs a lot of cleaning with strong chemicals before paint will adhere to it. Unfortunately they skipped this most important step. Although I brushed away all the rust and everything looked shiny, the oil and grease is in all the pores of the metal.
I HAVE TO START ALL OVER AGAIN - REMOVING THE FRESH PAINT AGAIN
This now means that ALL the paint they sprayed on has to come off once again. Also the brown paint on the floor pans has to be stripped again as well.
I asked a dry ice cleaner to try if it can be removed with his method, and it soon became clear that it is possible, but will take at least one full working day, and this will cost a small fortune.
There will probably be some areas left which I will have to rework by hand.
As you can imagine, this is a huge step back for me. I worked so hard and so many hours, often till late into the night, to finish this project for nothing …
The paint shop knows that they did a lousy job and is very supportive to resolve this issue.
This video shows how badly the paint sticks to some of the frame parts. It can be blown off with the pressurized air on some areas…
WHAT´S NEXT?
Before dry ice blasting the undercarriage once again, we will try to get the paint off with a powerful high pressure washer. Once the paint is gone again, we will clean the bare metal multiple times with acetone, marine clean, a special metal cleaner and metal prep. We will also sand everything with some coarse sandpaper to get a little rougher surface to make sure that the paint adheres much better next time.
I also want to go for a black with less gloss, as it was too glossy and did not look correct.
I hope that the weather will be good enough in January 2016, so that I can start all over again. At the moment I do not have the motivation to do anything on the car, and I do not even want to look at it, as it hurts too much. I still have to recover from the things that have happened. This is so frustrating. I hope that it will look like it should after the second attempt.
The 3 stages of the project so far.
Everything looked o.k. after painting, but the paint does not stick to the metal due to poor cleaning by the paint shop.
This is the transparent undercoating I wanted to apply when I found out that the entire paint on the undercarriage does not stick…
Unfortunately the paint does not stick to the bare metal… I could scrape it of with a simple scraper. You can see all the flaking paint on the floor…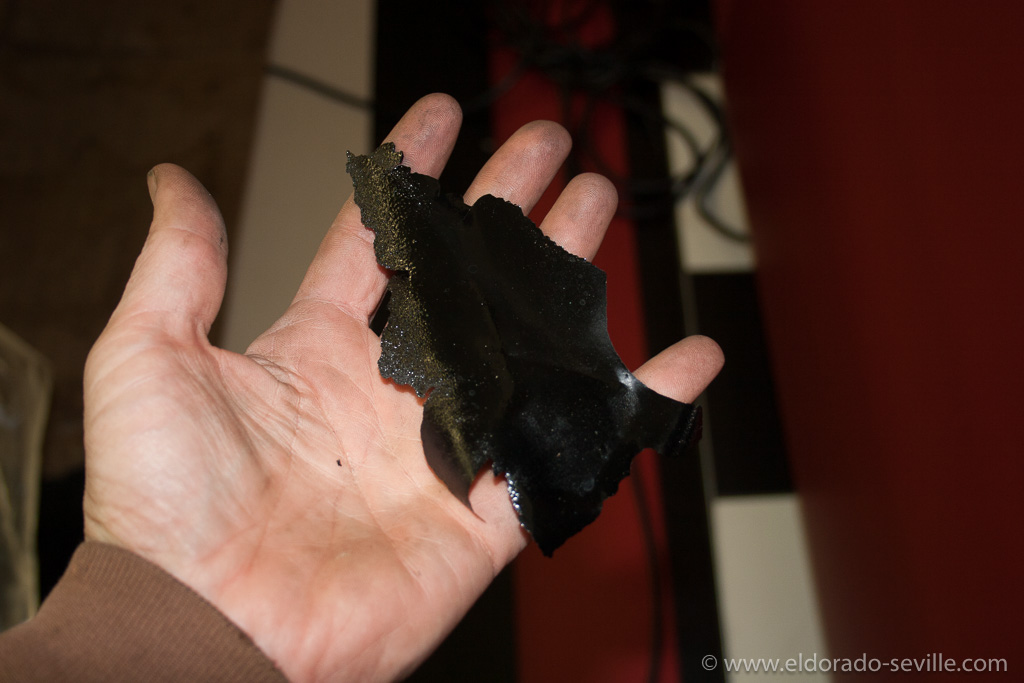
The paint is peeling off in big chunks…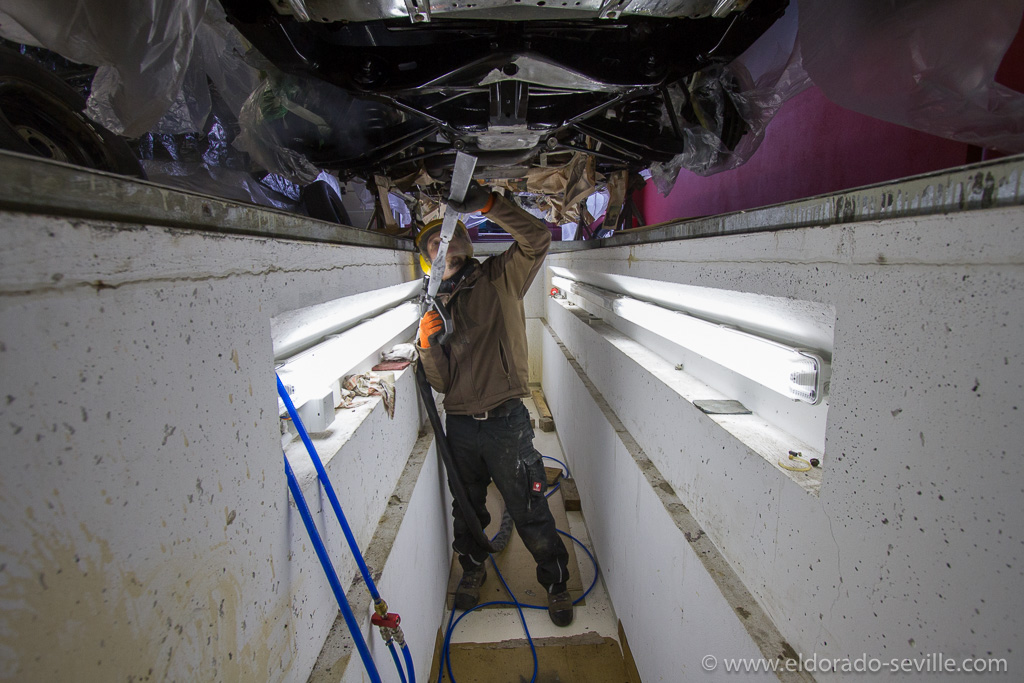
So ALL the new paint has to come off again. Here the dry ice blaster is trying if it can be removed with dry ice cleaning.
BE CAREFUL WITH ZINC PLATED PARTS AND RUST REMOVAL SOLUTIONS
Due to all the problems I had, I completely forgot about some fasteners from the rubber splash guards, which I had soaked in the rust remover solution for more than a week. This long time in the liquid removed all the surface rust, but the acid also ate away the zinc plating. So whenever you try to remove the rust from anodized fasteners and screws, make sure not to soak them for too long.
As I can´t get the fasteners and screws very easily here in Austria, I had to brush away the remnants of the zinc coating with a wire brush, and then painted everything with Eastwoods Silver Cad paint. This does not look 100% correct of course, but will have to do until I find some original replacement hardware. Besides a few washers, these fasteners won´t be visible anyway.

I forgot some of the fasteners for the rubber splash guards in the rust dissolver solution. It ate away the zinc plating. So I had to remove the remains of the zinc plating with a wire brush.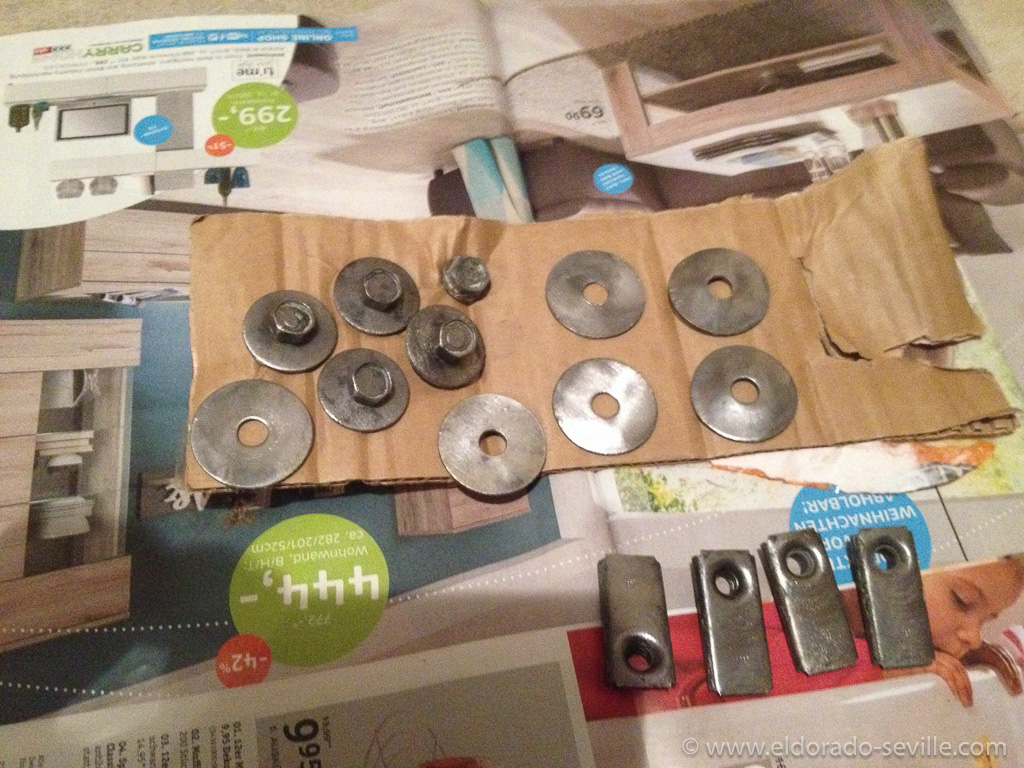
The cleaned fasteners. I spray painted them afterwards with Eastwood zinc paint.
I started painting my Garage.
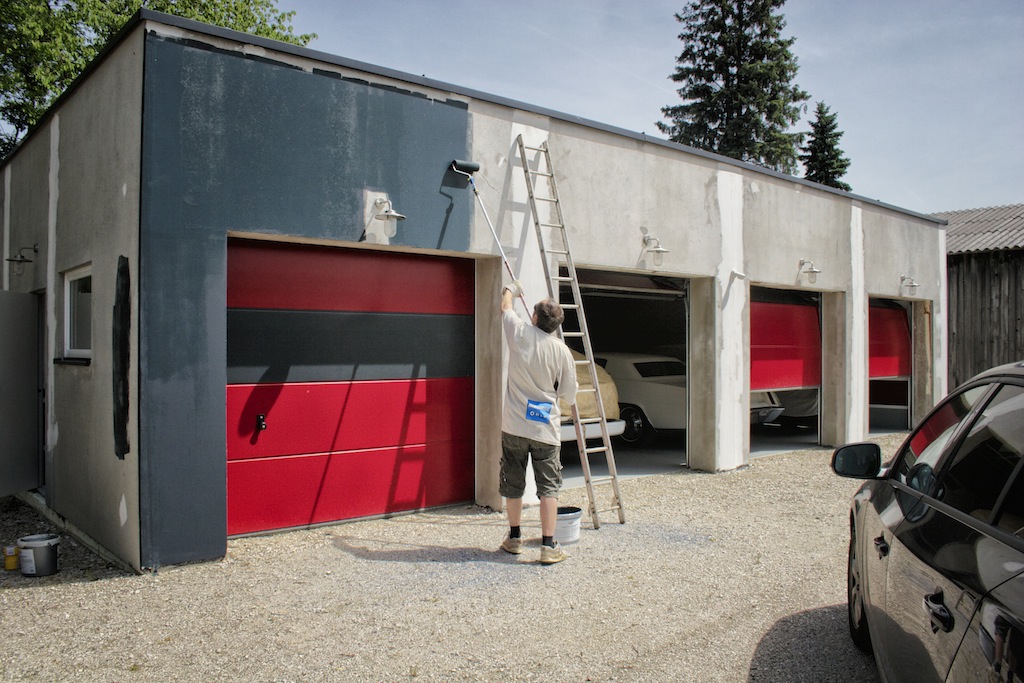
I started painting with the first coat of dark grey.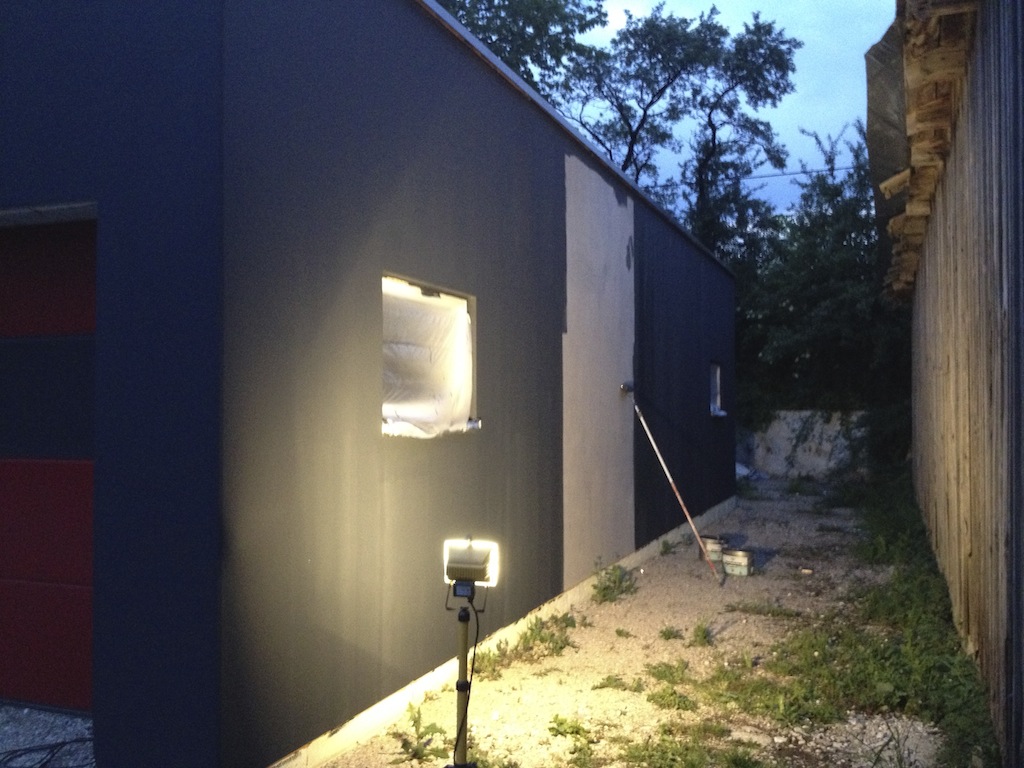
I even did some paint work during the night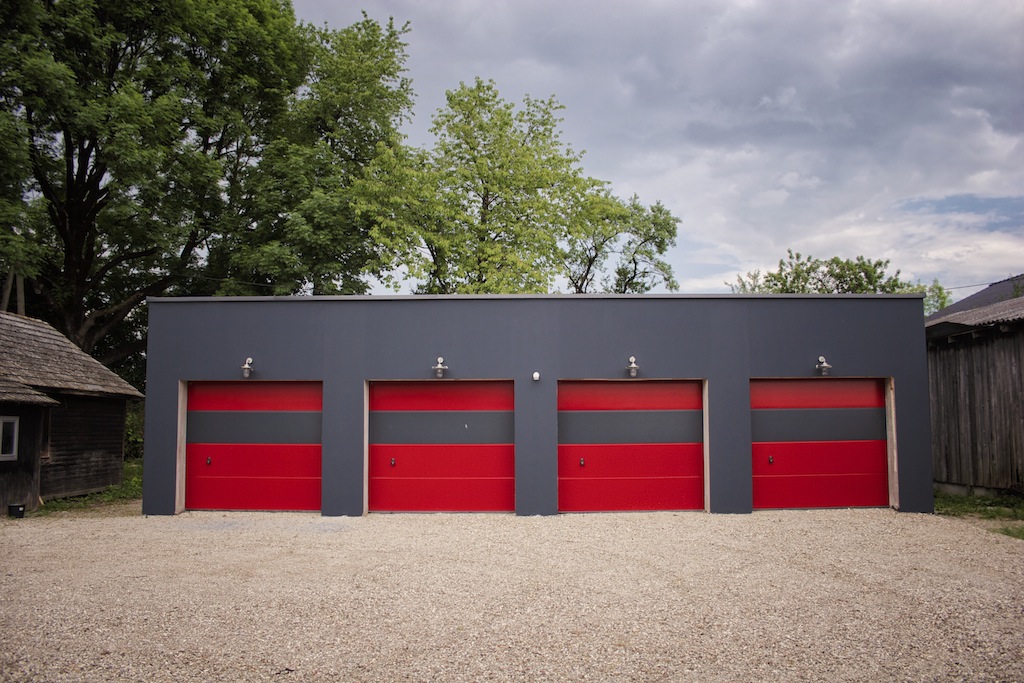
After the first coat of paint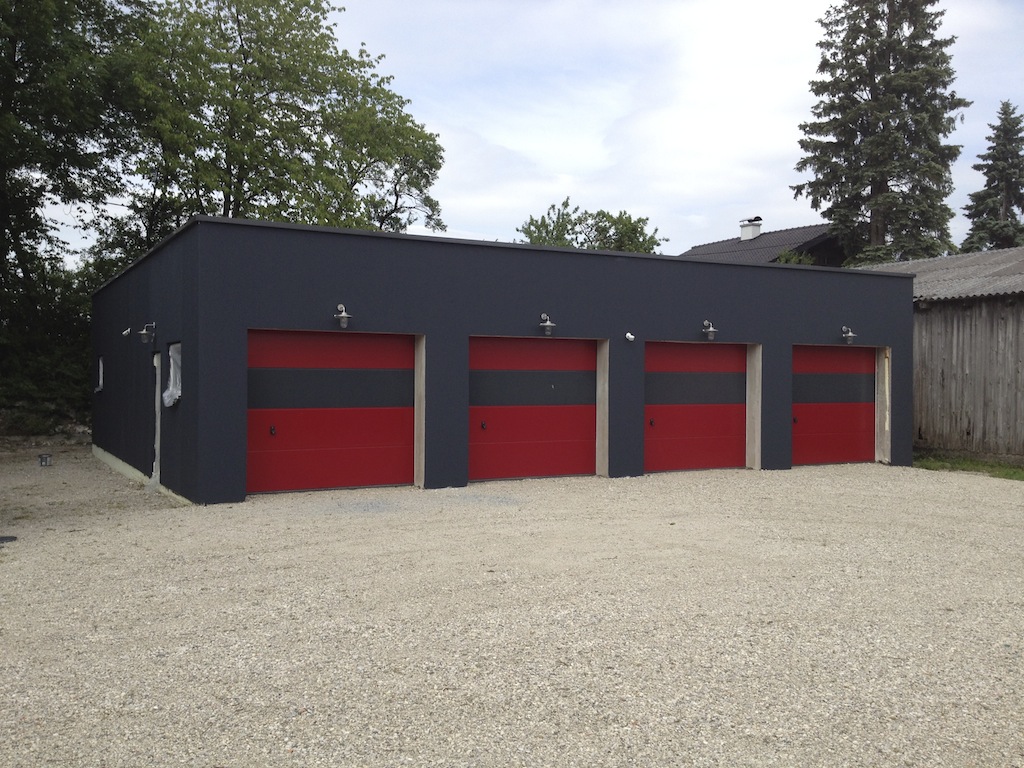
Still a lot to do
This is how the garage should look like once it is finished
Detailing the paint of my 1978 Biarritz.
My goal is to make this mint car as good as it can get, while keeping everything as original as possible.
I´m really obsessed with cleanliness when it comes to cars... Everything has to be completely detailed and shining like new.
I completely cleaned the entire engine and gave it a good wash and afterwards applied some engine dressing.
I then removed some screws and small parts which were left unpainted by the factory, like some screws, the hood latch, some brackets and some other smaller parts. Of course these parts developed some slight surface rust during the last 36 years...
As I had no real rust dissolver at hand, I soaked the rusty parts in vinegar over night, which completely removed all the surface rust. I then gave these parts a coat of primer and painted them with Eastwood paint, which looks like bare metal.
With this method I can keep the rust away, while the parts still look original. Only if you look very closely you might see that these few parts are now painted...
I then started to bring the original single stage paint back to like new condition.
I used a couple of Meguiars compounds and polishes to make the paint as smooth as possible. I had to carefully wet sand some of the deeper scratches with 2000 grit paper. Be very careful when doing this as the single stage paint was applied in only VERY thin layers during the 70s.
The car now shows almost no more paint imperfections and the swirl marks are gone. The original paint looks like on a new car now and is extremely shiny. When the car is out in the sun its almost blinding.
I sealed the paint with Meguairs #16 wax.
I used a Meguiars DA polisher (G125) for the paint correction work - which is not really that good, but I would like to have a more powerful machine for the future like the Flex 3401 or the Rupes Bigfoot .
I used the procedure explained in the following video for my paint correction:
Download his description as PDF file here
This gentleman, Larry Kosilla, has a lot more awesome video tutorials for people who love detailing their cars. Check him out!
I also started detailing the interior of the car. I treated the leather with Gliptone Leather Conditioner - which is the best conditioner I have tried so far. It really makes the leather very soft.
I´ll have to steam clean the carpet once its really warm outside so that it can dry fast afterwards.
I also cleaned the undercarriage a little and removed some of the factory applied undercoating from components where it does not belong to, on which they sprayed it on very carelessly at the factory. Looks much better now.
The car really looks spectacular already - I´ll continue with the chrome and stainless steel trim now. It should be shining in fully glory for the 2014 season beginning in May and also be ready for various car shows, especially the Cadillac BIG Meet in August.
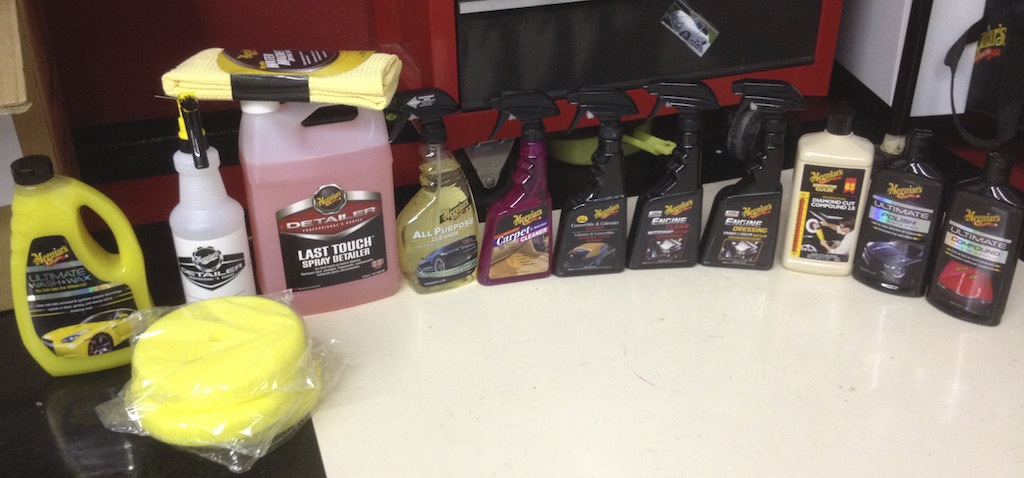
My weapons of choice came from the Meguiars dealer...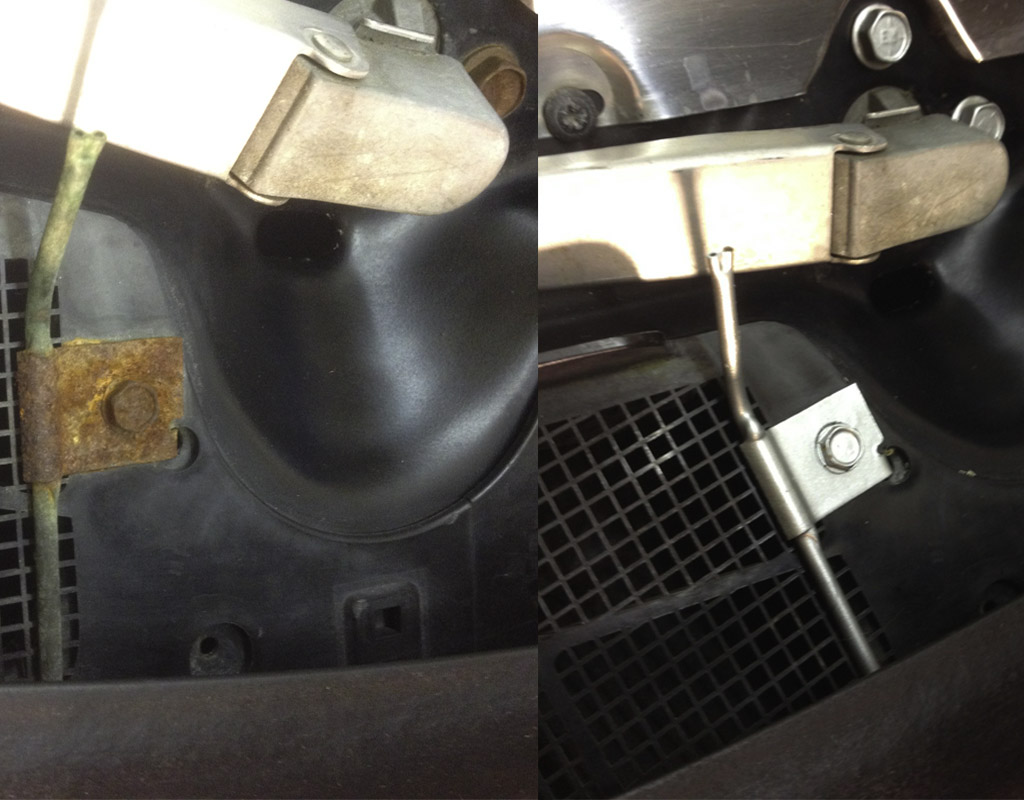
before and after cleaning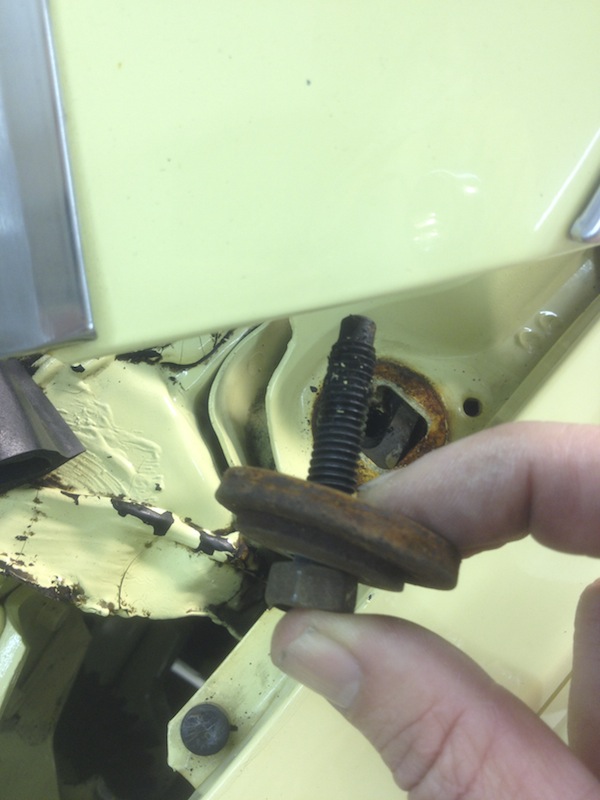

rusty bolts before and after cleaning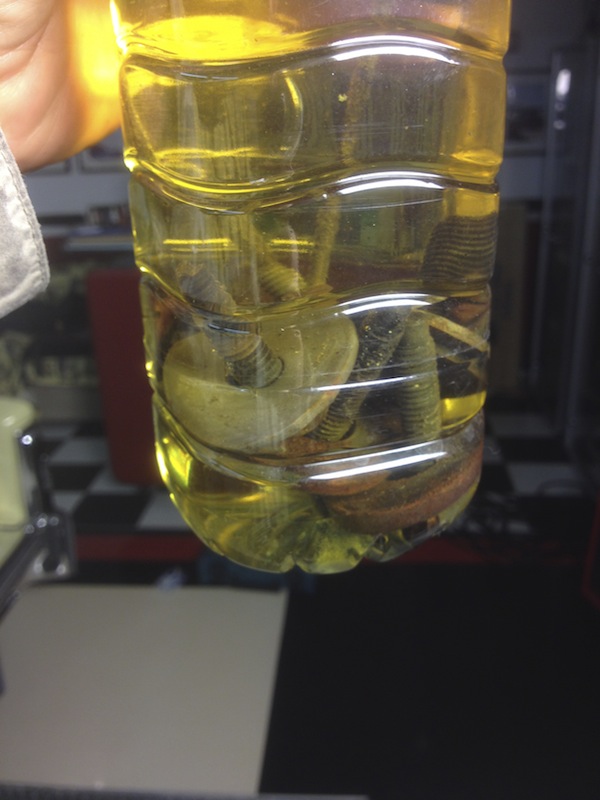
Soaking rusty parts in vinegar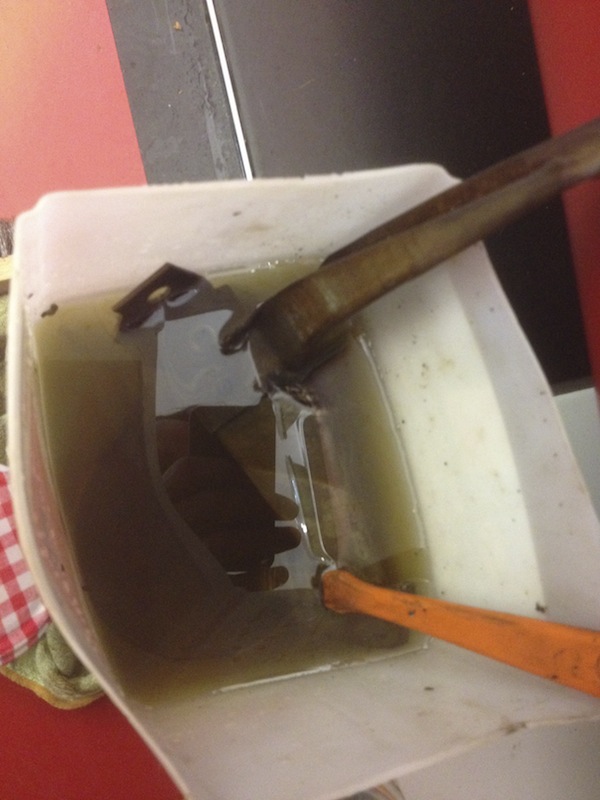
Cleaning more rusty parts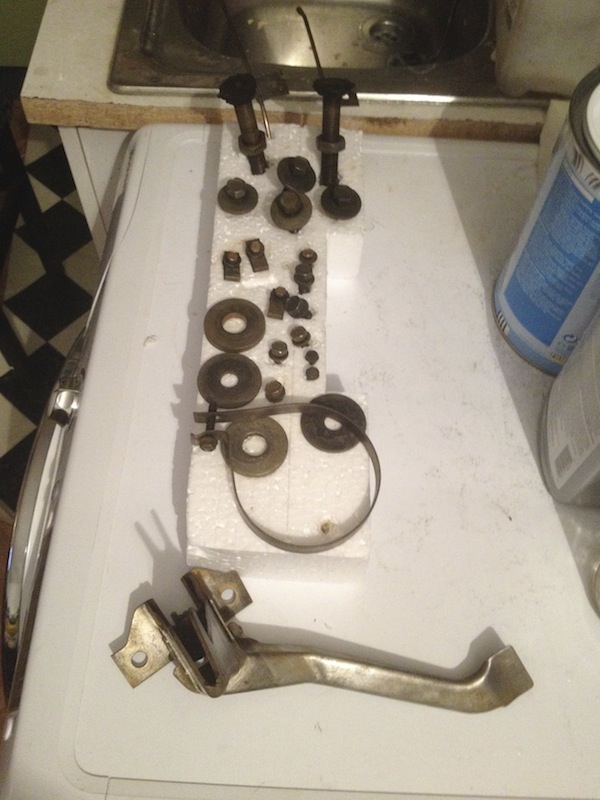
with the rust removed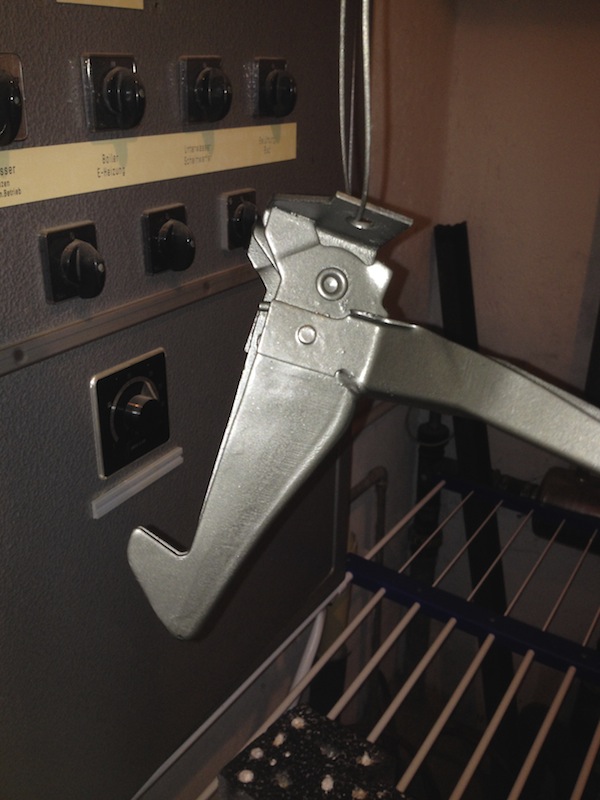
The Hood latch cleaned and painted with Eastwood Silver Cad Paint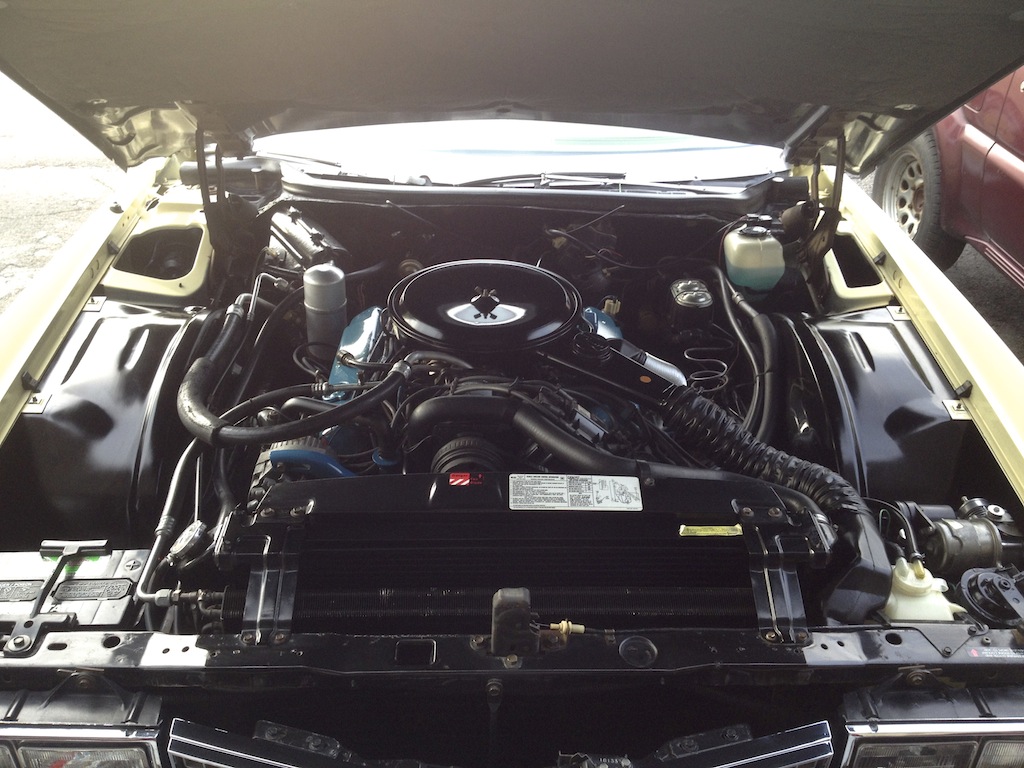
The cleaned engine bay
The car after polishing the paint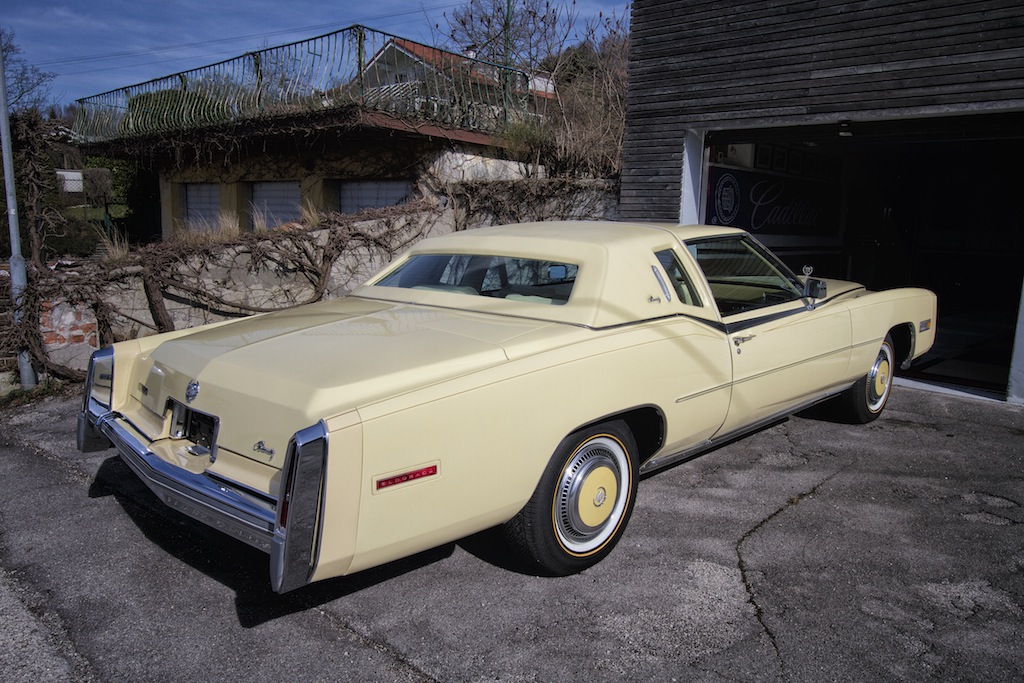
the polished paint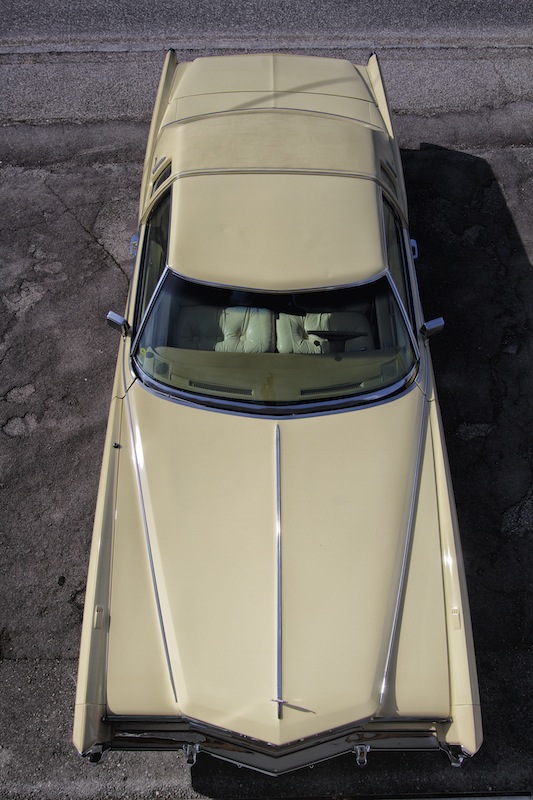
very shiny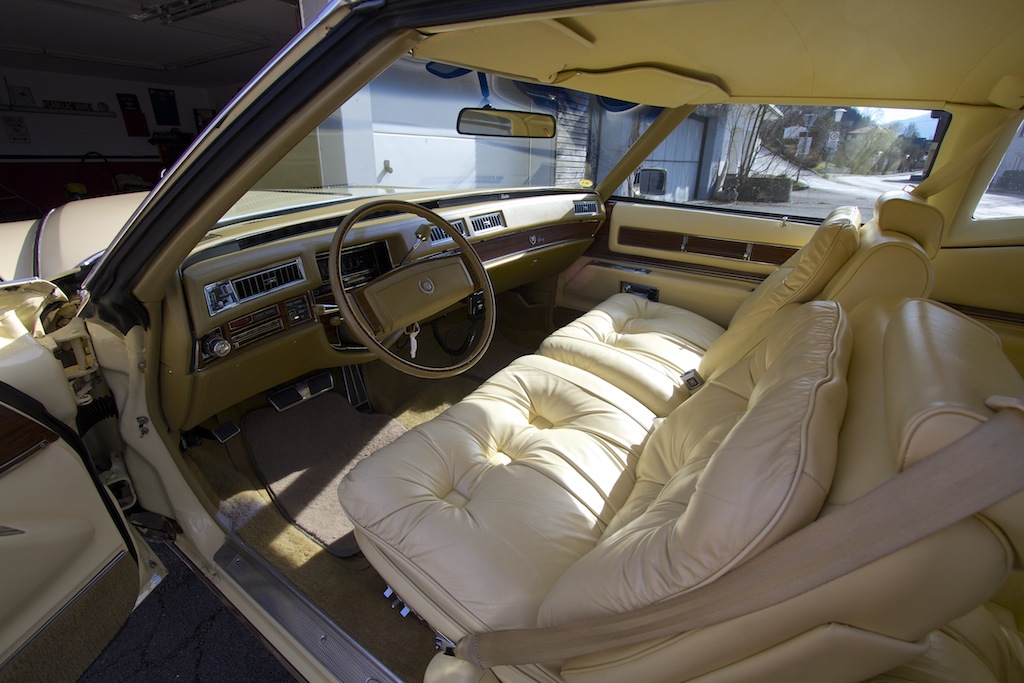
Besides the carpet - the interior is already perfectly clean. The original floor mat is under the aftermarket mats.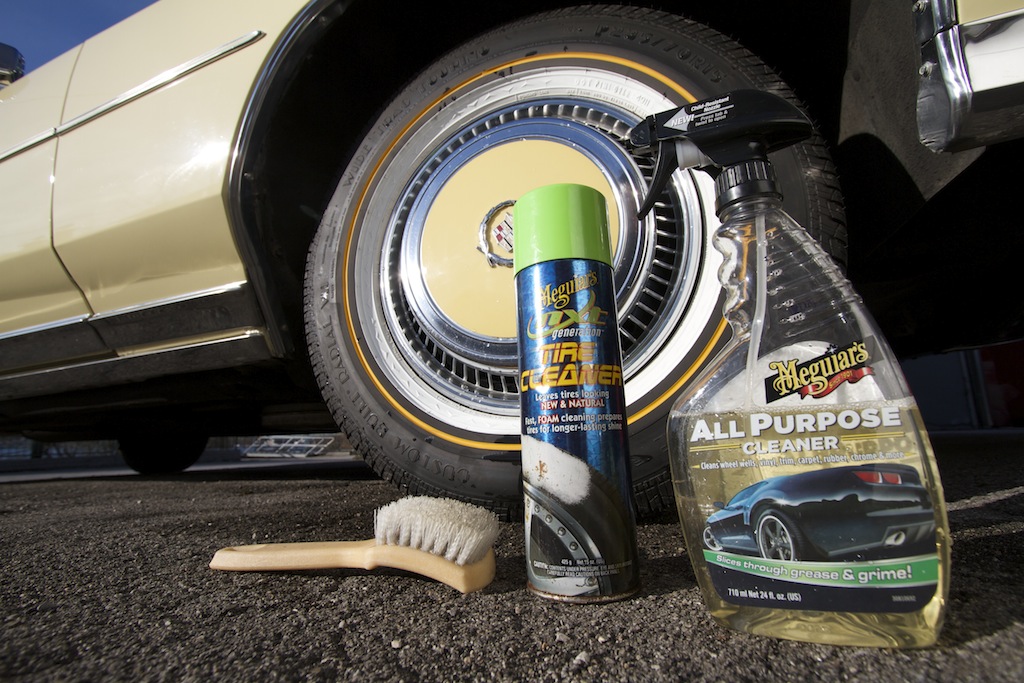
Cleaning the Vogue tires.
Clean paint and tires
Clean tires and perfect hubcaps
Before waxing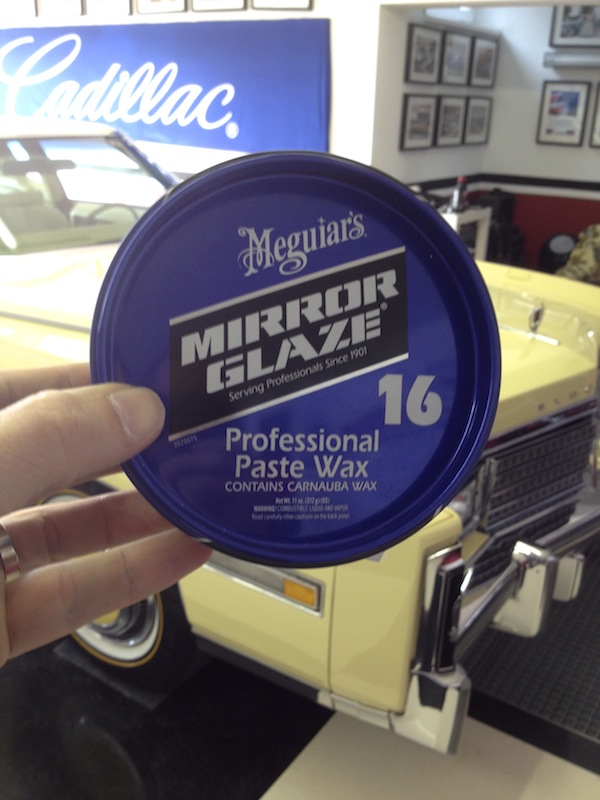
I really like this Meguiars wax. Its one of their cheapest but best waxes. A gentleman from Meguiars once told me that it is one of their oldest waxes, but contains a lot of carnauba wax, which makes it so good! Its also offering the best protection of their product range.
Here are some links to Meguiars products I like to use (link to german Amazon Shop):
1966 Cadillac Coupe deVille (15)
1967 Cadillac DeVille (54)
1967 Cadillac Eldorado (71)
1971 Lincoln Continental Mark III (23)
1974 Cadillac Coupe deVille (45)
1978 Cadillac Eldorado Biarritz (24)
1996 Buick Roadmaster (19)
Car Shows (53)
Cruising (4)
For Sale (3)
Garage Stuff (32)
Pacer (1)
Restoration (137)
Various (55)
Video (16)
Website News (30)
- 6 way power seat
- 8-track
- 10 Ohm
- 429
- 1932
- 1957
- 1958
- 1958 Cadillac Eldorado Seville
- 1958 Cadillac Repair Tip
- 1959 Cadillac Eldorado Seville
- 1964
- 1965
- 1966
- 1966 Cadillac Coupe deVille
- 1966 Cadillac Repair Tips
- 1967
- 1967 Cadillac DeVille
- 1967 Cadillac Eldorado Repair Tip
- 1967 Cadillac Repair Tip
- 1967 Eldorado
- 1968
- 1970 Cadillac Eldorado
- 1971
- 1971 Lincoln Continental Mark III
- 1974
- 1974 Cadillac Coupe DeVille
- 1974 Cadillac Repair Tip
- 1976
- 1977
- 1978
- 1978 Cadillac Eldorado Biarritz
- 1978 Cadillac Repair Tip
- 1980 Cadillac Eldorado Biarritz
- 1996
- 2012
- 2014
- 2017
- 2018
- 2019
- 2022
- 2023
- 3063206
- 7027235
- 7800483
- 7805675
- 7805676
- 12355706
- 17058531
- 17059968
- 17059969
- 22010515
- 22010661
- A.I.R
- A6
- AC
- AC Compressor
- AC Electrical Diagram
- ACC
- Accelerator Pump
- Accelorator pump
- Actuators
- Adriatic Blue Metallic
- Ads
- Aftermovie
- Air Pump
- Aircondition
- AIRPUMP
- ALC
- Alternator
- AM
- AM-Transmitter
- Antenna
- Anti Rattle Clips
- Antique Gold
- Arizona Vintage Parts
- Arrival
- Article
- ASC
- Ash Tray removal
- ATC
- Atlantis Blue Firemist
- Austria
- Austro Classic
- Autolite SP-459
- Automatic Seat Back Release
- Award
- Banner
- Barn Find
- Battery
- Battery Tray
- Beach Race
- Bearing
- Bendix
- Biarritz
- Bigfoot
- Bill Hirsch Engine Enamel
- Bleeder Screws
- Blower
- Bolts
- Borg
- Brake Booster
- Brake Fluid
- Brake Gray
- Brakes
- Broken Bolt
- Brougham
- Bucket seats
- Buick
- Bumper End
- Bushings
- Cadillac
- Cadillac BIG Meet
- Cadillac BIG Meet
- Cadillac birthday cake
- Cadillac Blue
- Cadillac Color Selections Dealer Book
- Cadillac Coupe deVille
- Cadillac Dealer
- Cadillac Meeting
- Cadillac Mini Meeting
- Camaro RS
- Caorle
- Car Show
- Carburetor
- Card
- Carpet
- Carter AFB
- Cavalry Twill Vinyl
- CB
- CBM
- CCCD
- Choke
- Christmas
- Citizens Band
- Classic Cadillac Club Deutschland
- Clay Towel
- Cleaning
- Clock
- Clockwork
- Clutch
- Clutch Coil
- Collector
- Colonial Yellow
- Color Coded Springs
- Commercial
- Compound
- Compressor
- Condenser
- Continental Mark III
- Control Head
- Conversion
- Convertible top
- Coolant
- Corona
- Cowl
- Cruise Control
- Cruising
- CV Boots
- CV JOINTS
- D6230
- Dash Trim
- Decal Removal
- Decals
- Decoration
- Dehumidifier
- Delco Moraine
- Der Standard
- detailing
- Deville
- Diagnosis Chart
- Diagram
- Dial
- Digital Rotary Drum Clock
- Diner
- Disc Brakes
- Distributor
- Diverter Valve
- Door Jamb Switch
- Door Rubber Conduit
- Dornbirn
- Dot3
- Drive Shaft
- Driving tour
- Drum brakes
- Dry Ice Blasting
- Dry Ice Cleaning
- DVD
- Eastwood
- Eldorado
- Electric Choke Thermostat
- Electrical schematic
- Elvis
- Engine Bay
- Ep
- Epoxy floor
- Europe
- Evaporator
- Exide
- Factory Markings
- Fender Skirt
- Floor
- Flushing
- Foam
- For Sale
- Front AXLE
- Front brakes
- Front bumper filler
- Front Floor
- Front wheel bearing
- Fuel Filter
- Fuel Pump
- Fuel Sending Unit
- Fusible Link
- Garage
- Garage Cabinets
- Gasket
- GE
- Gear indicator
- General Time
- Glove box light
- Grand European
- H4
- Haus of Hot Rod
- Headlight Actuator
- Headlight doors
- Headlights
- Heater Core
- Heater Hose
- Heater Valve
- High Idle
- Holley
- Honest John
- Hood
- Hood Emblem
- Hood Ornament
- Hose Clamp
- Hot Choke
- Hot Water Valve
- HotRod
- How to
- Hödlmayr
- Ignition Diagram
- Illuminated Entry
- John D‘Agostino
- John Foust
- Klassikwelt Bodensee
- Kremsmünster
- LaSalle
- Leather seats
- Light Switch
- Limited
- Lincoln
- Lincoln Mark III Repair Tip
- Low Mileage
- Magazine
- Marilyn Monroe
- Mark III
- Master Cylinder
- Master Switch
- Master Vacuum Switch
- Media Blasting
- Meeting
- Meguiras
- MK II
- Mobile
- Model
- Moldings
- Mom
- Mopar Nationals
- Mostkost Kustom
- Movie
- Neon
- NOS
- Oberösterreicher des Tages
- oilchange
- ORF
- Overspray
- Pacer
- Paint
- Paint correction
- Paintjob
- Part Number
- Parts
- Patch Panel
- Perfect Circle
- Permabag
- Persian Lime
- Photo shooting
- Photoshooting
- Pictures
- PinUp
- POA Valve
- Power Antenna
- Power Servo
- Power Vent Windows
- Power Window
- Printed Circuit Board
- Programmer
- Pulley
- Quadrajet
- Quarter Panel
- Quartz Conversion
- R134
- Radiator
- Radio
- Rattle
- Rear brakes
- Rebuild
- Recalibrate
- RediRad
- Reed Switch
- Relais
- Relaunch
- Removing Overspray
- Repaint
- Repair
- Restoration
- RIP
- Roadhouse
- Roadmaster
- Rochester
- Rocker Arm Cover
- Rocker Panel Extension Clips
- Rostio
- Rotary Valve
- Rotterdam
- Rupes
- Rust removal
- Rust removal gel
- Sabre Wheels
- Sand Blasting
- Sandblasting
- Screed
- Season Greetings
- Seasons Greetings
- Seat Back Locks
- Seat Padding
- Seat Transmission
- See through ornament
- Self adjusters
- Sepp's Garage
- Seville
- Sheetmetal
- Shocks
- shop manual
- short
- Sign
- Solenoid
- Spark Plug Wire Routing
- Speakers
- Special Award
- Speed Bleeder Screws
- Splash Guard
- Starter Diagram
- Starter Motor
- Steering Column
- Storage
- suction throttling valve
- sunroof
- suspension
- Swirl Mark removal
- Switzerland
- T3
- Taillight Cover
- Texan´s Choice Award
- Thermostat
- Tilt and Telescope
- Time capsule
- Tomsclub
- Torque Specifications
- Tower Hose Clamp
- Towtruck
- Transducer
- Transmission
- transmission control selector
- transmission control selector indicator light
- transmission shift indicator
- Treadle Vac
- Treffen
- Tri-Band
- Troubleshooting
- Trunk Cardboard Kit
- Trunk lining
- Trunk to bumper cover
- Turn Signal Switch
- TV
- Typisierung
- Ultimate Garage
- Underbody
- Undercarriage
- Undercoating
- Undercoating Removal
- Vacuum Booster
- Vacuum diagram
- Vacuum hoses
- Vacuum Master Switch
- Vacuum Schematic
- Vacuum Valve
- Valve Cover
- Various
- Vent Window Switch
- Vibration
- Vibrator
- Vicodec roof
- Video
- Vinegar
- Vinyl Roof
- Visitor
- Washer Fluid Float
- Washer Fluid Low Level Indicator
- Water Pump
- Wax
- Weatherstripping
- Website News
- Westclox
- Wheel Bearings
- Wheel Housing
- Wiesbaden
- Windlace
- Winter
- Wiring
- Wiring Diagram
- Wonderbar
- Workbench
- Zurzach