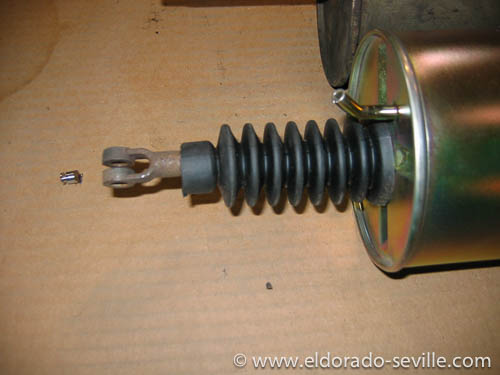
1967 and 1968 Cadillac Eldorado headlight actuator repair article updated.
28/Dec/2014 /11:19 Filed in: 1967 Cadillac Eldorado | Restoration
One of the most read articles on my website is about how to repair the somewhat troublesome headlight actuators on the 1967 and 1968 Cadillac Eldorado.
After many years they tend to fail for many owners of the 1967 and 1968 Eldorados.
One company has offered a reproduction, but from the experience some people made with it, it was said that it was very poorly made and extremely expensive. I cant say anything about it from my own experience though.
But there is a better and much cheaper solution to the problem in the form of a modified reproduction 1969 Camaro RS actuator which is readily available. I´ve written an article a couple of years ago what could be done and I have now updated it, as one reader sent me some excellent description and pictures of how he modified the Camaro actuator to work perfectly on his 1968 Eldorado.
Thanks for the tip Mark Maromonte from Marks Truck and Auto Repair.
Happy Holidays
22/Dec/2014 /11:21 Filed in: Various | 1974 Cadillac Coupe deVille
Repairing the seat back locks of the 74.
15/Sep/2014 /13:38 Filed in: Restoration | 1974 Cadillac Coupe deVille
The 1974 Coupe deVille is equipped with automatic seat back rest locks.
They are actuated by big solenoids that are mounted in the back rest of each front seat.
When you open the door they are actuated and the seat backs can be moved to allow access to the backseats without having to manually unlock the seat.
It worked perfectly on the passenger side, and most of the time on the driver side.
When the door was open though you could sometimes hear a clicking sound from the solenoid.
That was not acceptable for my standards of course.
You have to remove most of the back seat material to get to the solenoid unfortunately.
Once we got it out we took the solenoid apart. Some of the insulating foam has crumbled inside the end stop of the solenoid - so we replaced that, cleaned and lubricated everything and put it back together.
Unfortunately the problem was still there after this.
So we eventually found out that the striker where the seat latches was not adjusted correctly. Something must have gone wrong at the factory already.
We had to modify it slightly to make it perfect again so that the solenoid could disengage itself properly when the seat back was in the back position.
When everything was back together it worked for a while before it broke again. I will have to find a good working solenoid now and replace it once again.
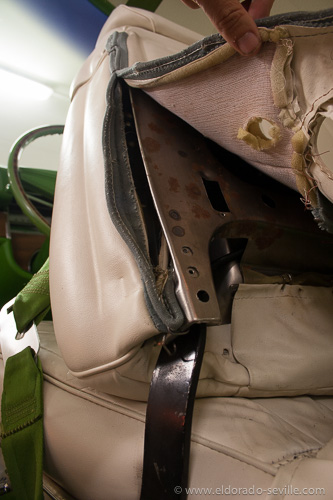
you have to remove the seat back material to be able to access the solenoid and latch mechanism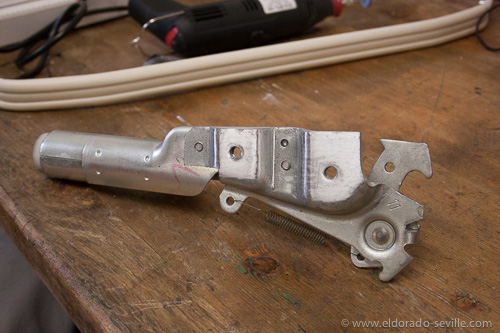
the latch mechanism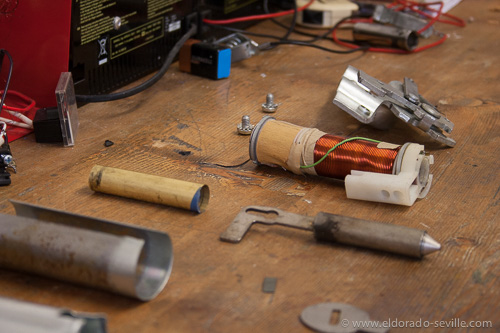
the solenoid disassembled - before cleaning - there are two coils inside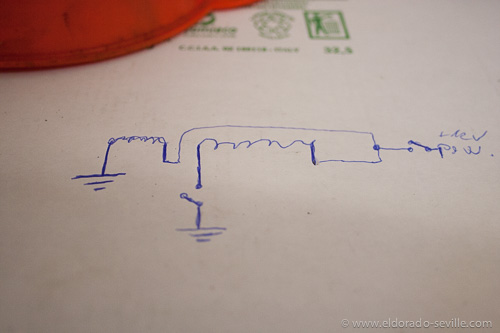
A quick drawing how the system works.
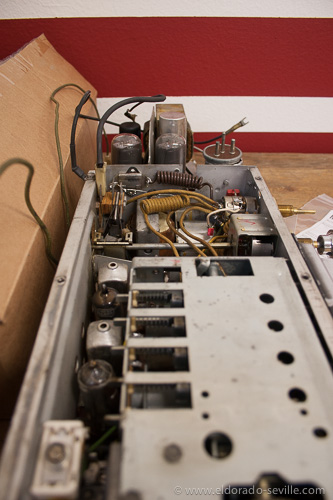
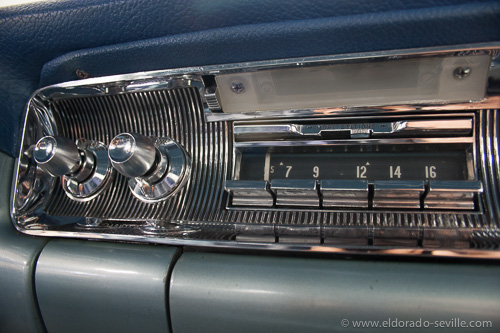
Repairing the wonderbar radio of the 1958 Cadillac
11/Sep/2014 /22:26 Filed in: 1958 Cadillac | Restoration
The radio on my 58 Eldorado Seville was the only thing that never worked since I got the car back in 1999.
Another Cadillac fan I know who likes to try to repair old things and especially older tube radios wanted to give it a try. So the radio came out of the dash.
After his first investigation it soon turned out that the vibrator inside the radio was inoperative.
We could not find a new one - so he decided to cut the aluminum tube with the vibrator inside open.
He ordered a couple of other parts and somehow managed to repair the original vibrator.
I have no clue how he managed to do that and what he did exactly - but I now have a working AM - “Wonderbar" radio inside my 58 Eldorado Seville and for the first time I can proudly say that EVERYTHING works on my 58!
He also managed to repair the speakers on the 1966 and I have a perfectly working radio on this car as well now.
Repairing the clock on the 1966, 1967 and 1958.
10/Sep/2014 /11:04 Filed in: Restoration | 1967 Cadillac Eldorado | 1958 Cadillac | 1966 Cadillac Coupe deVille
I like it when everything works on all cars.
So it was time to service some of the clocks which stopped working over the years.
The clock in the 66 did not work at all.
Its extremely easy to remove on the 66 as you can get it out of the instrument panel by just unscrewing one bolt.
The clock was very dirty in the clock work and needed a good cleaning and some good lubrication. Also the contact of the coil was a little worn and this was fixed. It then happily ticked back to life and now works perfectly.
The clock on my 58 stopped working a couple of years ago. So it came out as well. Its a little more complicated to get it out though...
When it was finally out - it could be seen that the coil was burnt and that it needed some very good cleaning as well. Some of the melted insulation material of the Of course I had no spare coil for it - so the original one had to be rewound with some good wire from a left over light solenoid...
Wow - this really took a while - but now the clock works perfectly again!
I was not so lucky with the clock on the 67 Eldorado which only worked when the car was warm. To take it out you have to remove the upper dash and then get out some light bulbs and disconnect it from the printed circuit.
It was also cleaned and lubricated and the clock worked, but it made a very loud noise when the coil rewound the spring of the clock.
The sound got better over night, but then the clock stopped working completely...
Looks like I will need a new 1967 clock :-(
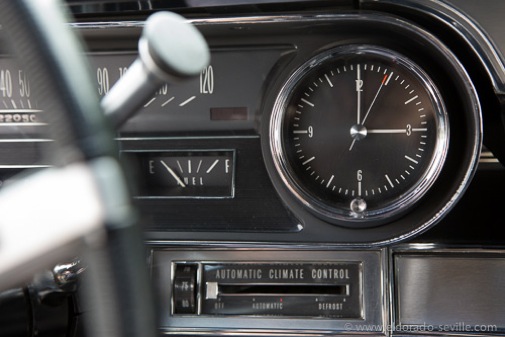
the clock on the 66 now works perfectly again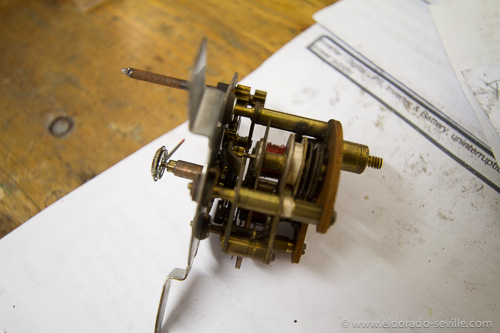
the disassembled clock of the 58 Eldorado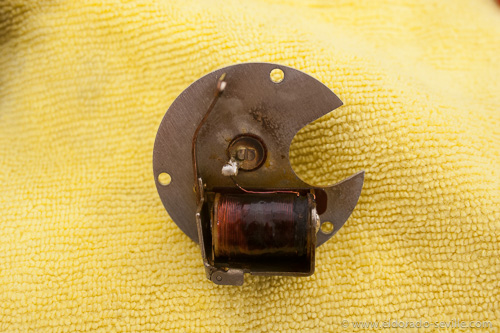
the coil was burnt on the 58 clock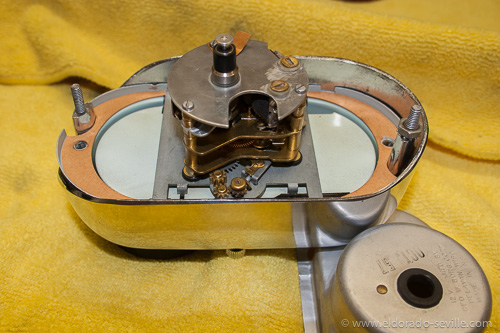
fully cleaned 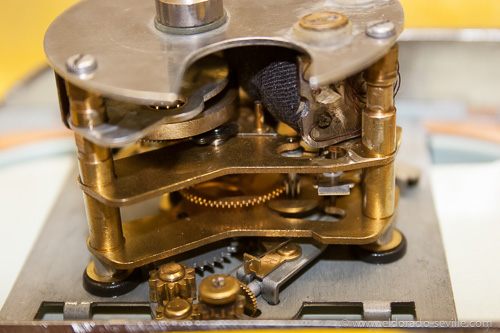
back together with a rewound coil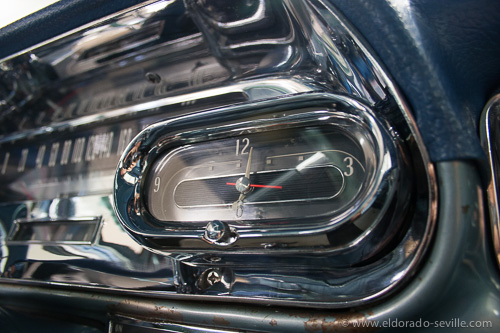
back in the car - working perfectly again
Rebuilding the Cruise Control on the 1966
02/Sep/2014 /11:03 Filed in: Restoration | 1966 Cadillac Coupe deVille
The 1966 Coupe deVille is a very well equipped car with lots of options.
Too bad that almost nothing worked when I got the car.
Of course I do not accept any non working things on my cars.
So with the help of another Cadillac aficionado who likes to work with anything electric - we took on the big challenge to repair the “Perfect Circle Cruise Control“ of the 66.
We had no idea how it worked and only had the shop manual as a reference.
The speed reminder function did kind of work, but the cruise control function was completely inoperative.
It took us a couple of days to fix it properly and now it works like the day the car left the factory!
We encountered a multitude of problems:
After a lot of trial and error we eventually learned how the system works and we finally could adjust it correctly. It's a very nice system when it works properly, but you really have to calibrate it correctly. It's a fascinating option and there is some great engineering behind it. As it is rather complicated to repair you will see a lot of 60s car without a working cruise control.
Luckily its pretty well described how to adjust the contact points in the shop manual and I should have read it more thoroughly before we started to work on it - it would have saved a lot of time troubleshooting.
Too bad that almost nothing worked when I got the car.
Of course I do not accept any non working things on my cars.
So with the help of another Cadillac aficionado who likes to work with anything electric - we took on the big challenge to repair the “Perfect Circle Cruise Control“ of the 66.
We had no idea how it worked and only had the shop manual as a reference.
The speed reminder function did kind of work, but the cruise control function was completely inoperative.
It took us a couple of days to fix it properly and now it works like the day the car left the factory!
We encountered a multitude of problems:
- 1) The dash mounted switch was defective - the plastic gear to set the desired speed was broken.
- 2) Most of the contacts inside the unit were oxidized
- 3) We had to adjust the contacts inside the unit properly and calibrate the system to the speed set on the dial
- 4) As it turned out later the brake switch was not properly adjusted (we should have checked this first and read the shop manual properly...)
After a lot of trial and error we eventually learned how the system works and we finally could adjust it correctly. It's a very nice system when it works properly, but you really have to calibrate it correctly. It's a fascinating option and there is some great engineering behind it. As it is rather complicated to repair you will see a lot of 60s car without a working cruise control.
Luckily its pretty well described how to adjust the contact points in the shop manual and I should have read it more thoroughly before we started to work on it - it would have saved a lot of time troubleshooting.
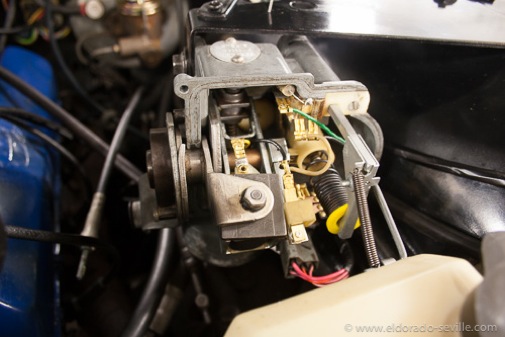
inside the system - still on the car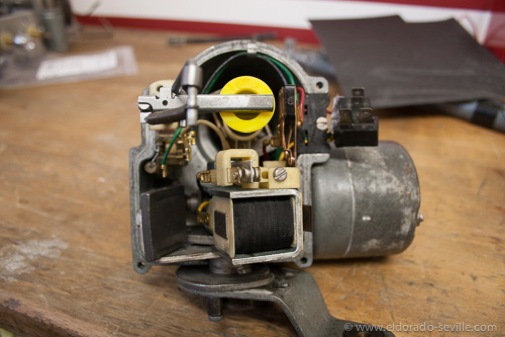
the “perfect circle“ unit on the bench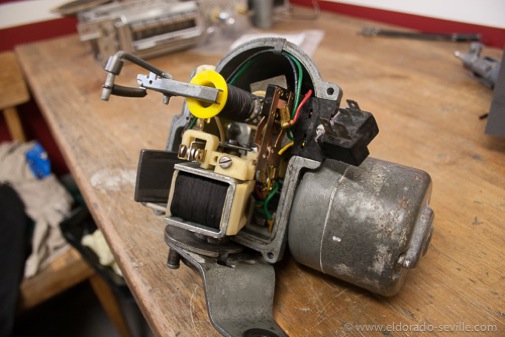
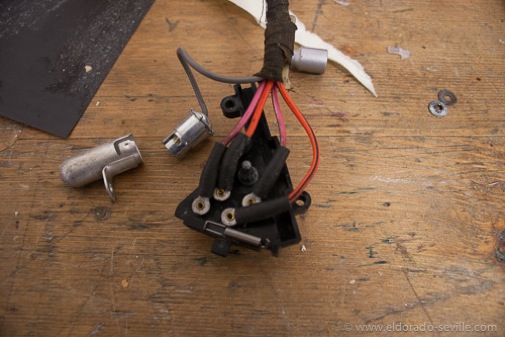
the dash mounted control switch disassembled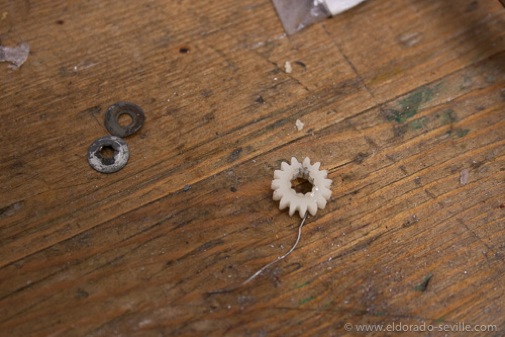
the broken plastic gear before we repaired it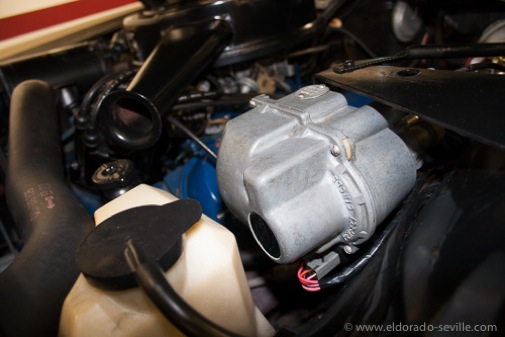
the rebuilt and perfectly cleaned unit - back in the car
